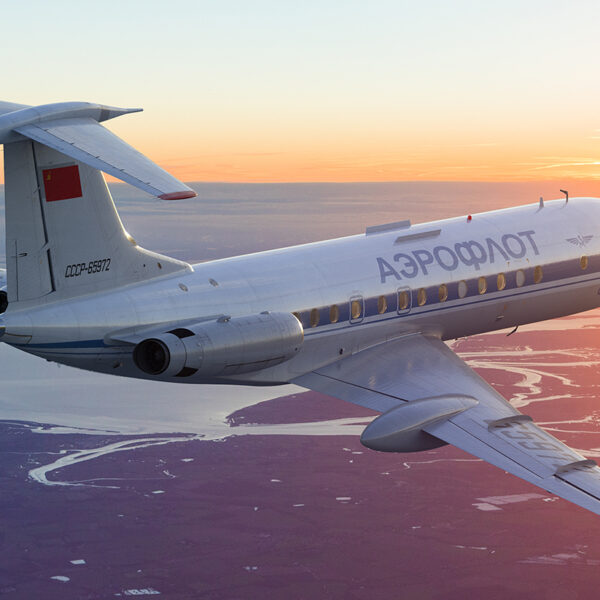
Tu-22M3 – Photogrammetry
Task: Photogrammetry & Modeling
Purpose of creation: Mod for DCS (Digital Combat Simulator)
I love aerospace, engineering & simulators. In 2016 I was looking for a new side project within the DCS modding community.
Digital Combat Simulator is an incredible flight simulator, filled with magnificent aircraft and helicopters. Within the community, I discovered a modding thread by Brian Cooper, who was looking for team members who would like to join him on a journey of creating a Tu-22M3 mod for DCS.
I find this plane incredibly beautiful, so I signed up for a task. Of course, we needed a lot of photo references, before the start of the modeling process. The plane is huge and the internet couldn’t provide us with the amount of reference we needed for high-precision modeling. Fortunately, Brian had already planned a meeting with Dmitry – the director of Kyiv’s aerospace museum. He was planning to travel to Ukraine and he invited me to come with him.
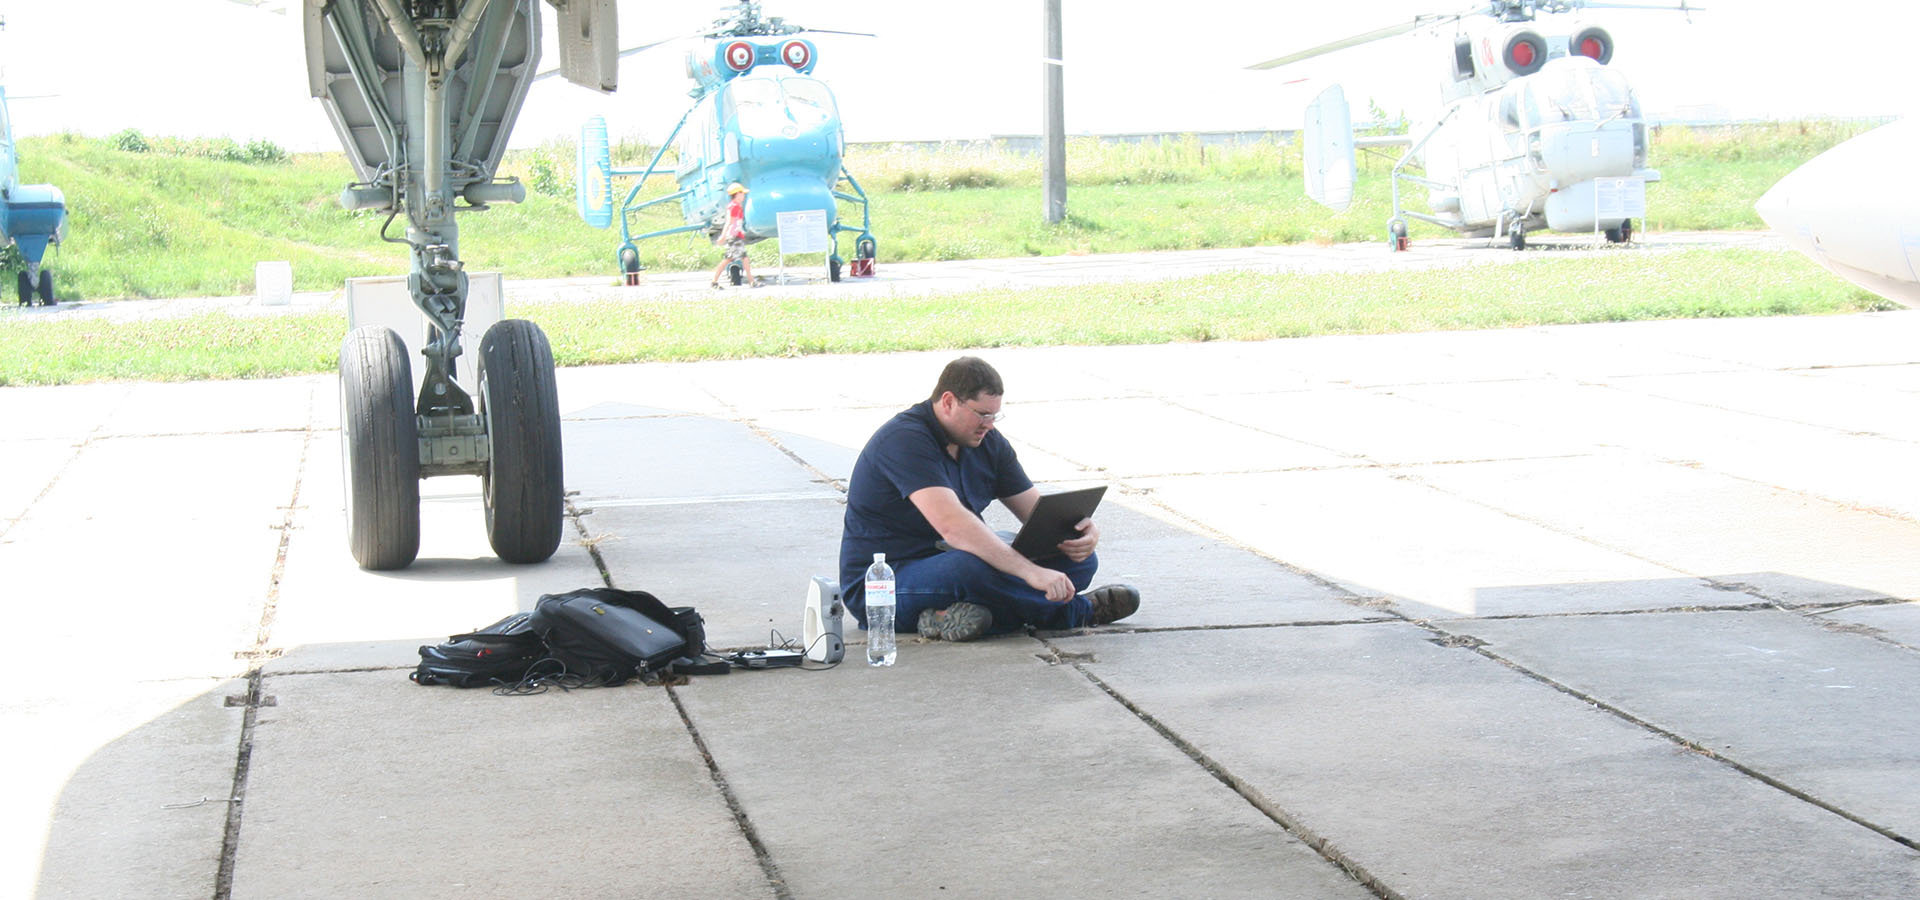
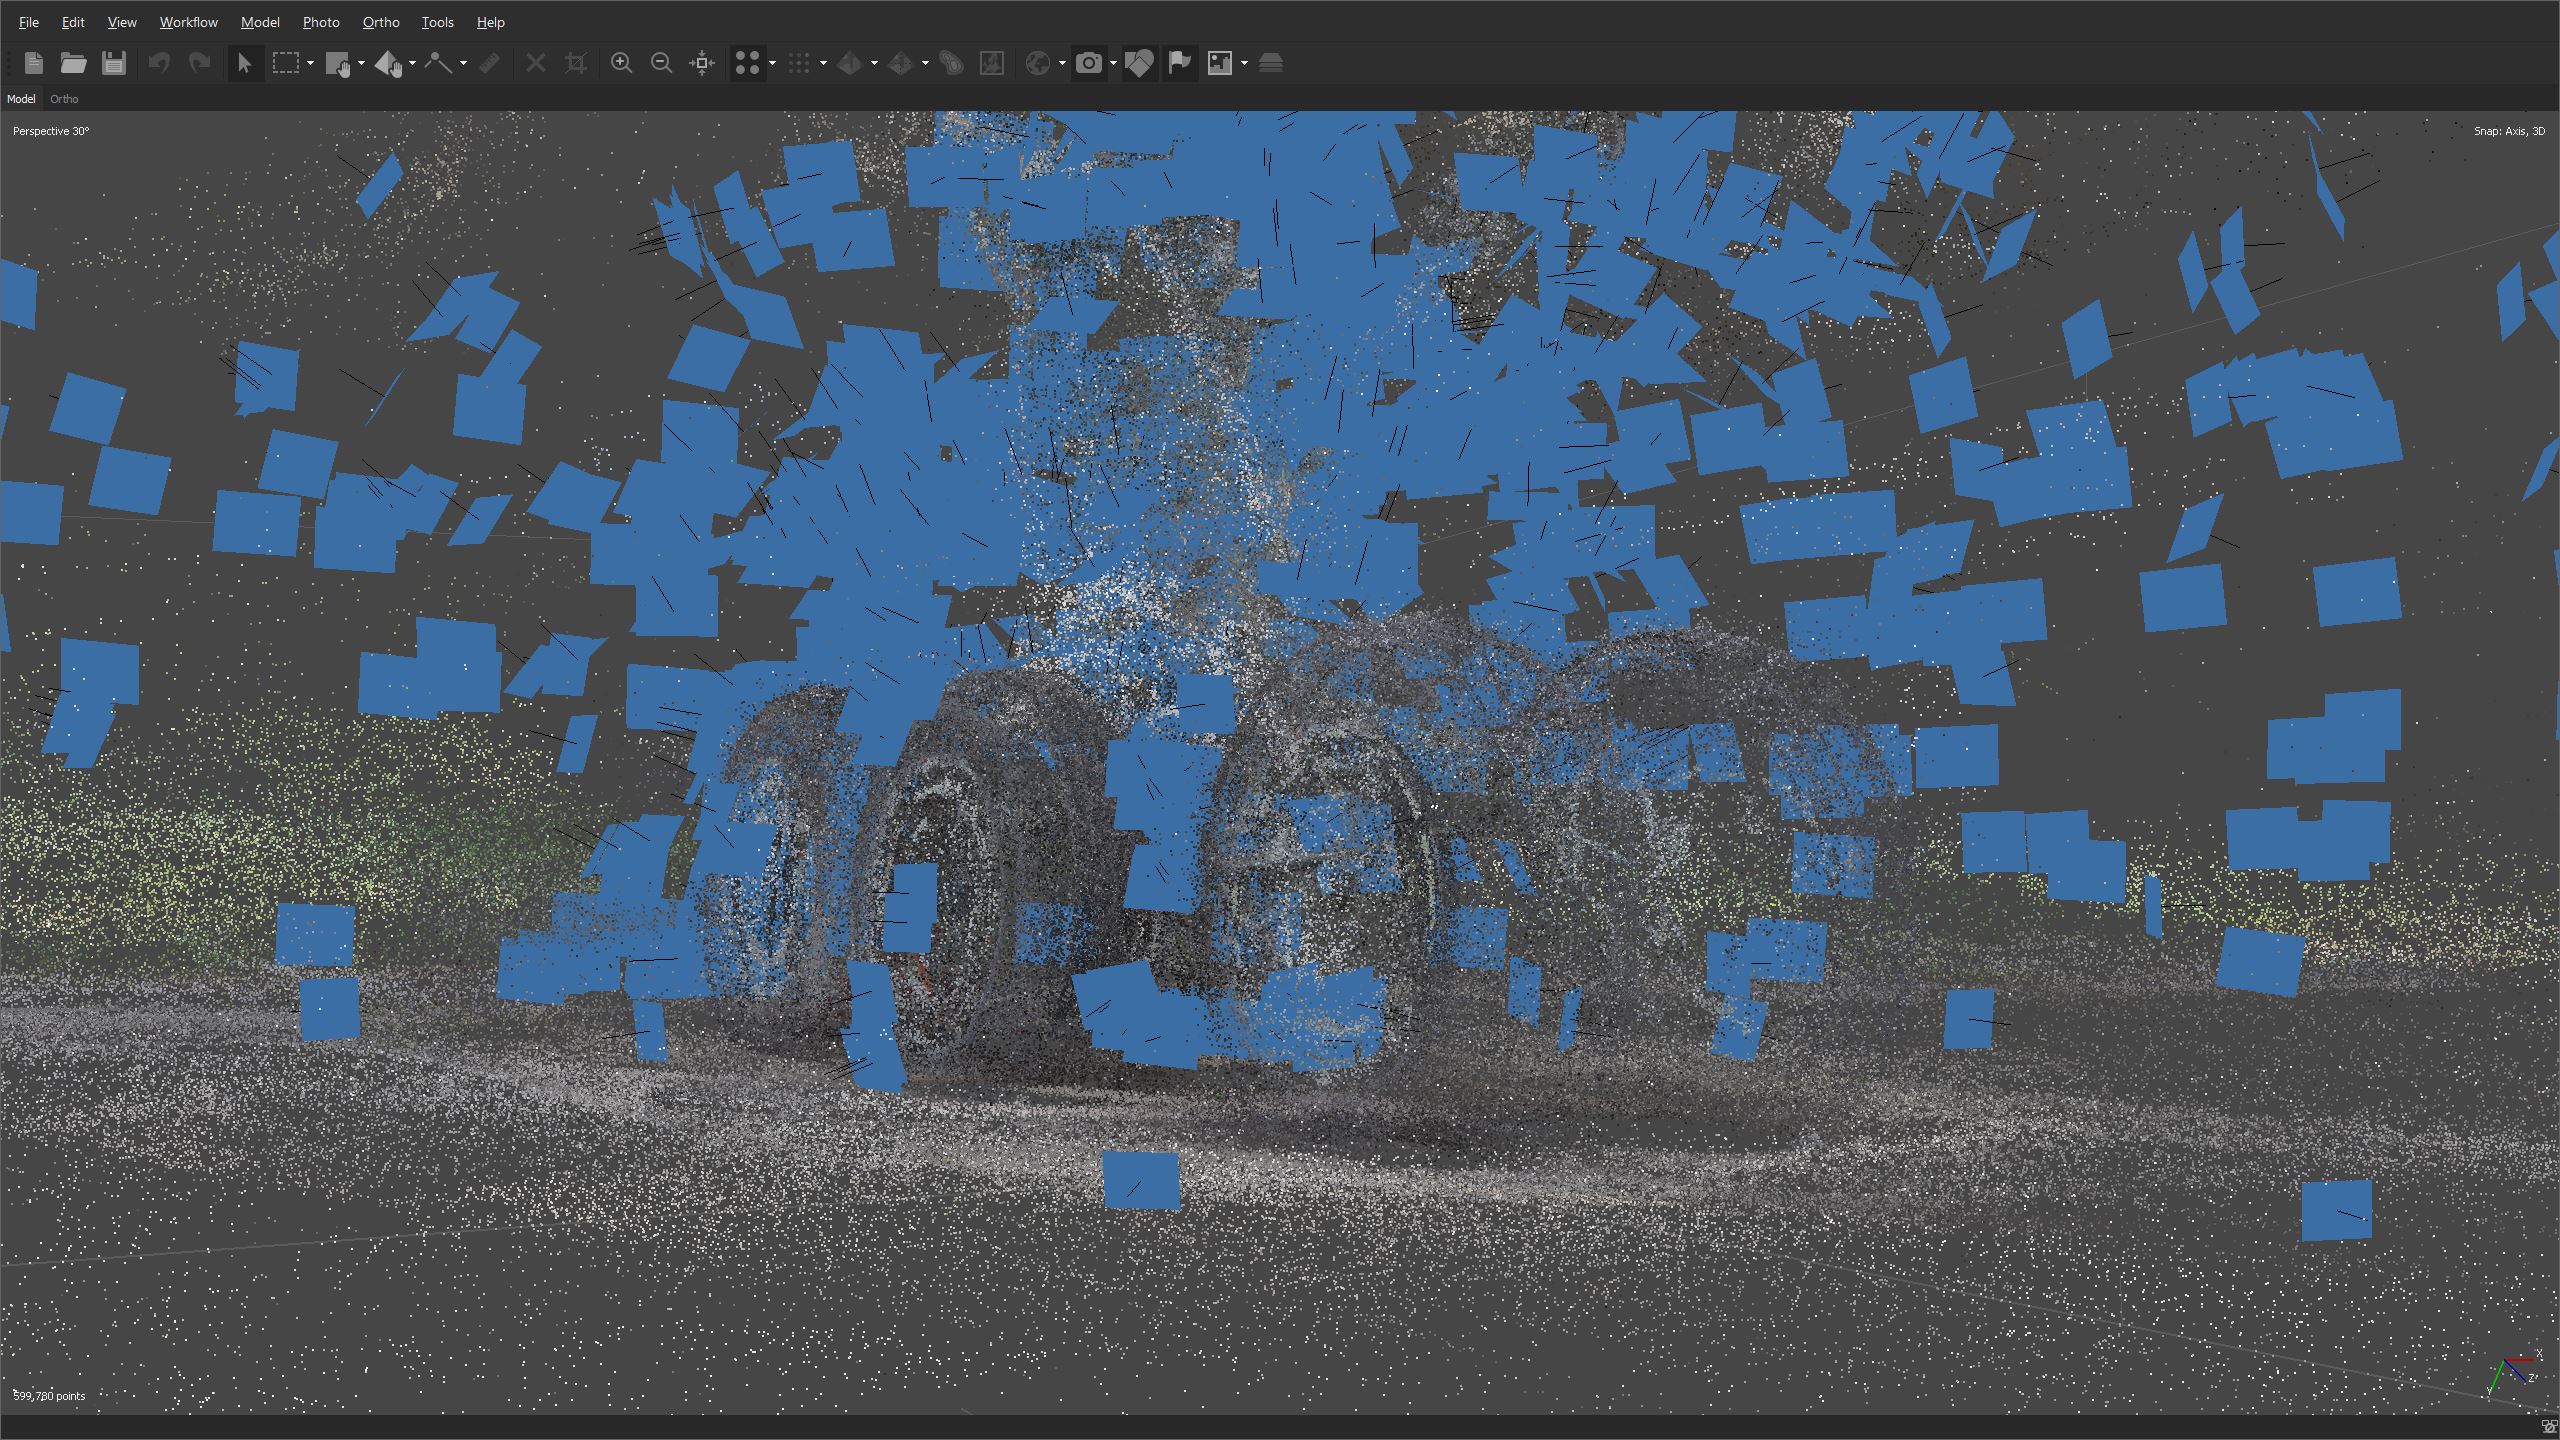
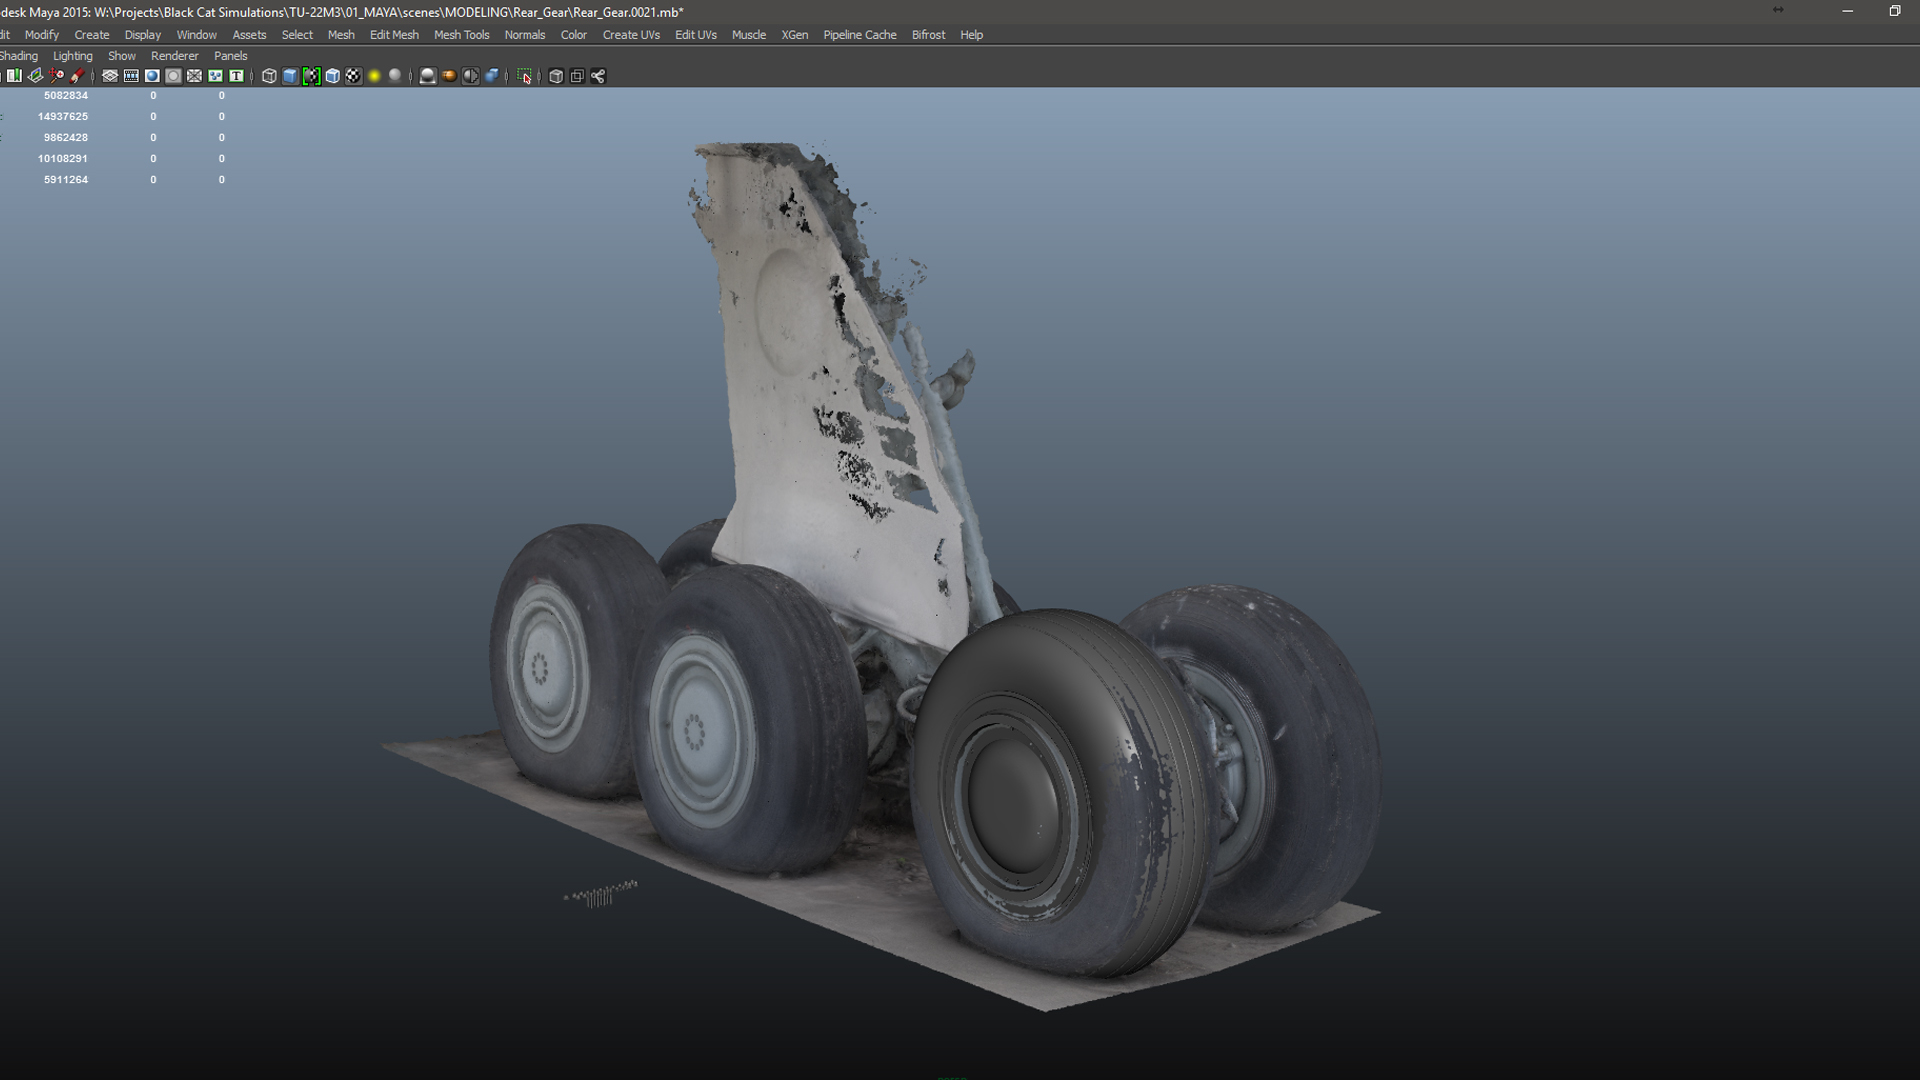
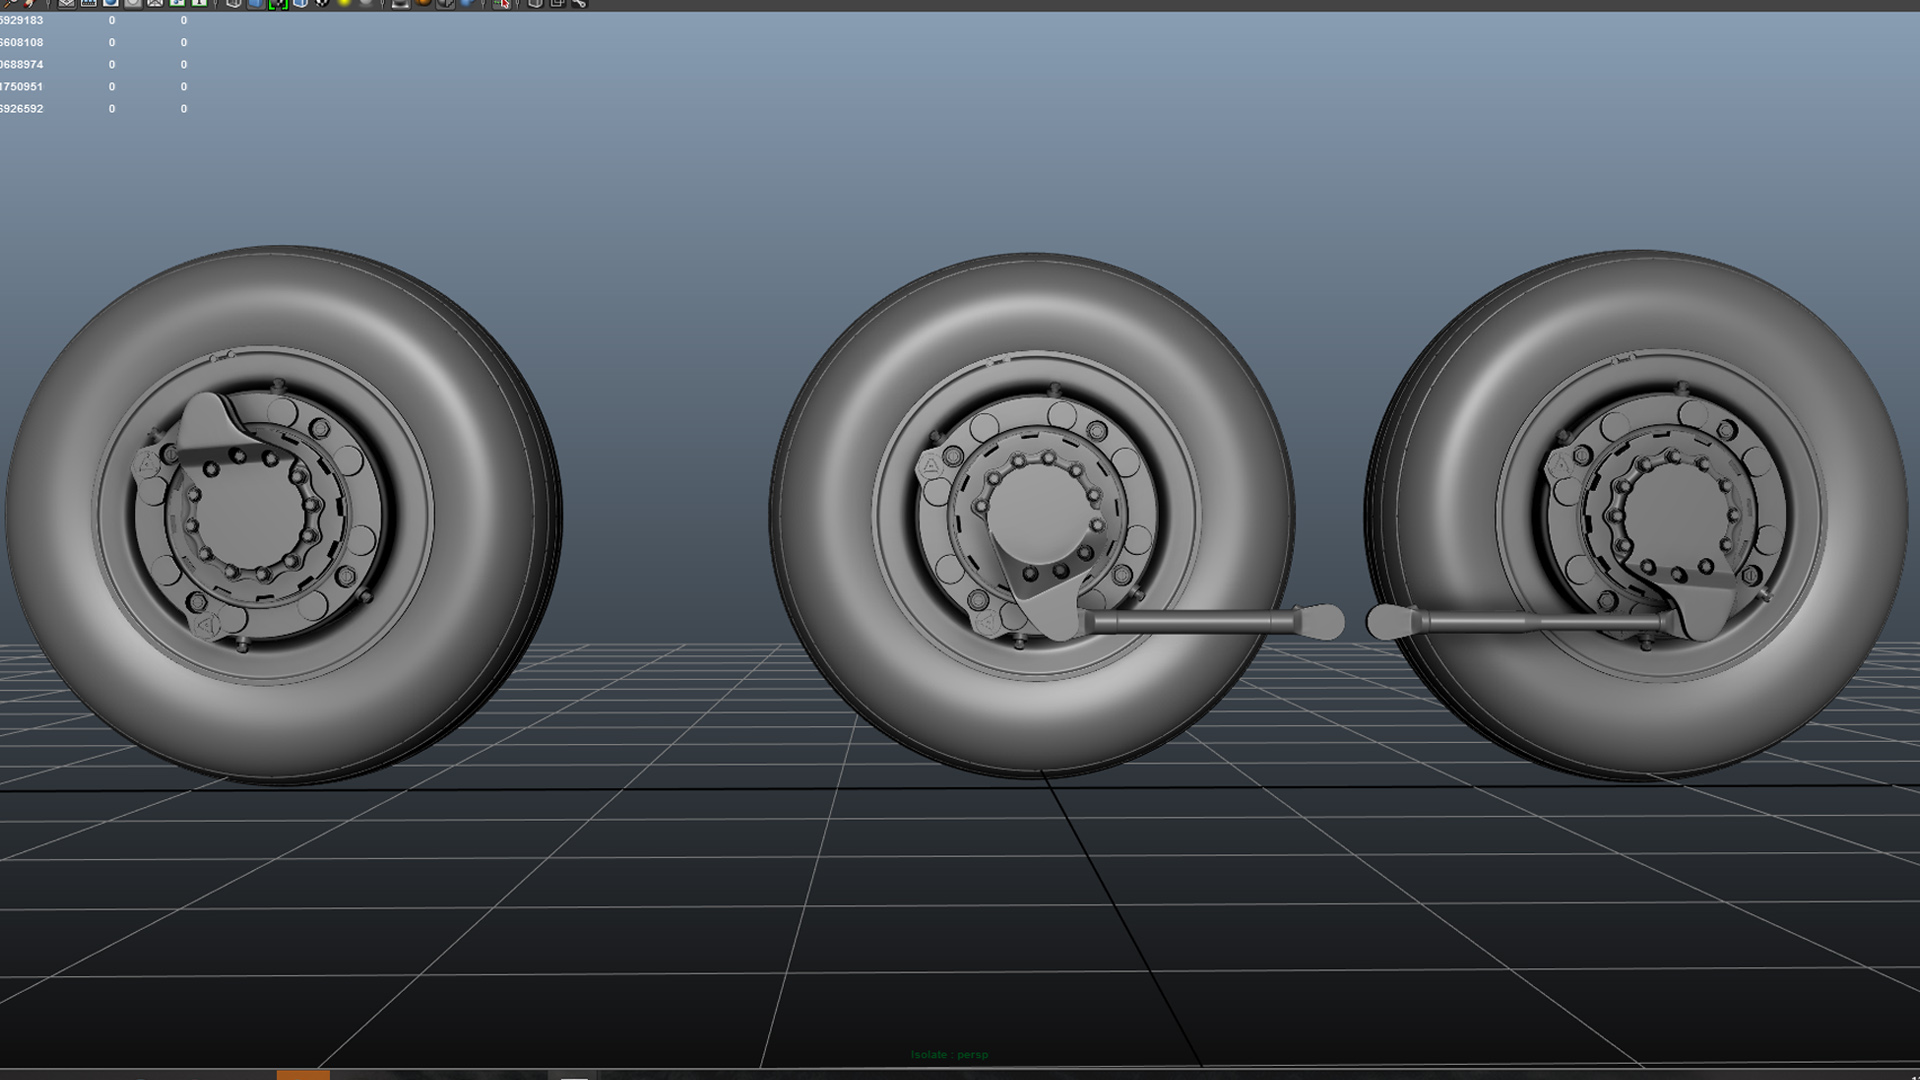
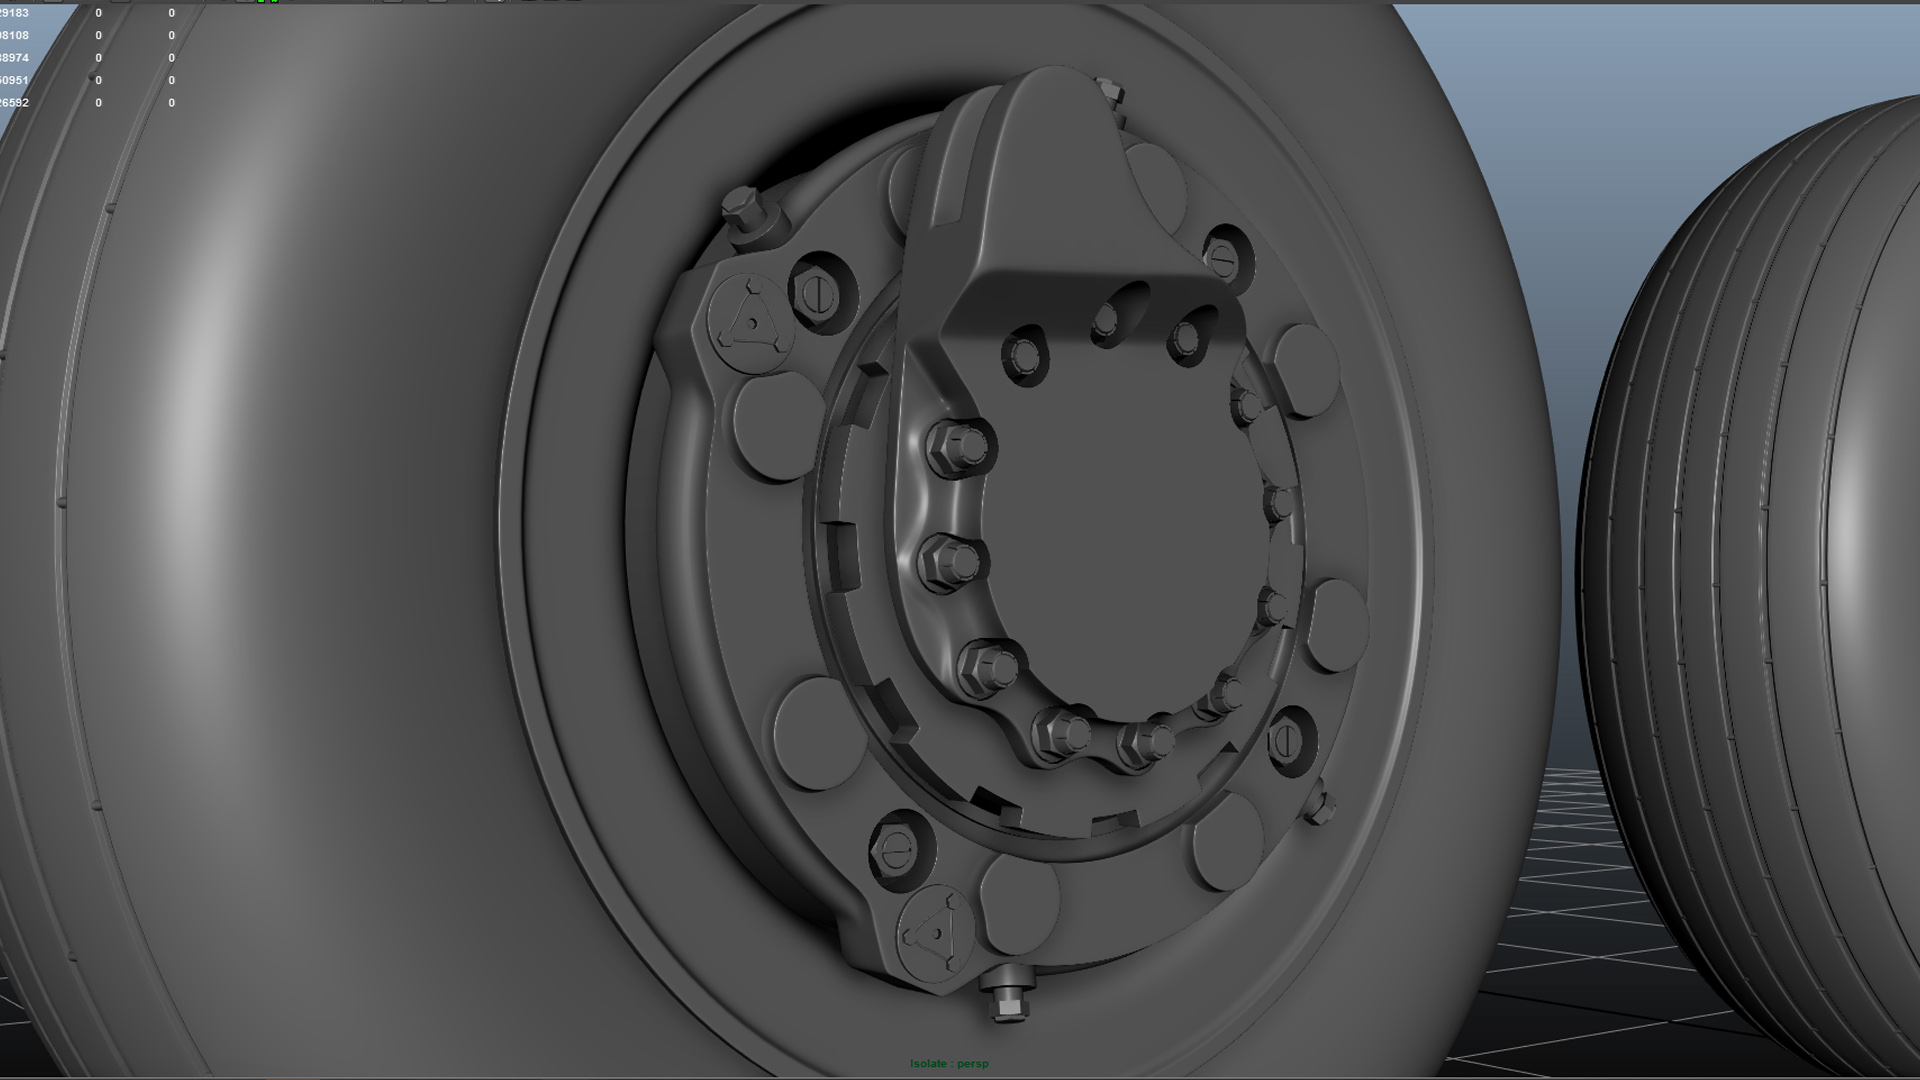
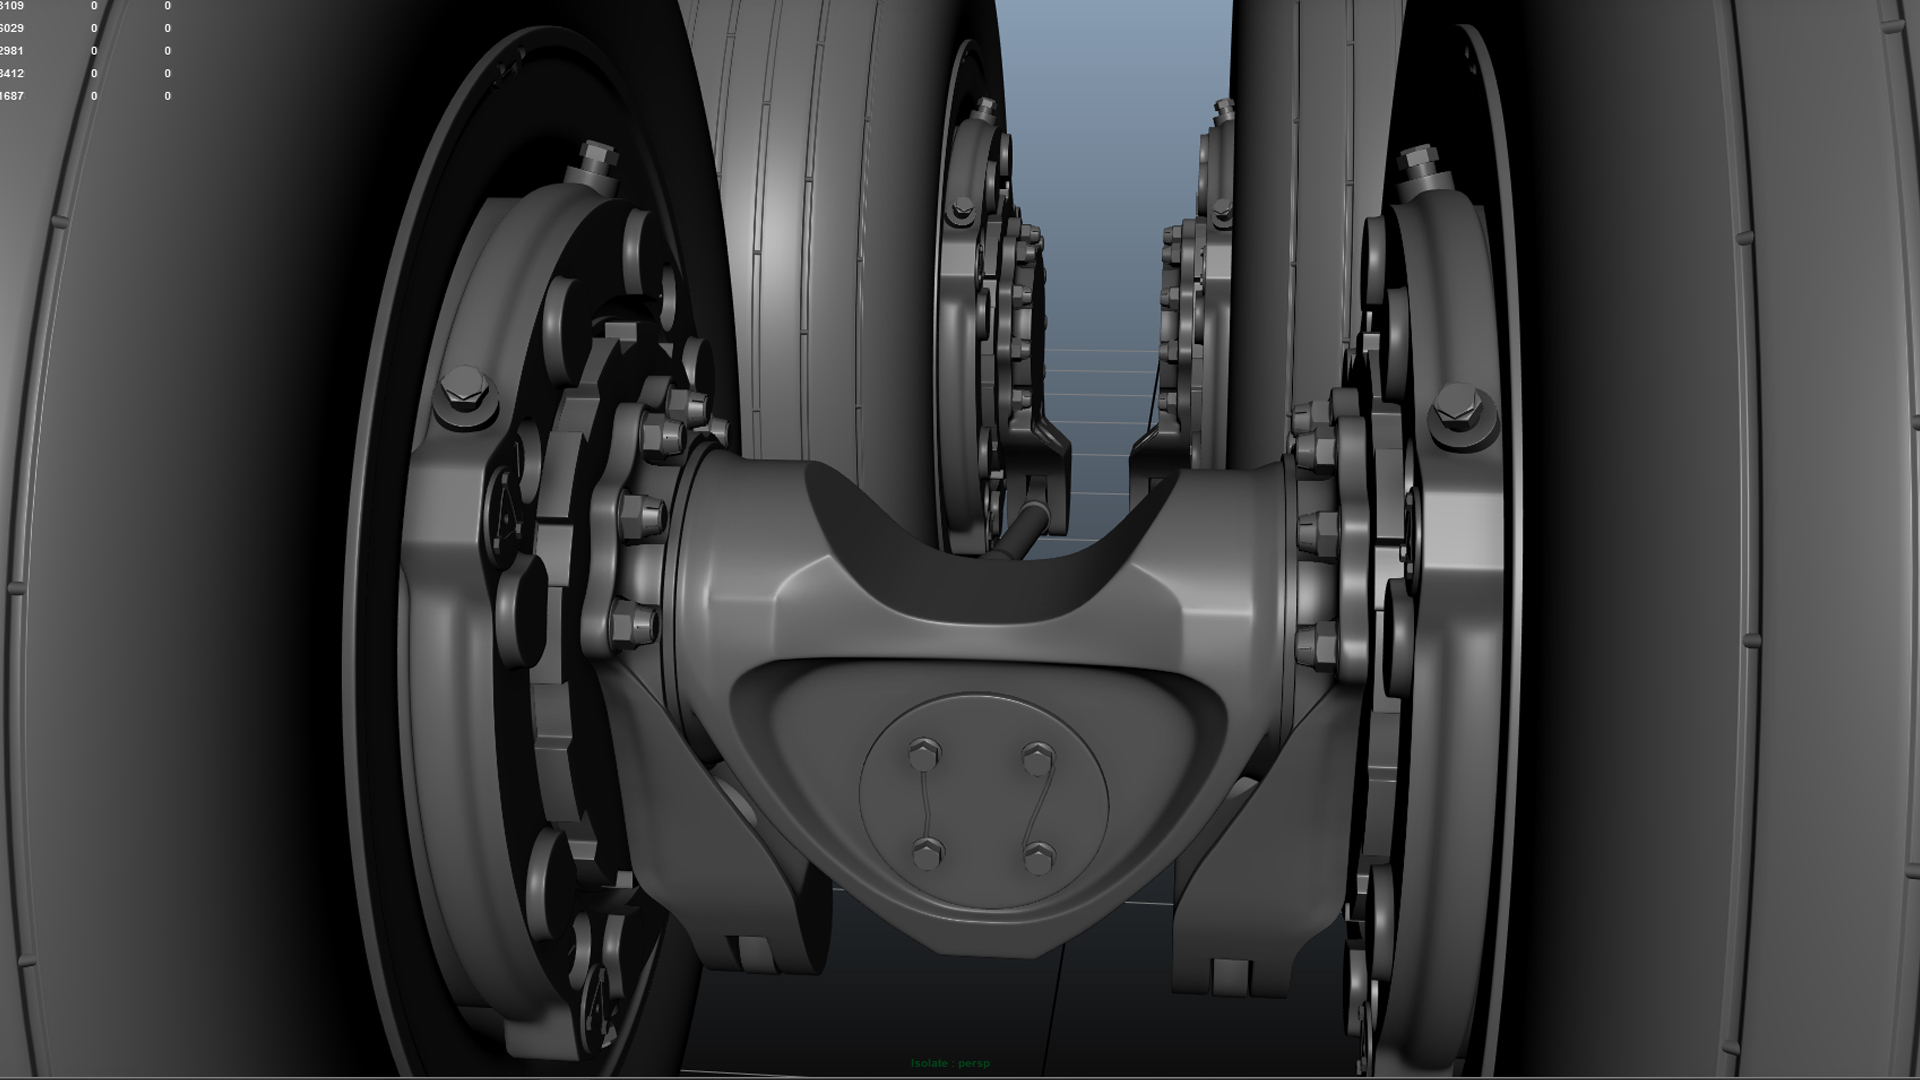
Before my departure, I was looking at different techniques that could help us in the modeling process. Photogrammetry was one of them, I had some experience with it, but it was limited to boulders and other simple objects. This time around it had to be done on a whole another level. To test if it was even possible, I first went to the Dutch aerospace museum “Aviodrome”. The museum had a majestic Boeing 747, and I decided to use its main landing gear as a testbench. After getting rough results in photogrammetry, I understood that it could be done. Soon after I packed all the necessary gear and took my flight to Ukraine.
After landing I was held at the border, and I was nearly sent to the interrogation room, due to unfortunate tensions between Ukraine and Russia at that time. It’s been only 2.5 years since the revolution happened in the country, so it was understandable. After providing them my proof of The Netherlands being my home country, I was granted the permission to enter the country.
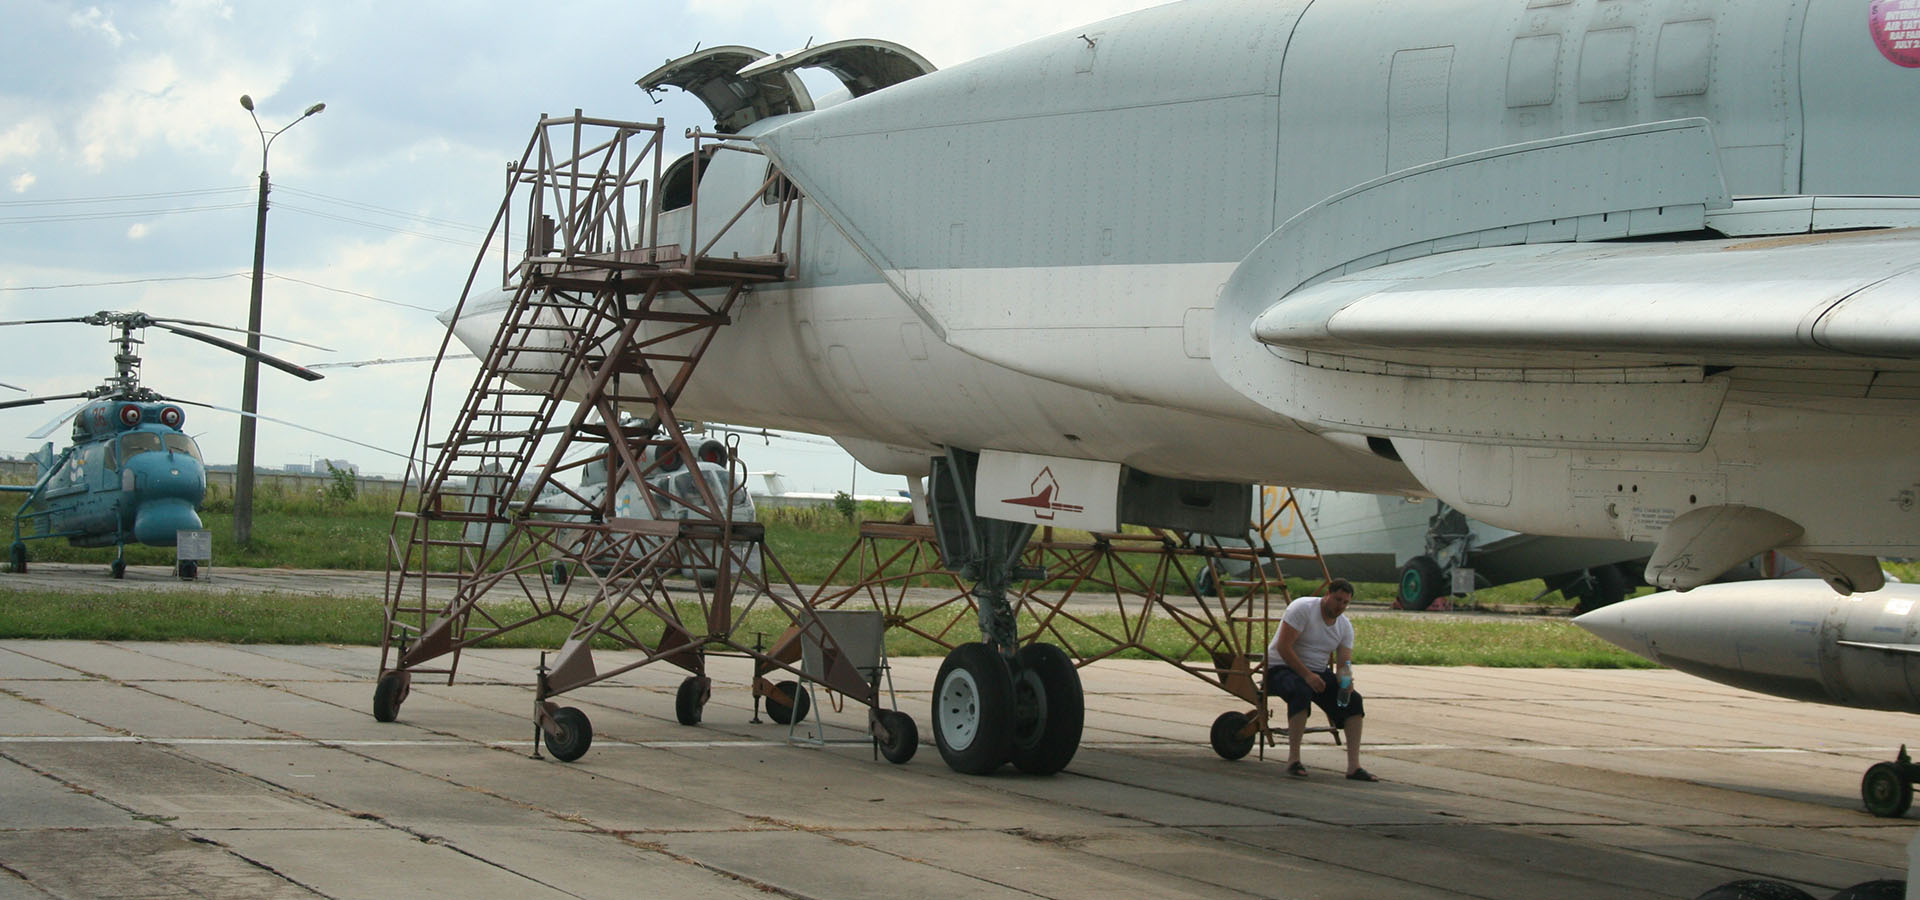
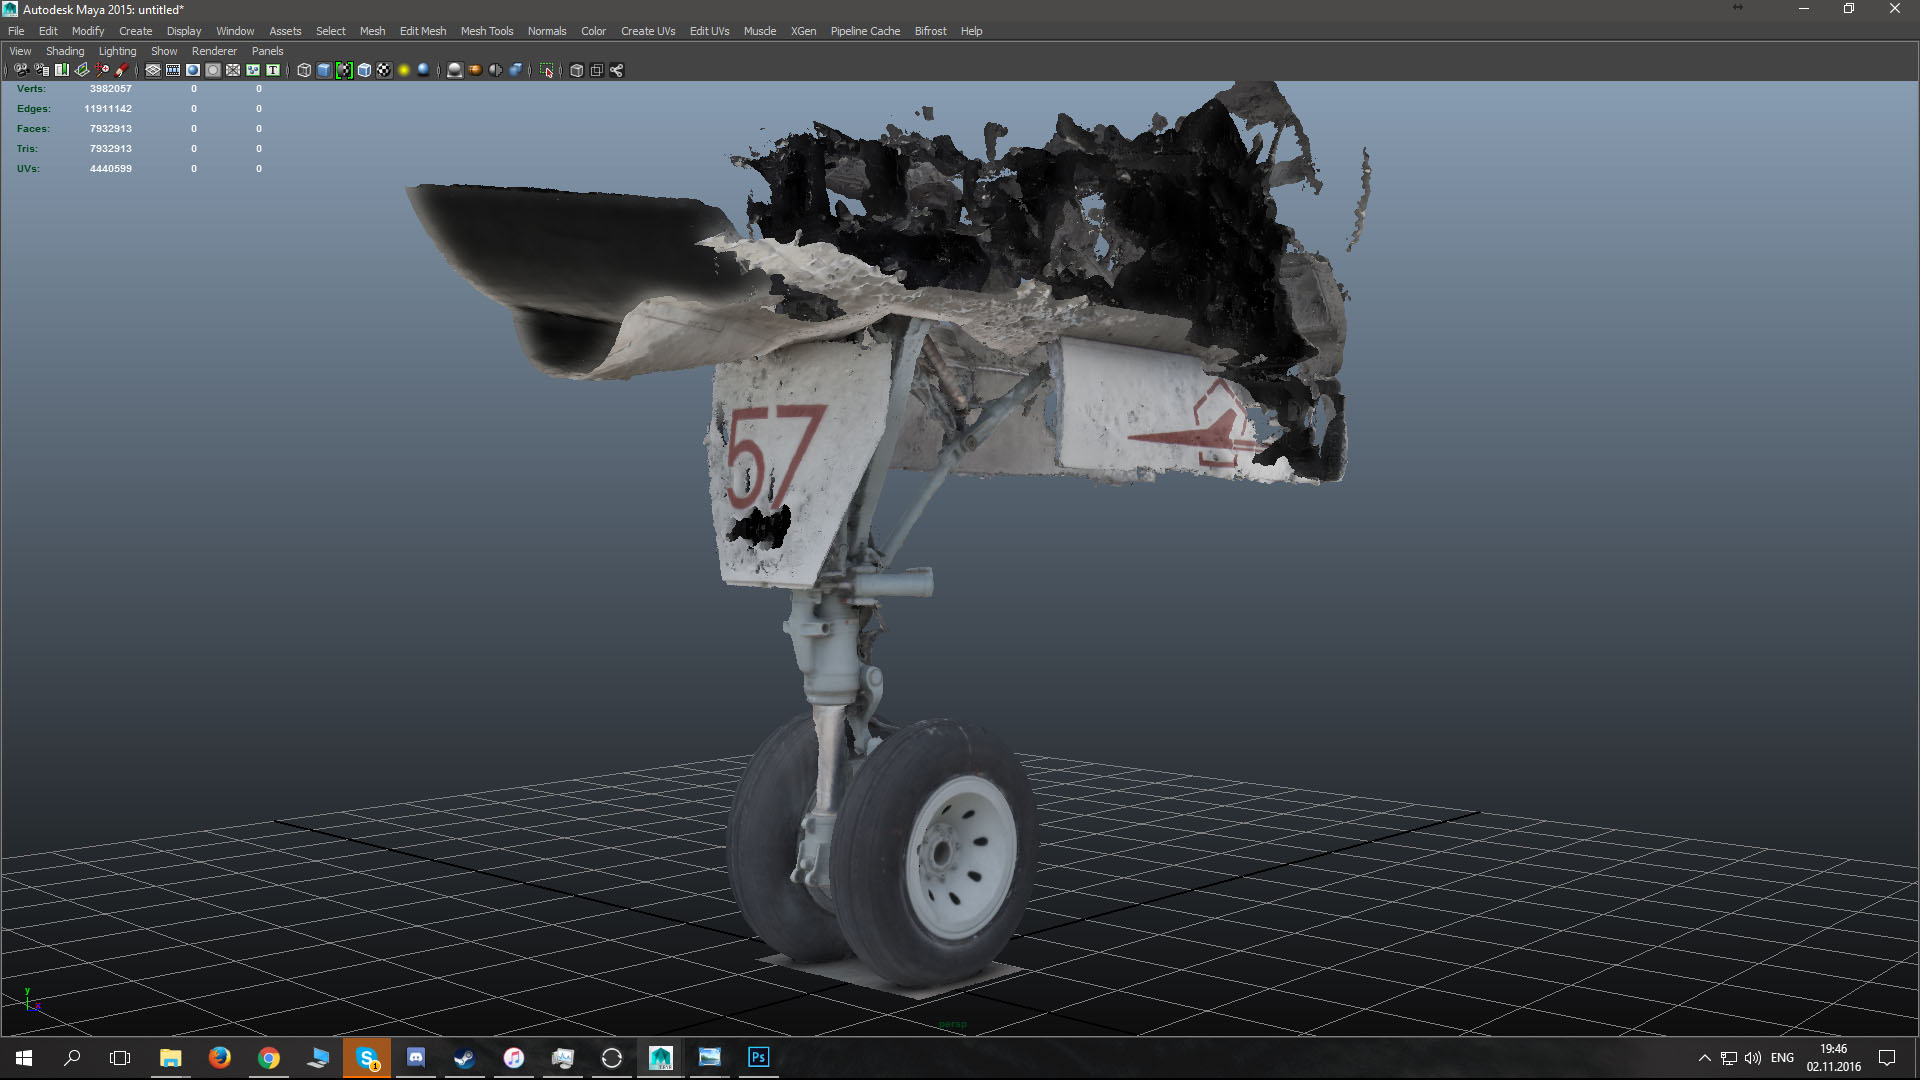
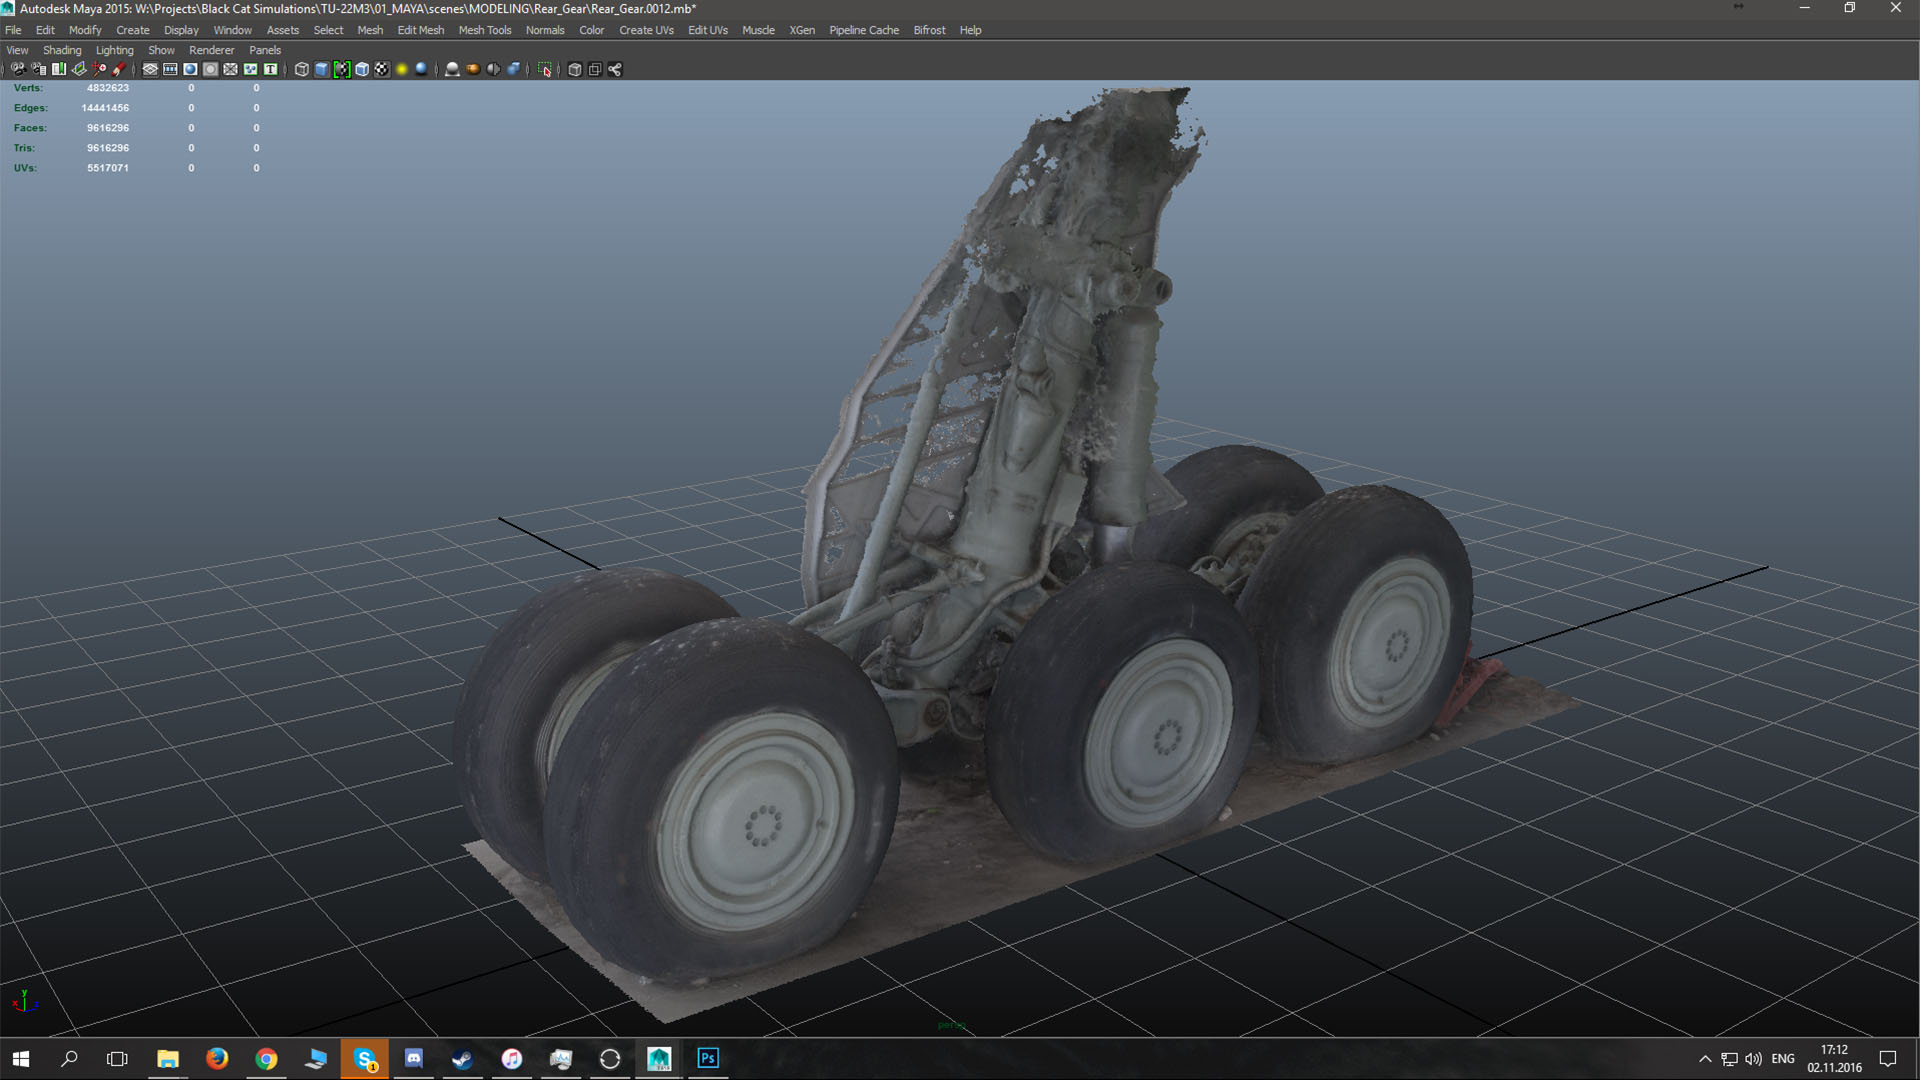
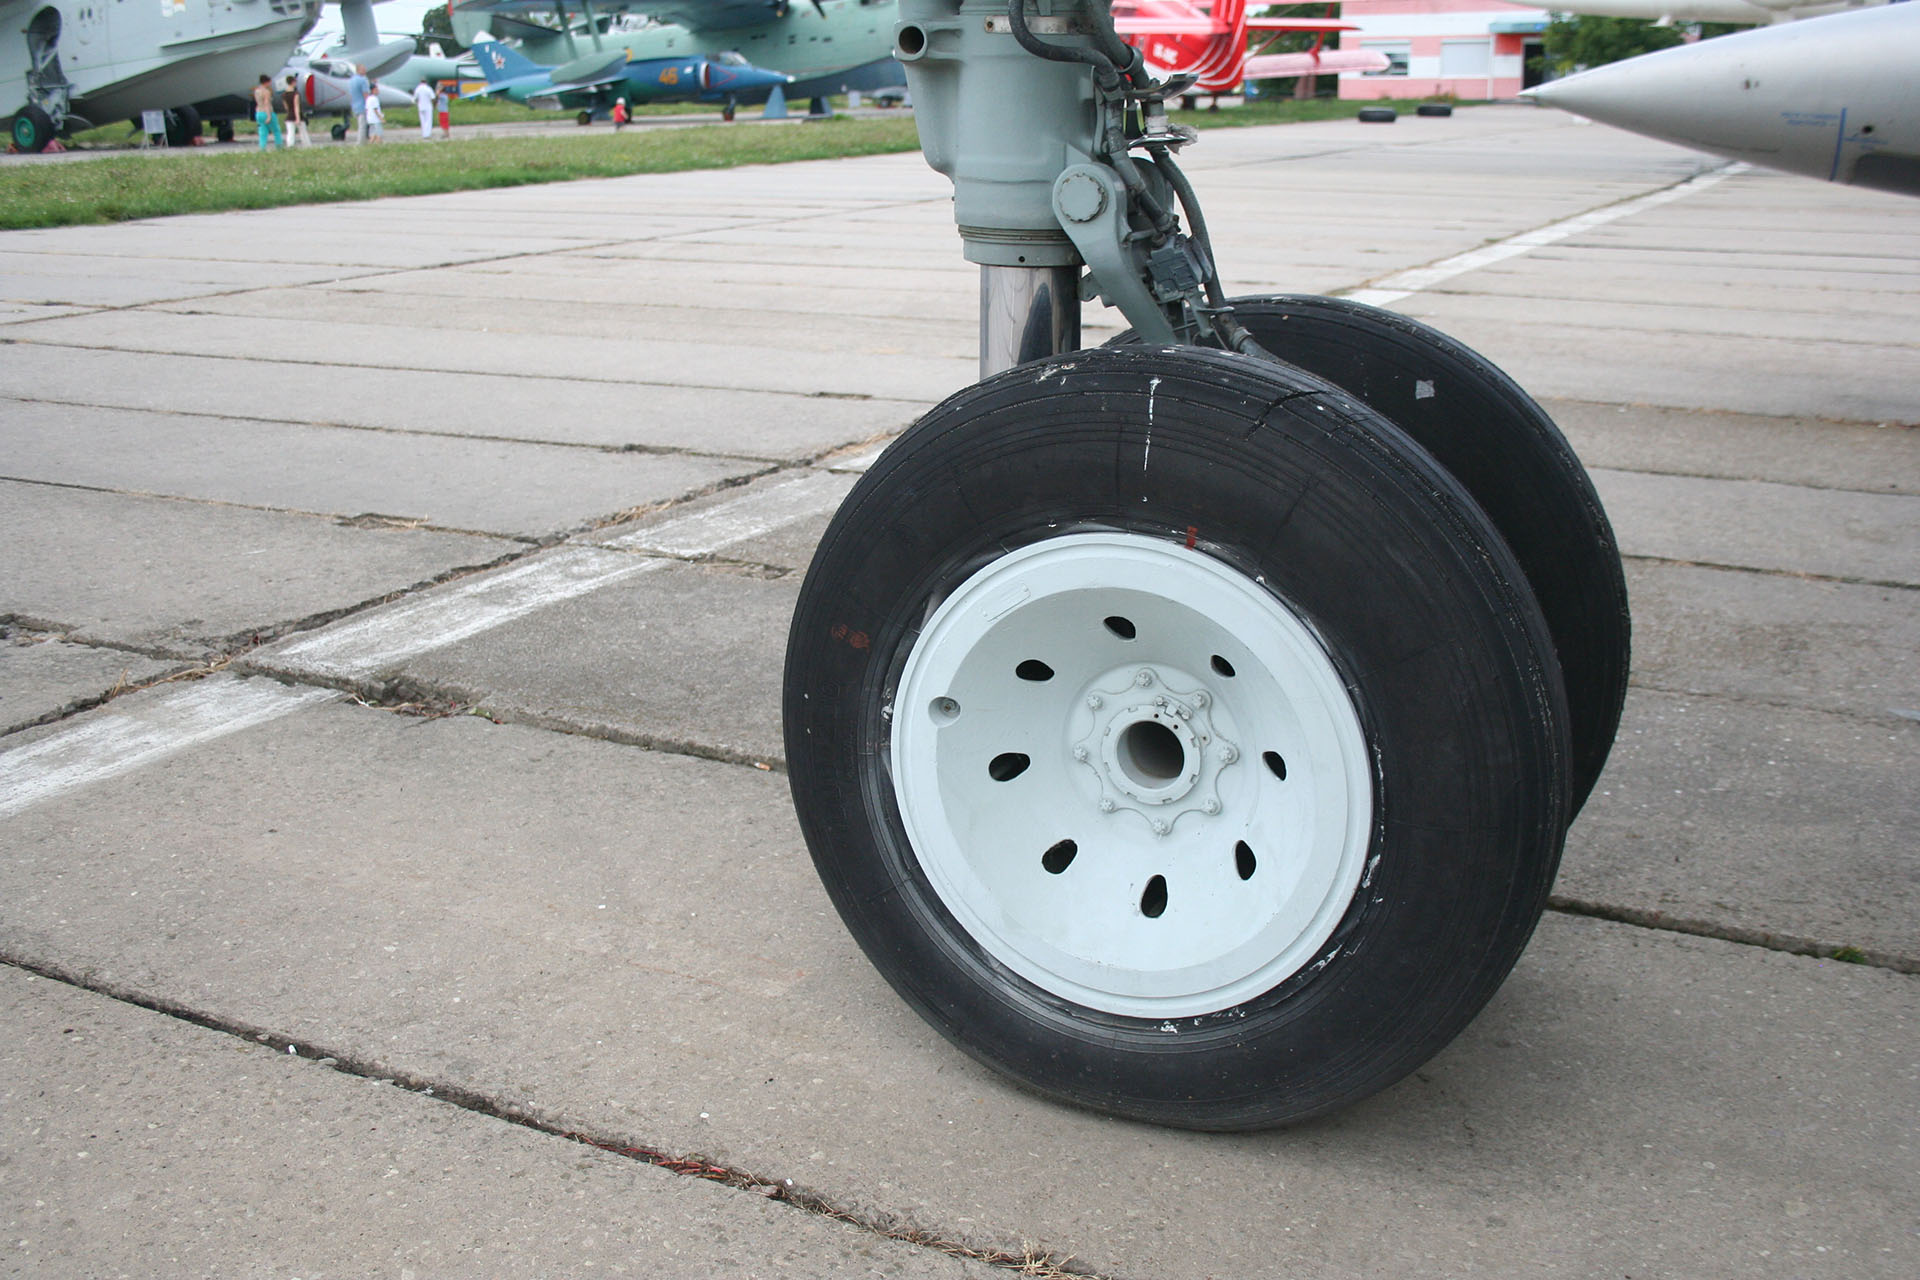
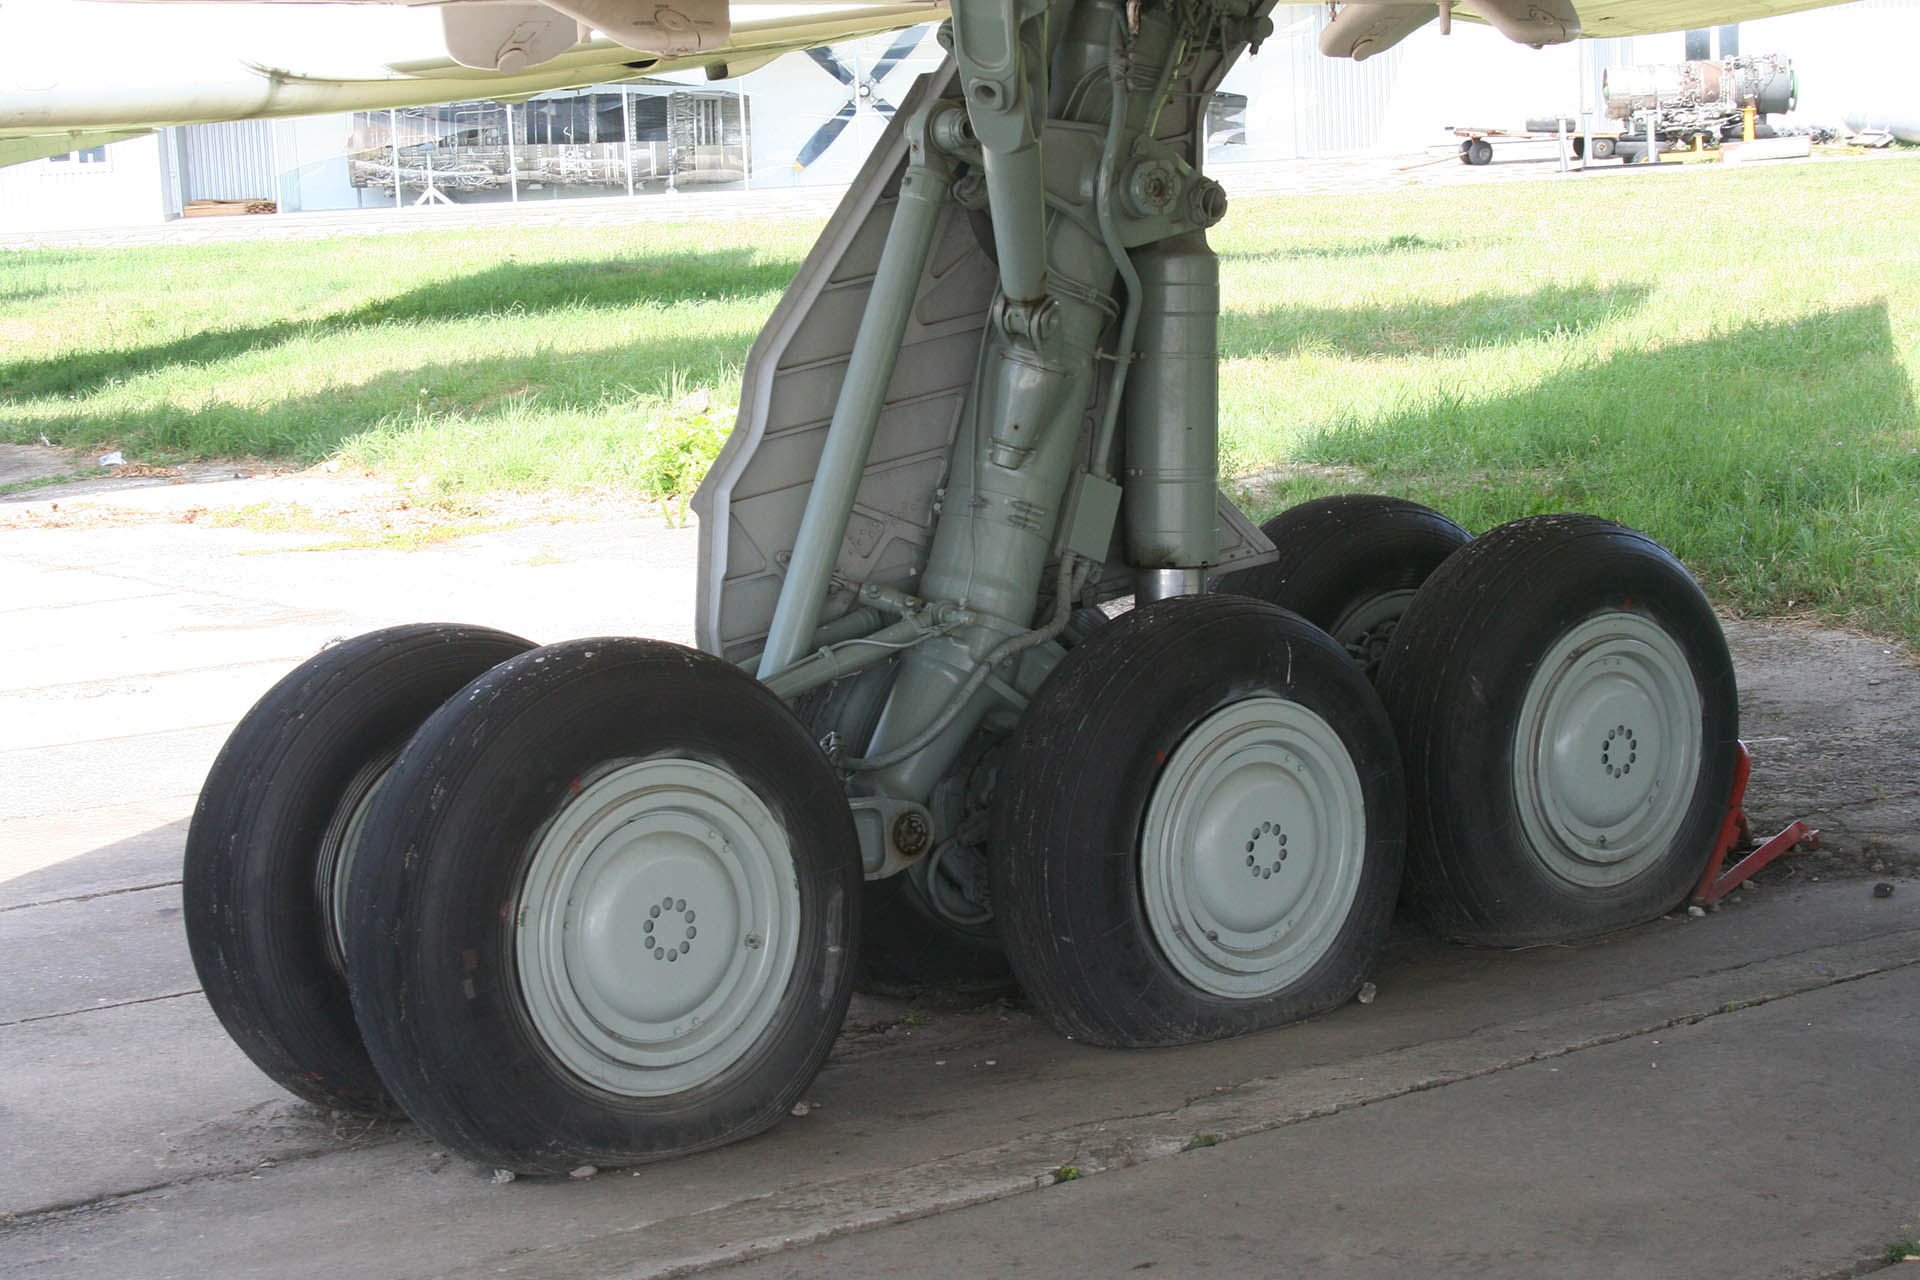
My schedule was tight as I would stay only three full days in the country. The next day I went straight to the museum, to familiarize myself with the exterior of the plane. I was positively surprised by the plane’s beauty and good condition. It was also the day when I began to shoot front and rear landing gears for photogrammetry. After the first day, I was very excited for the next one, as we would get full access to the front and rear cockpits of the plane.
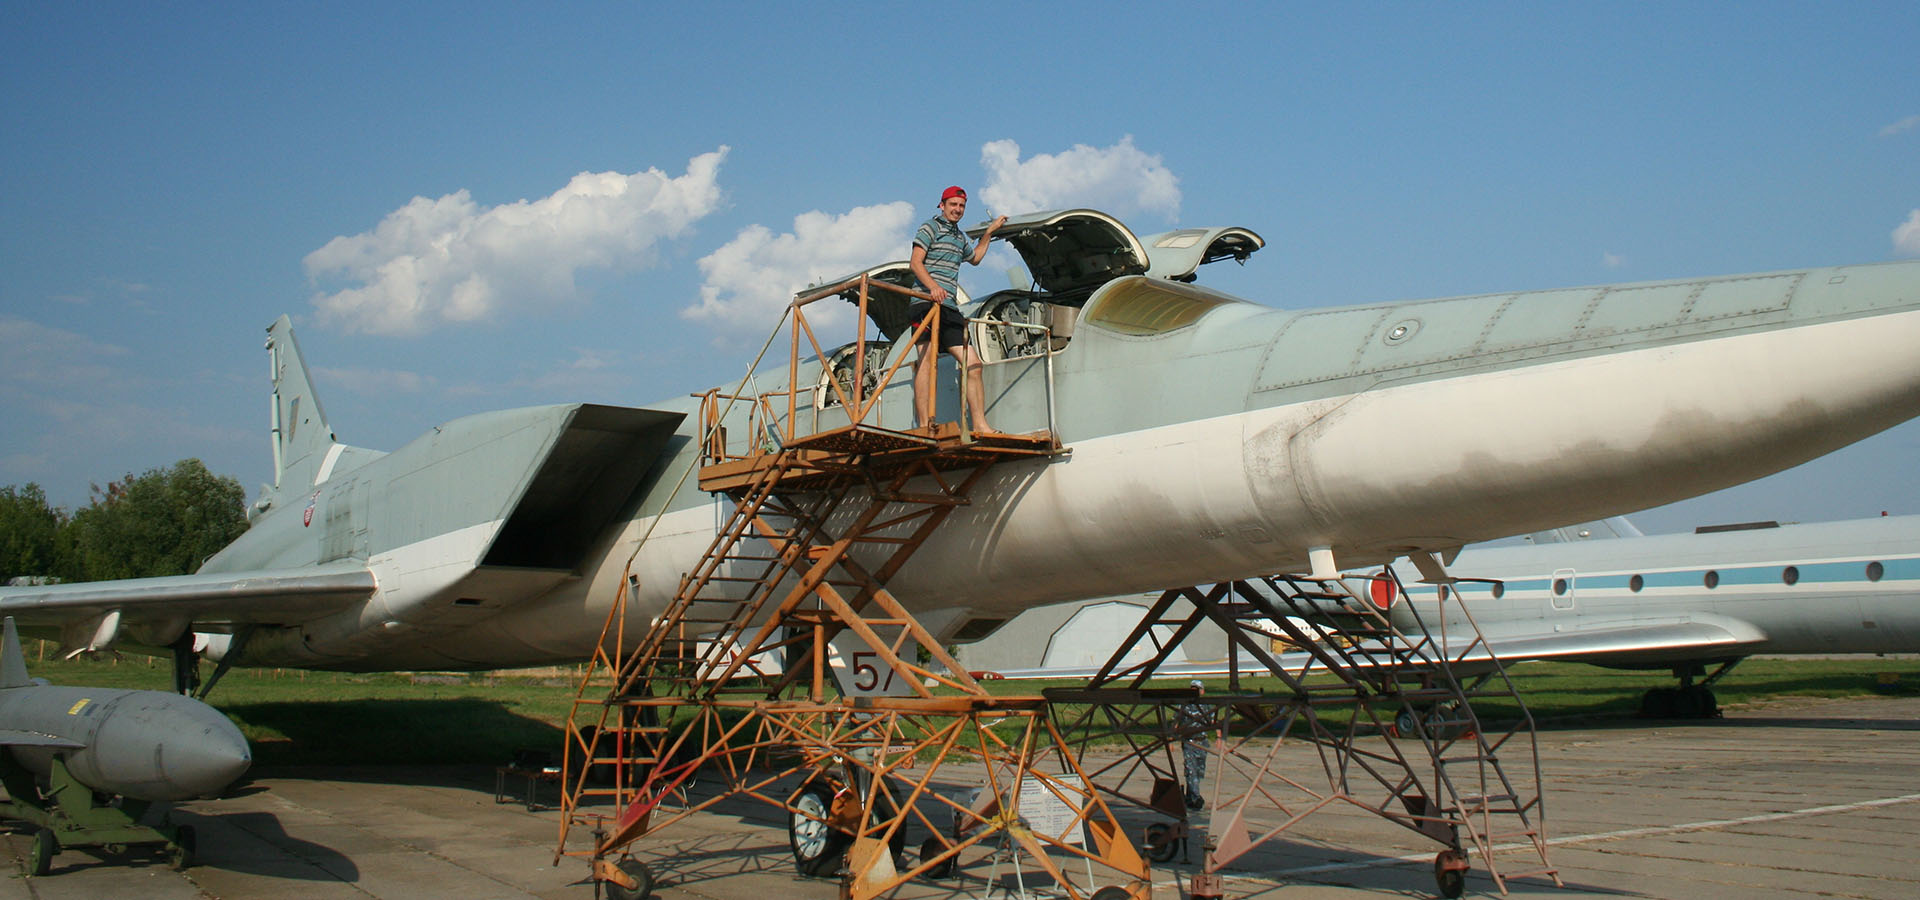
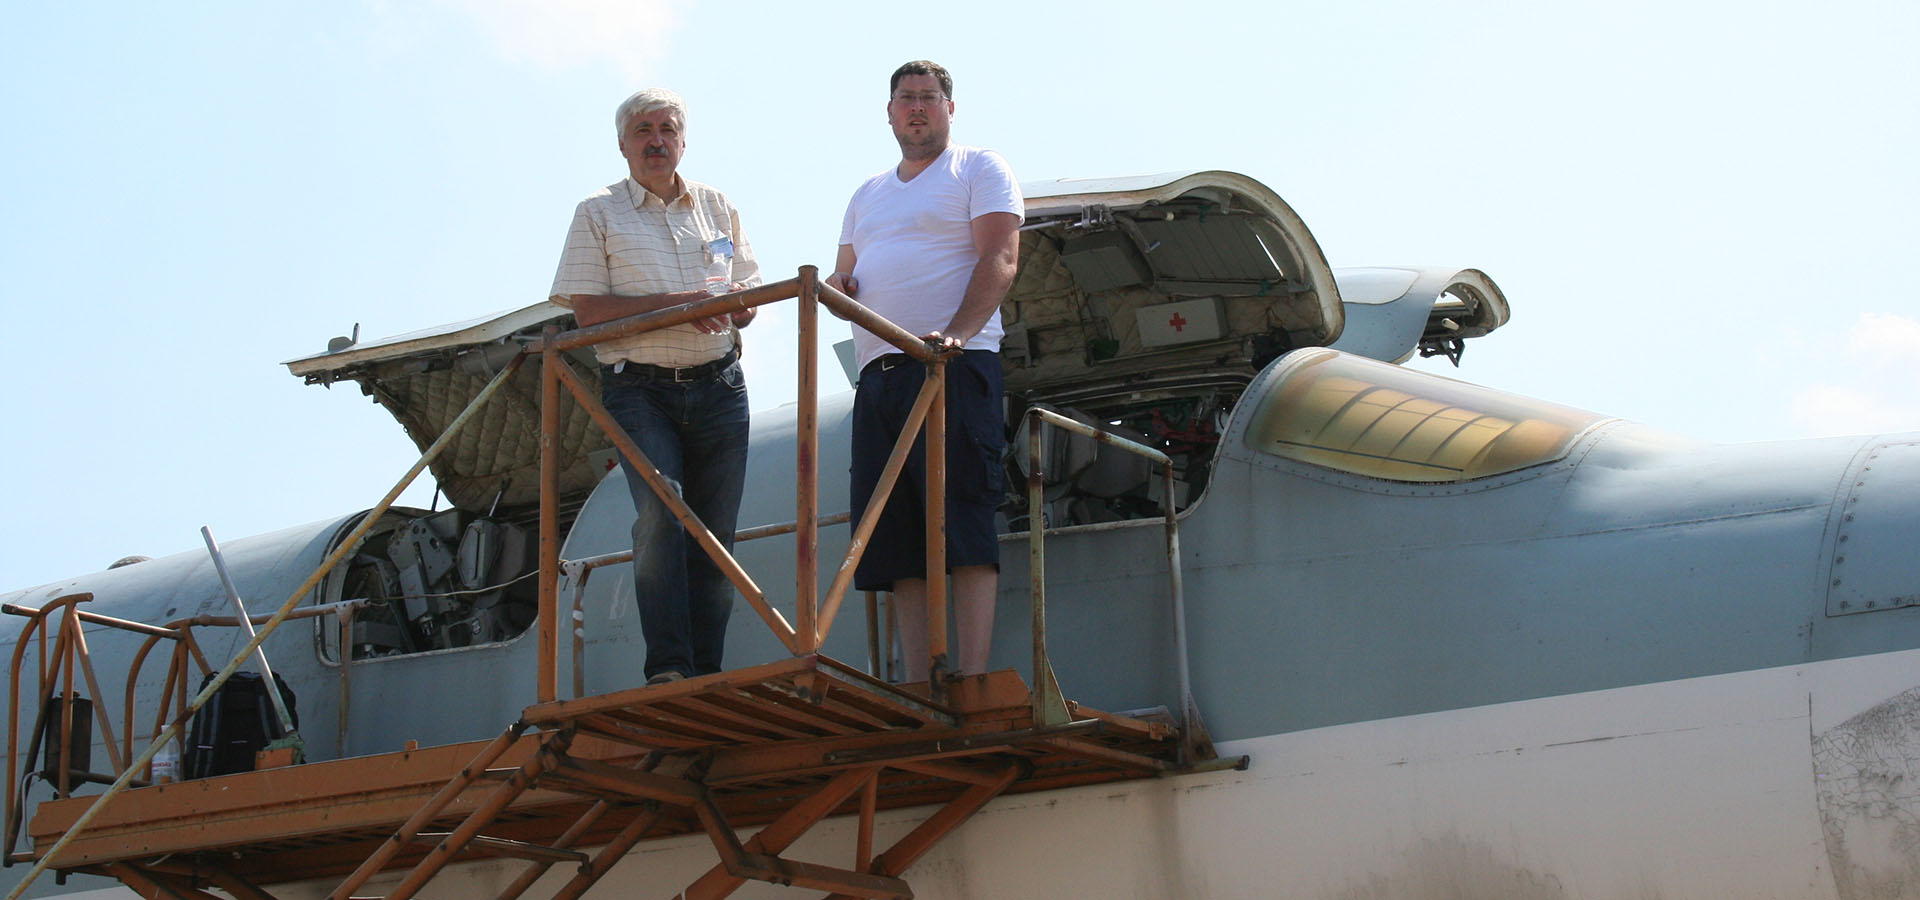
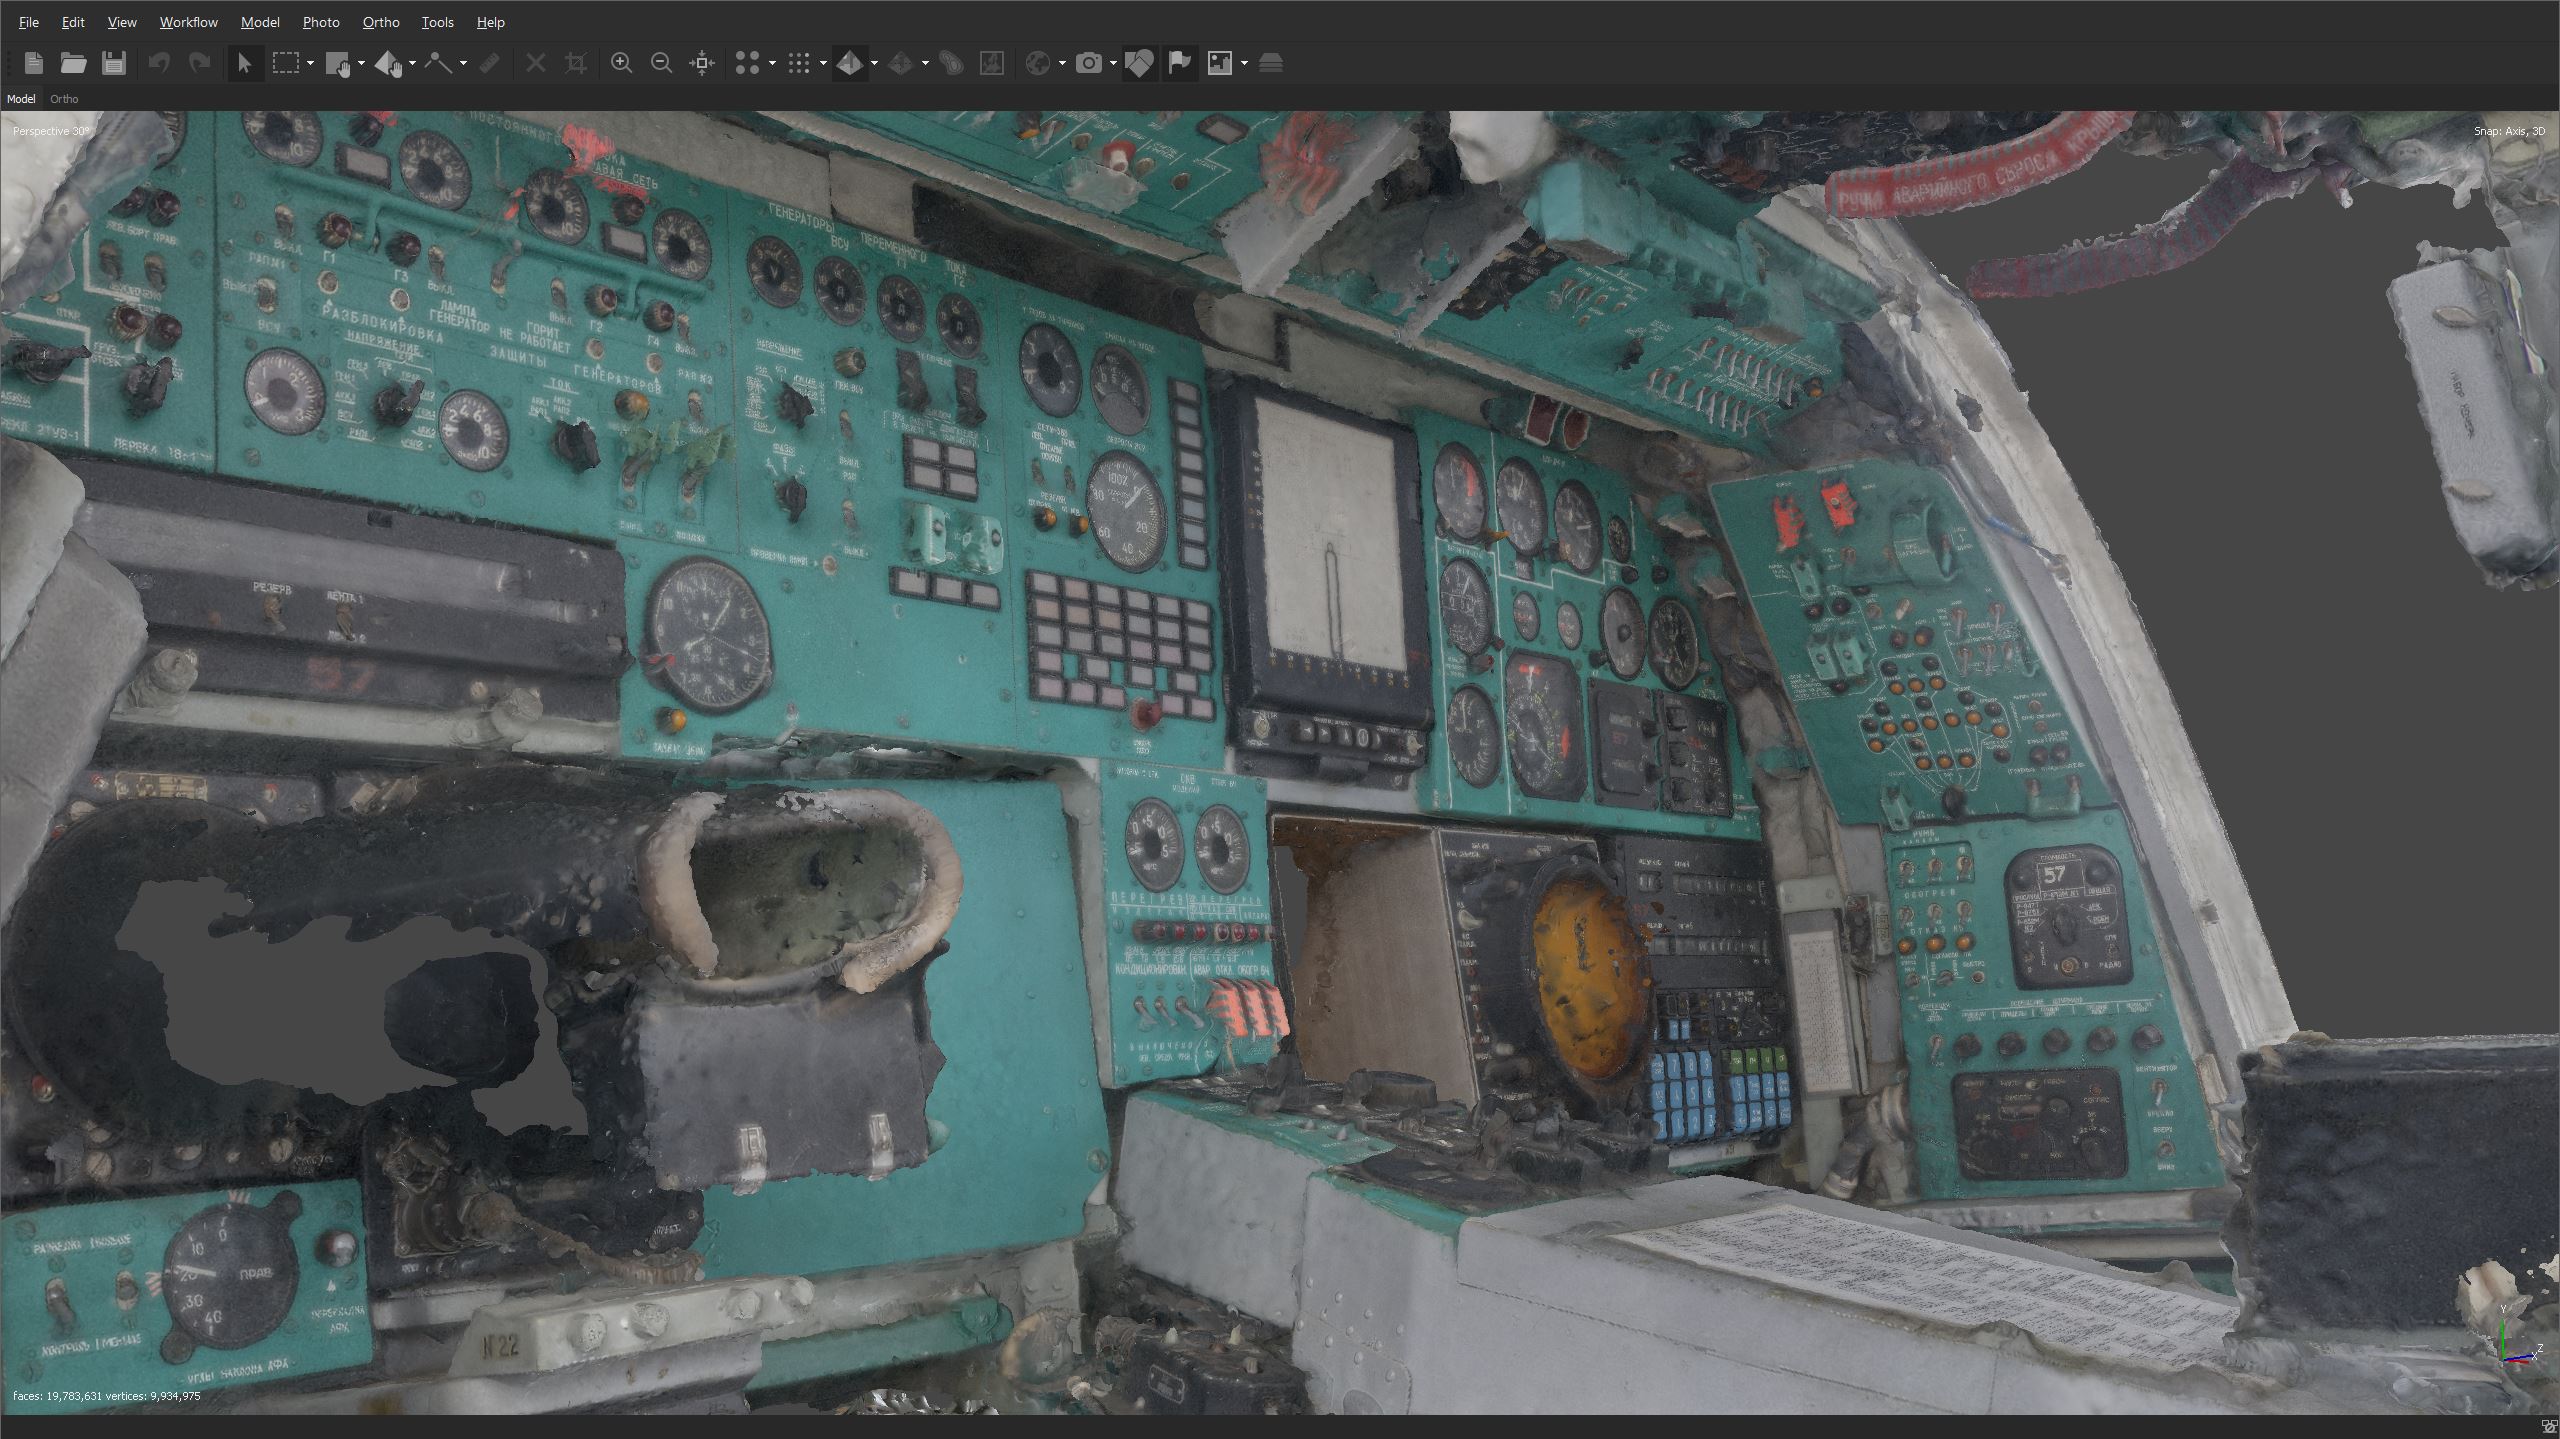
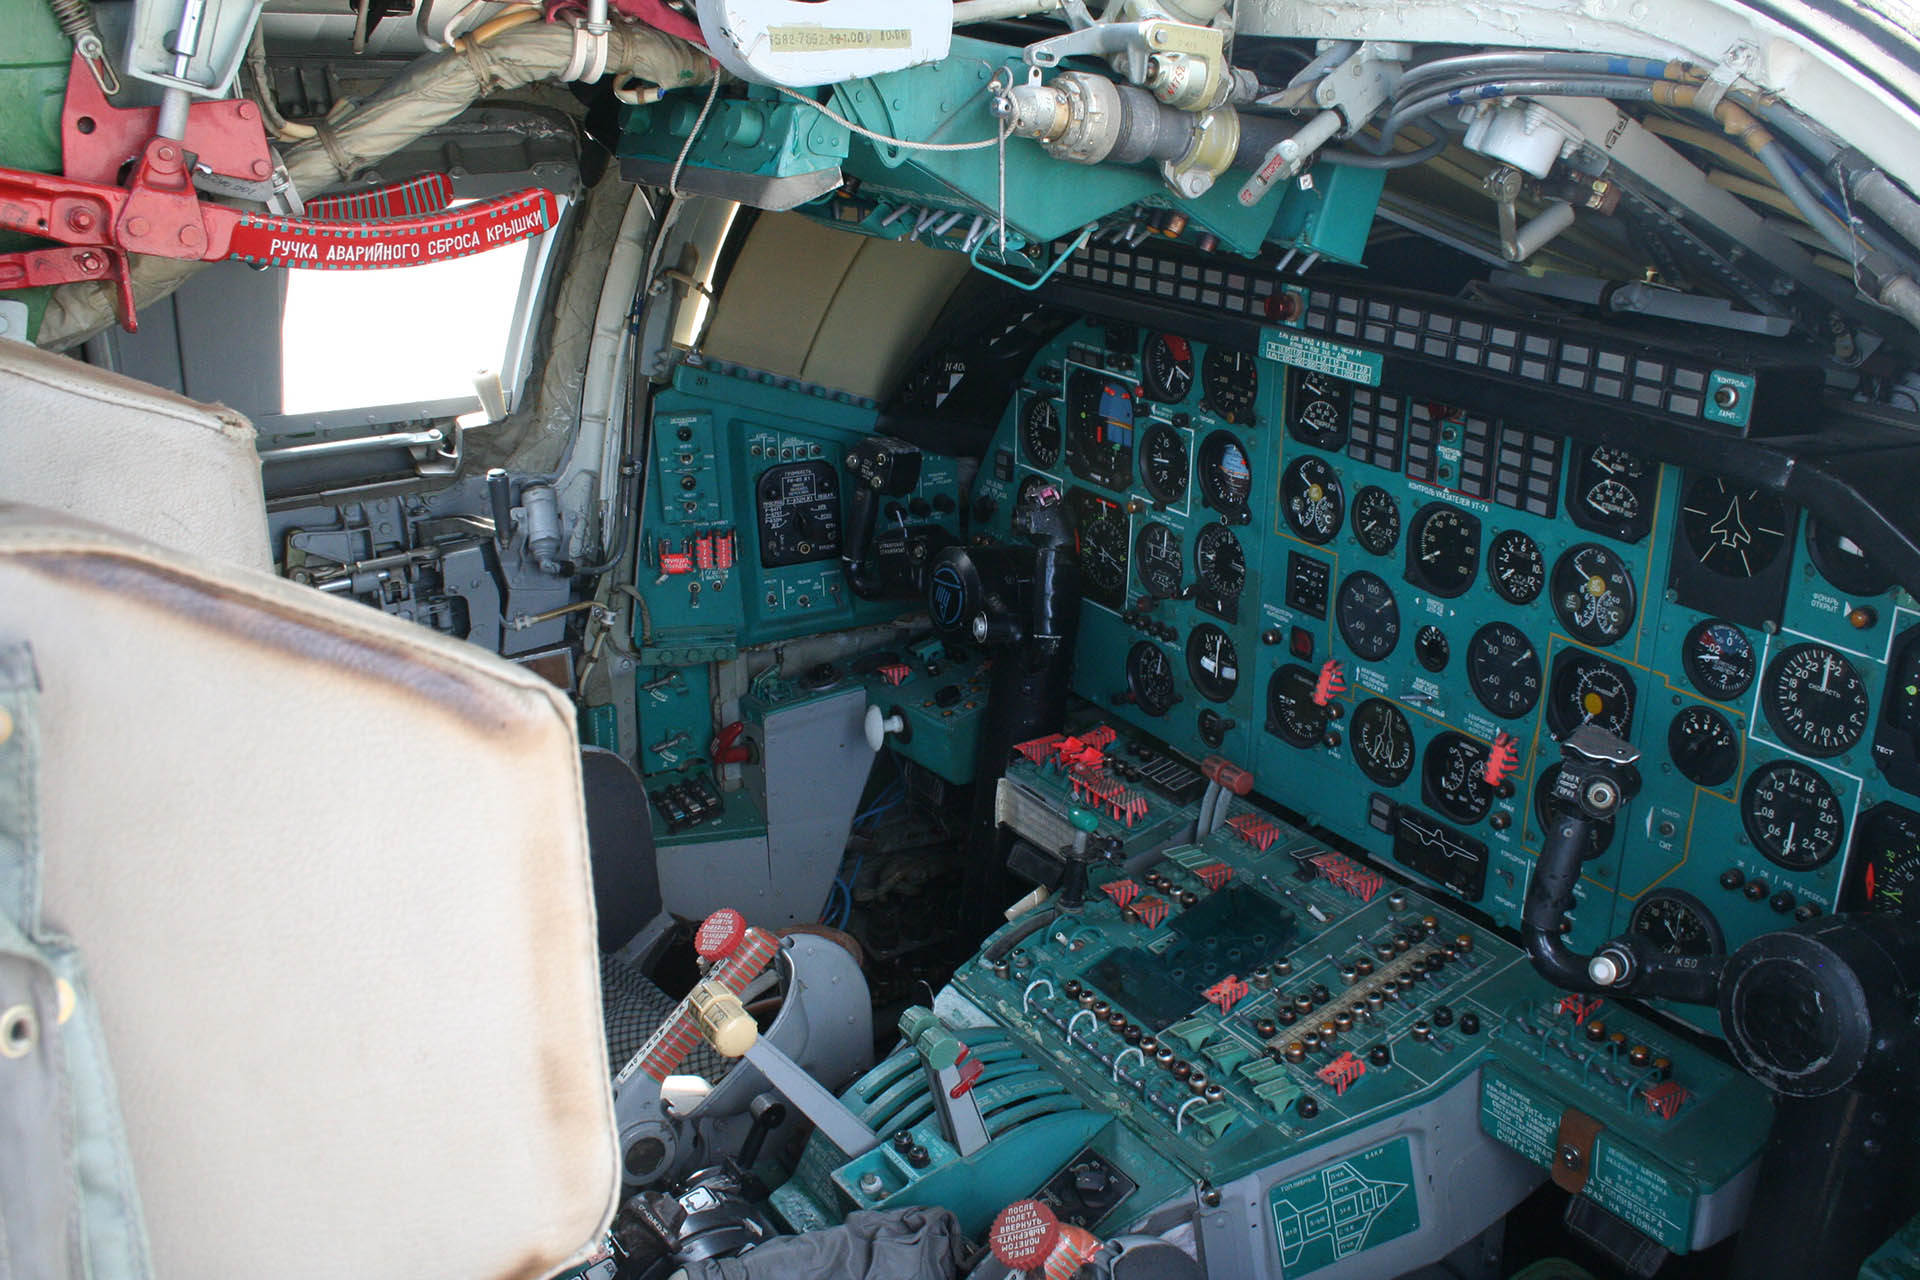
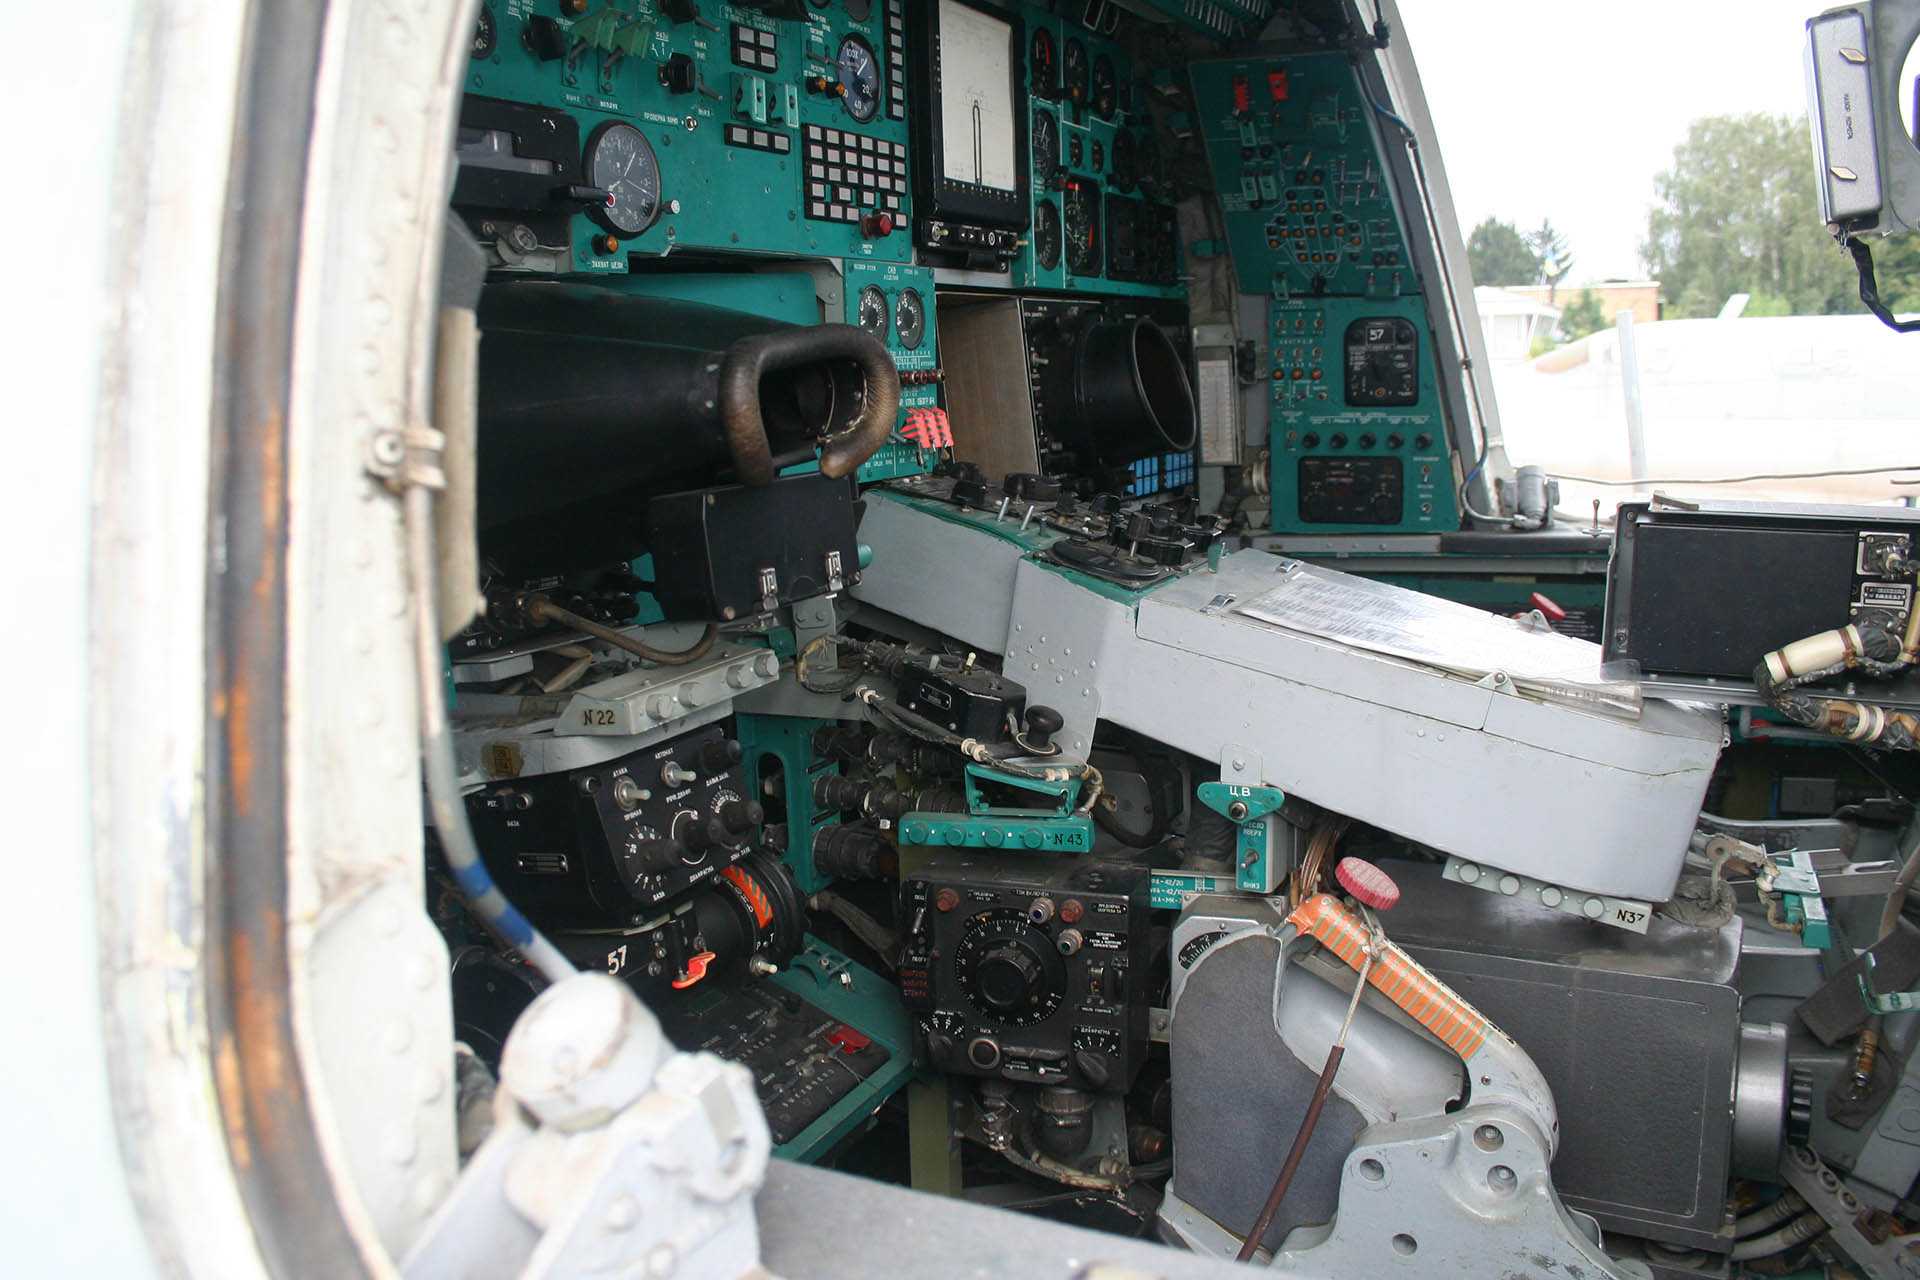
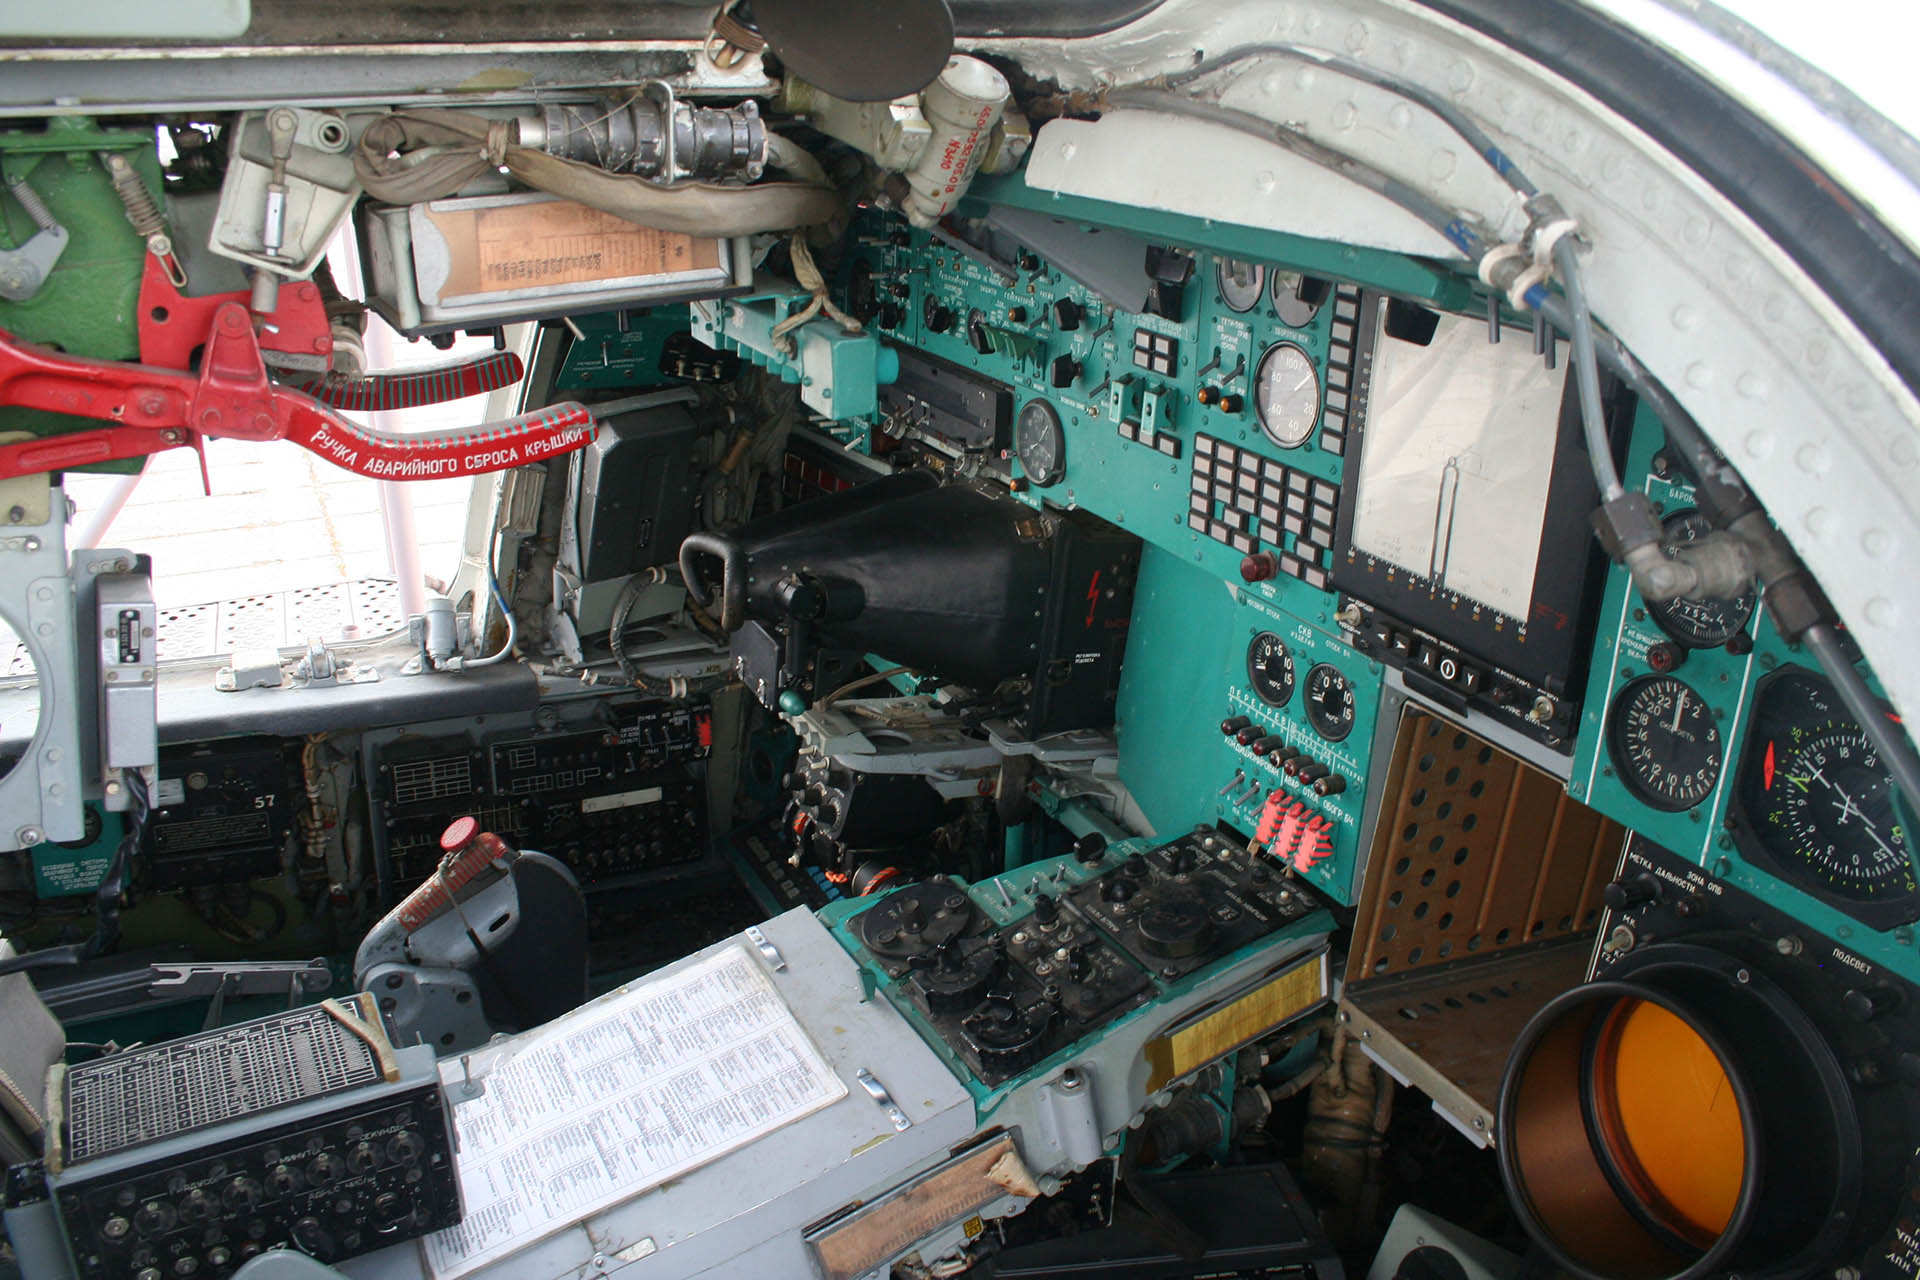
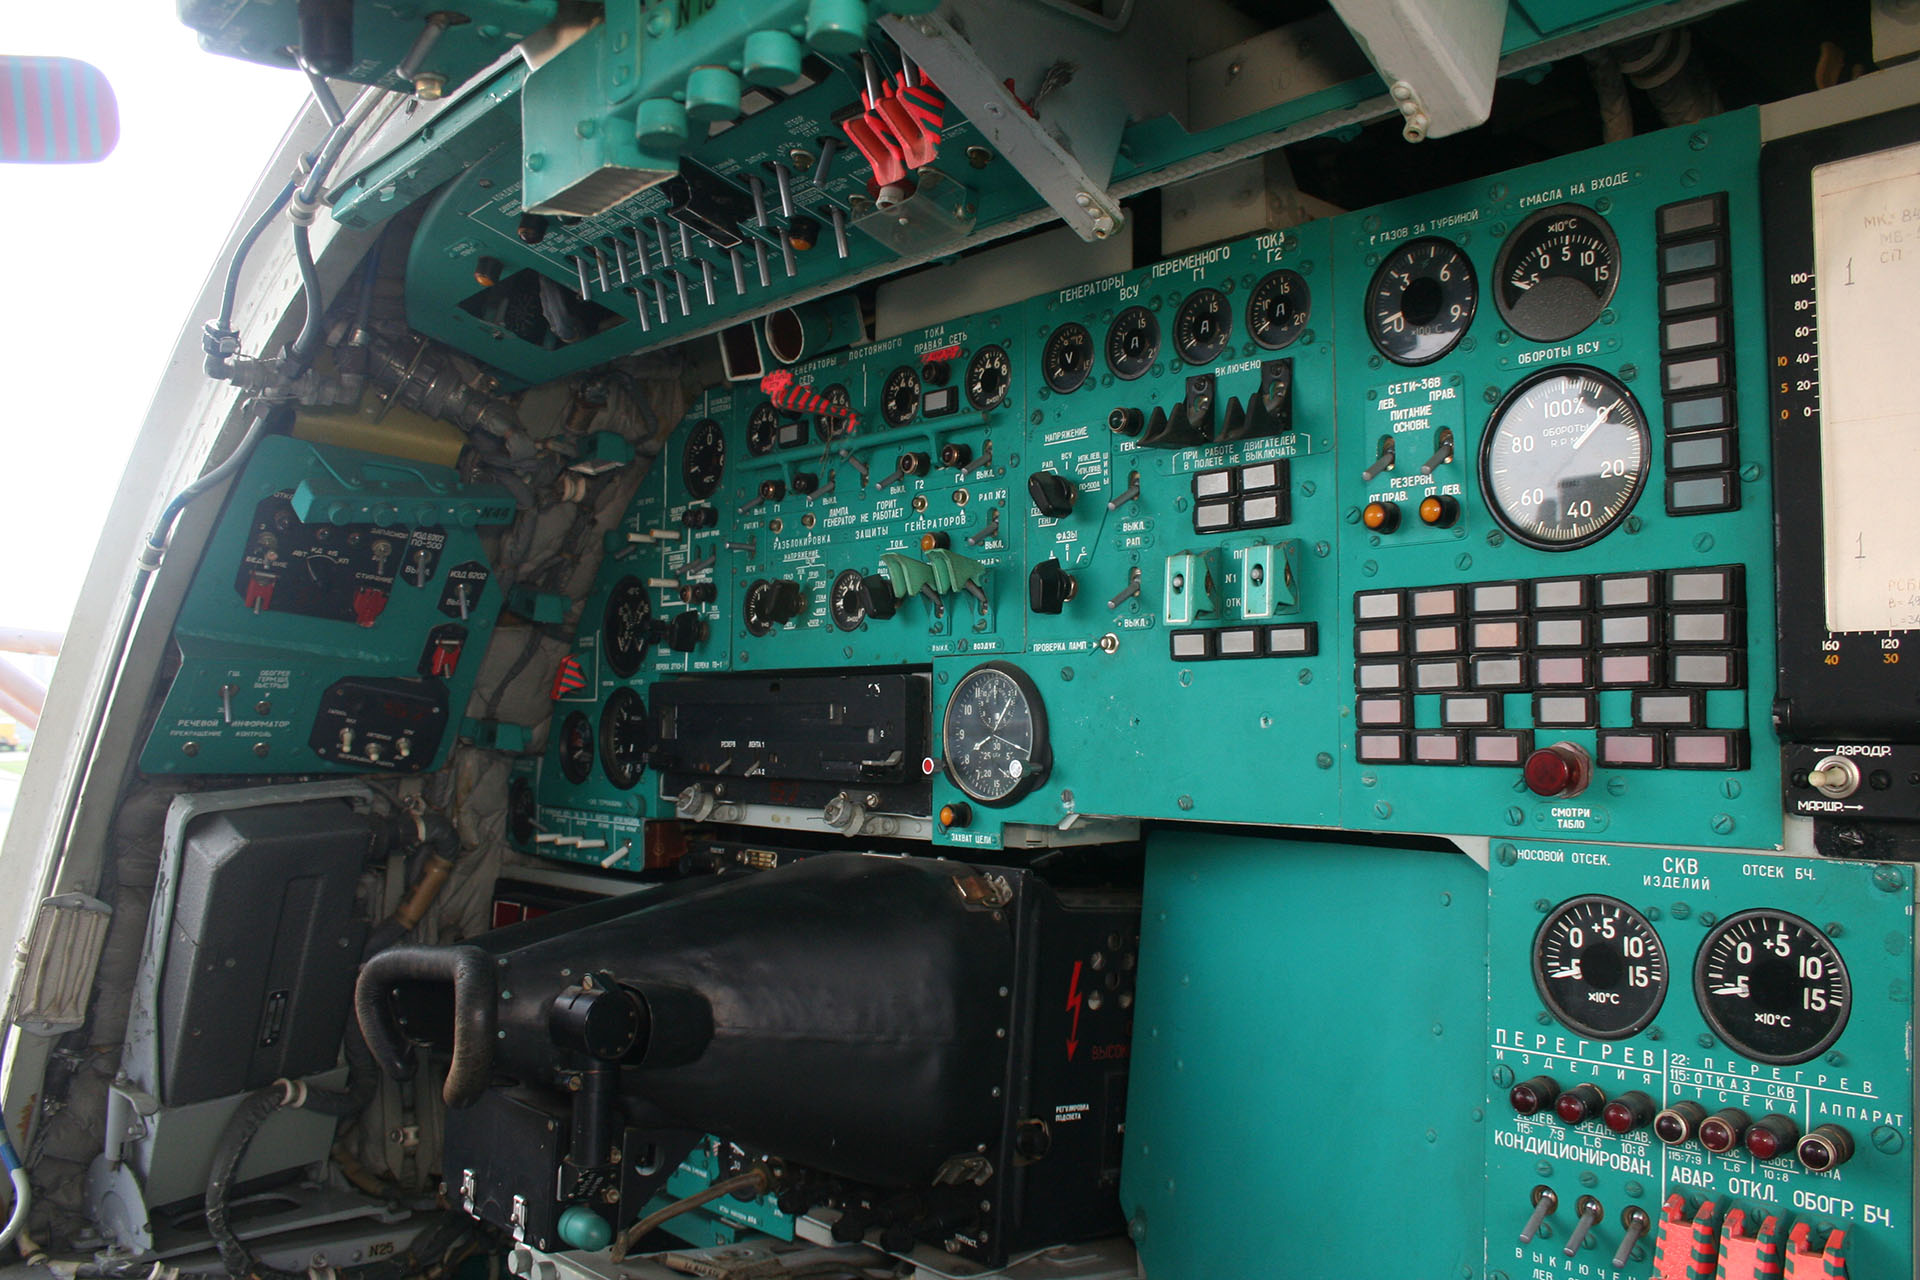
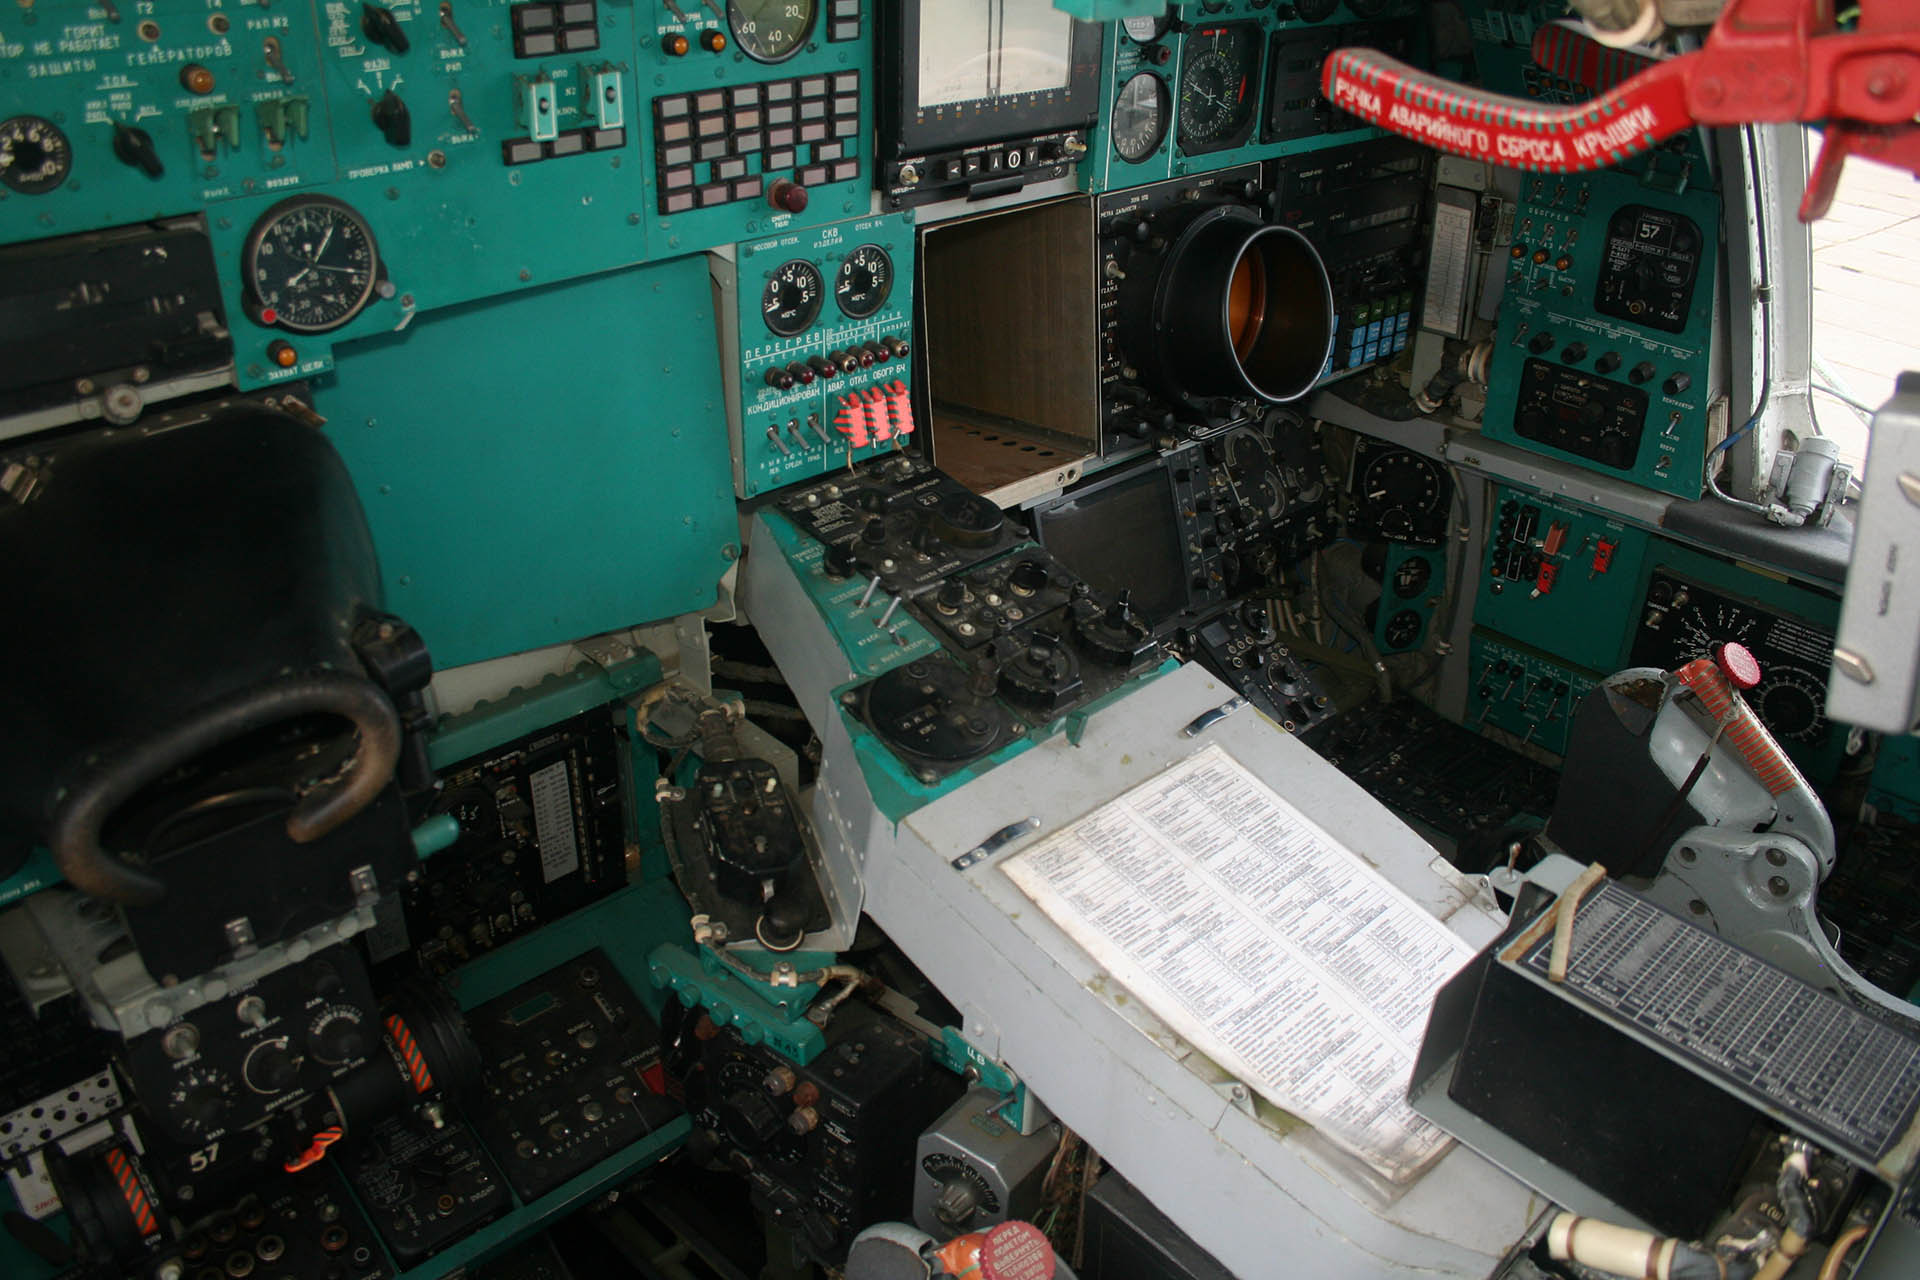
Upon arrival at the museum the next morning – we were amazed by the sight! Tall stairs were standing and waiting for us, on both sides of the plane. They were placed there – just for two of us. It felt like a real privilege! After climbing into the first cockpit I was overwhelmed by the amount of gauges, buttons, and switches, so many of them!
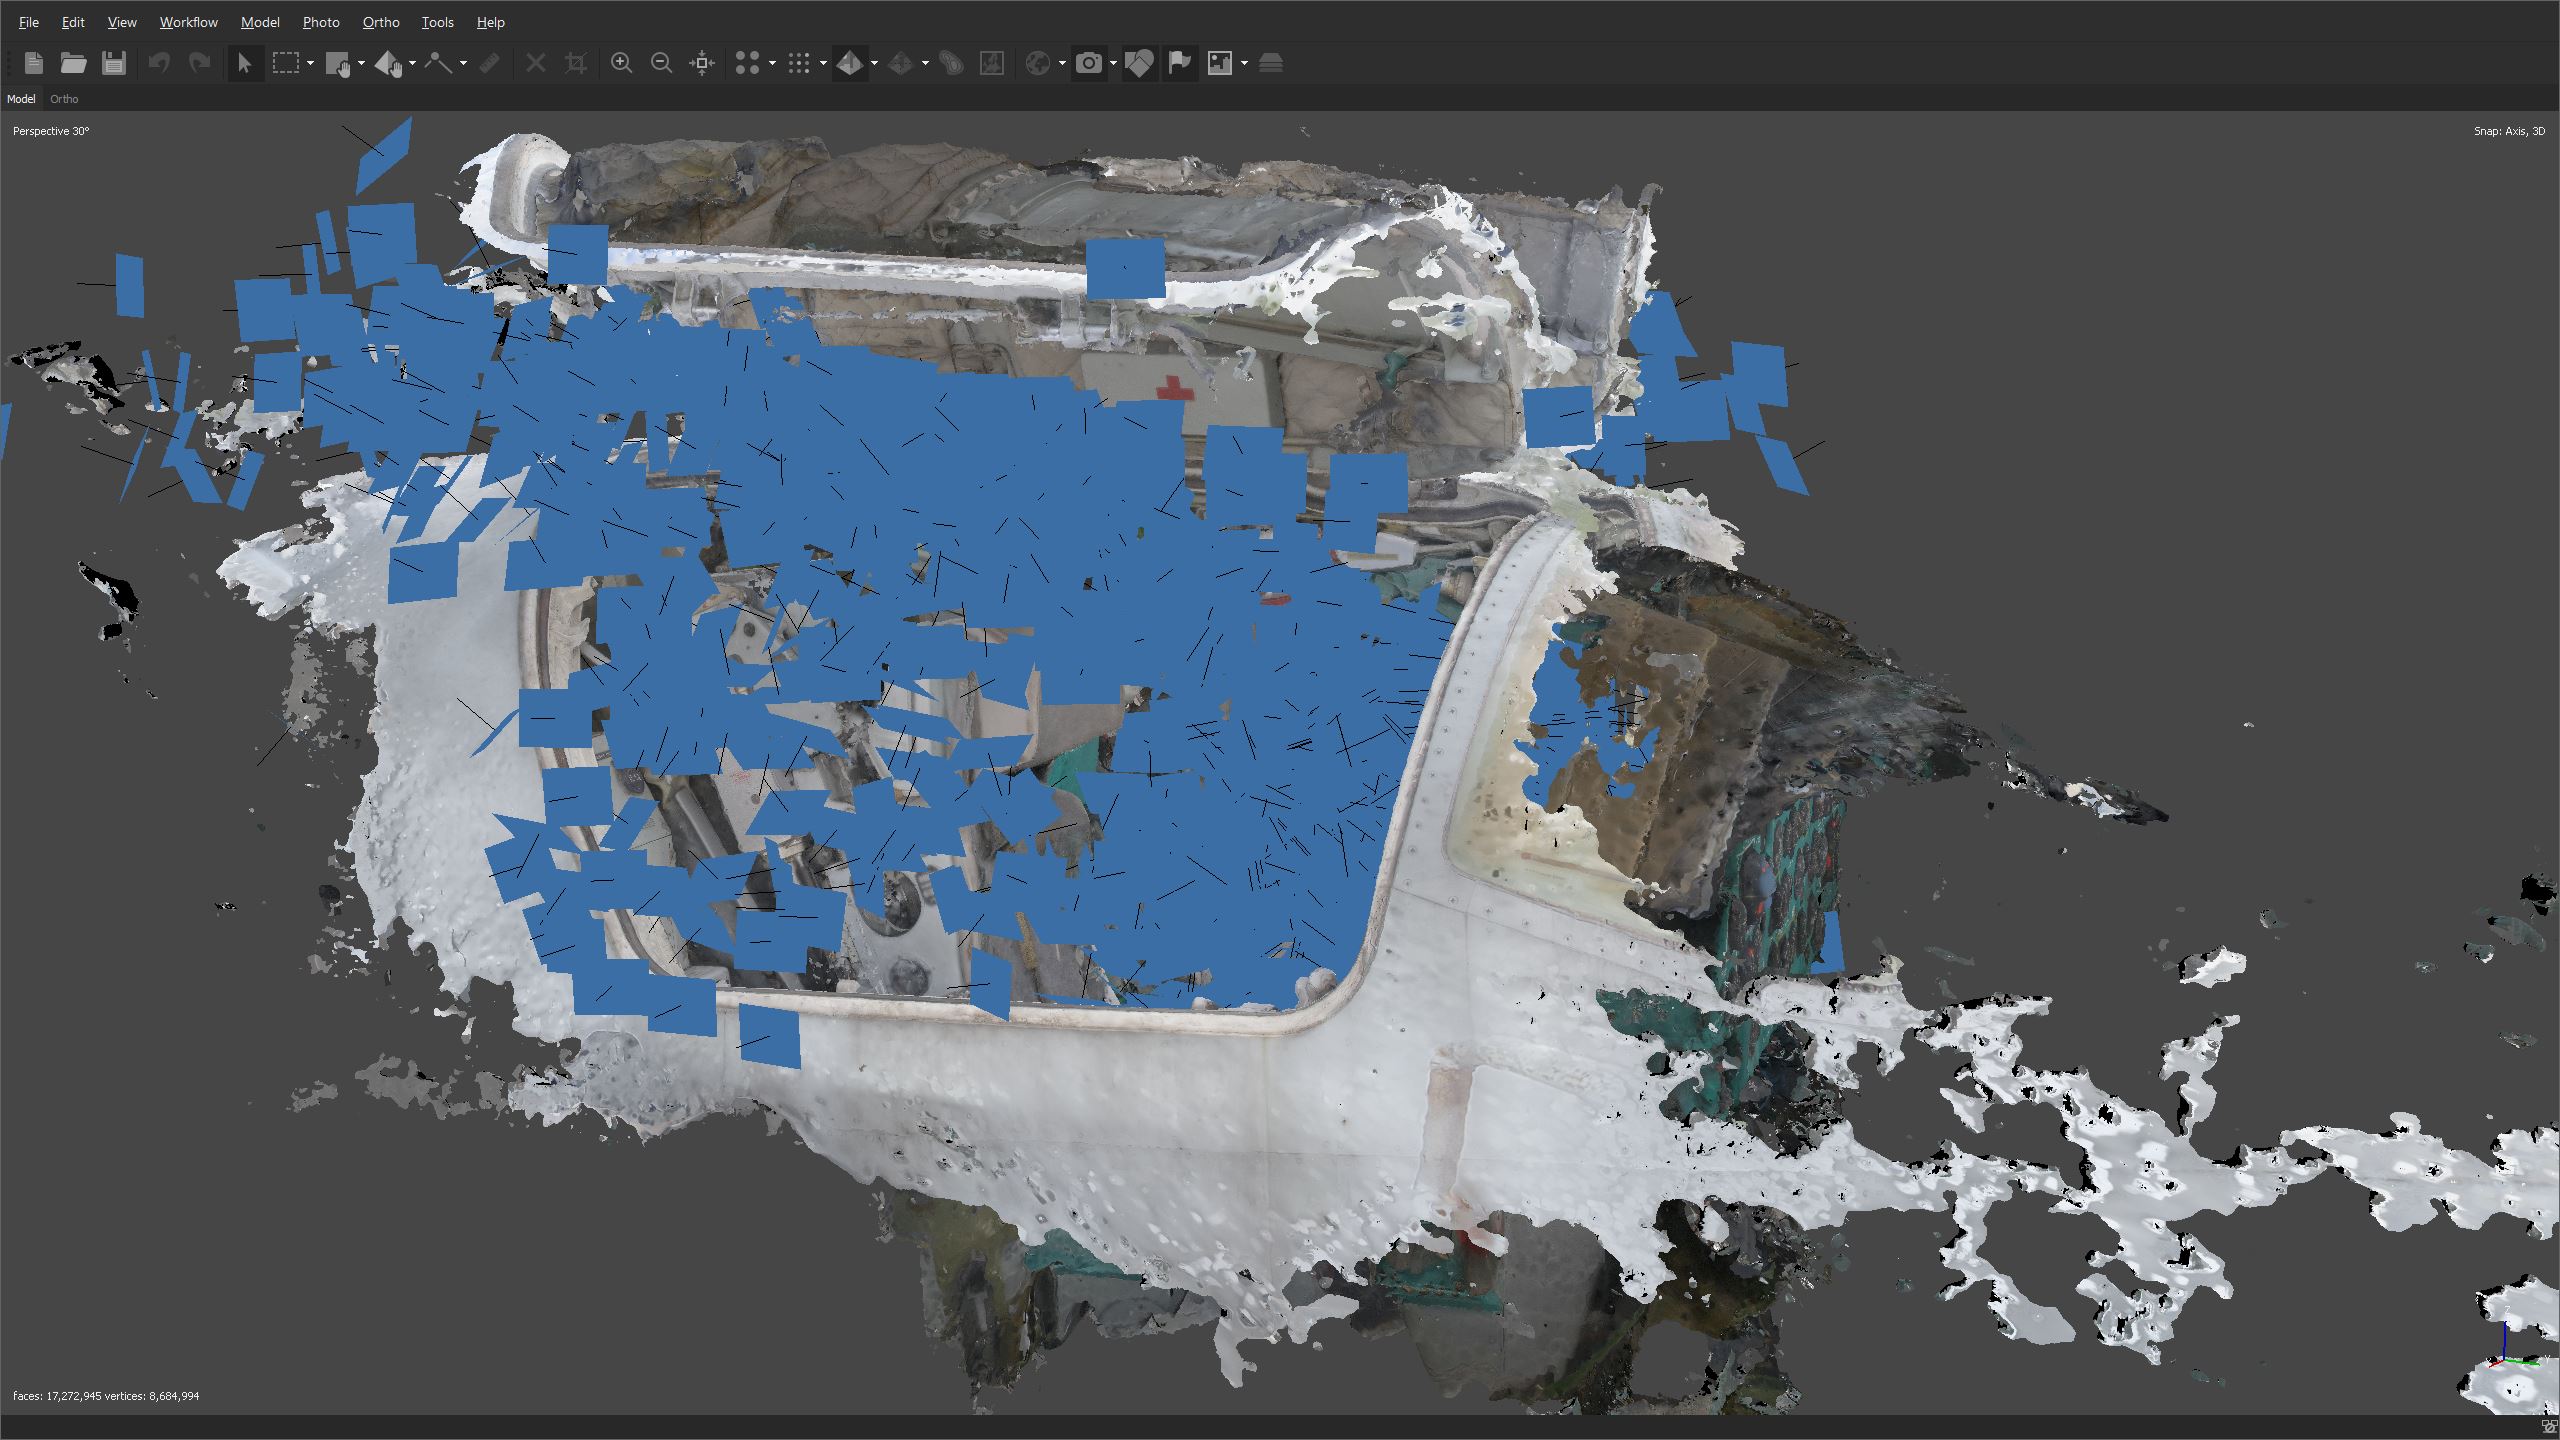
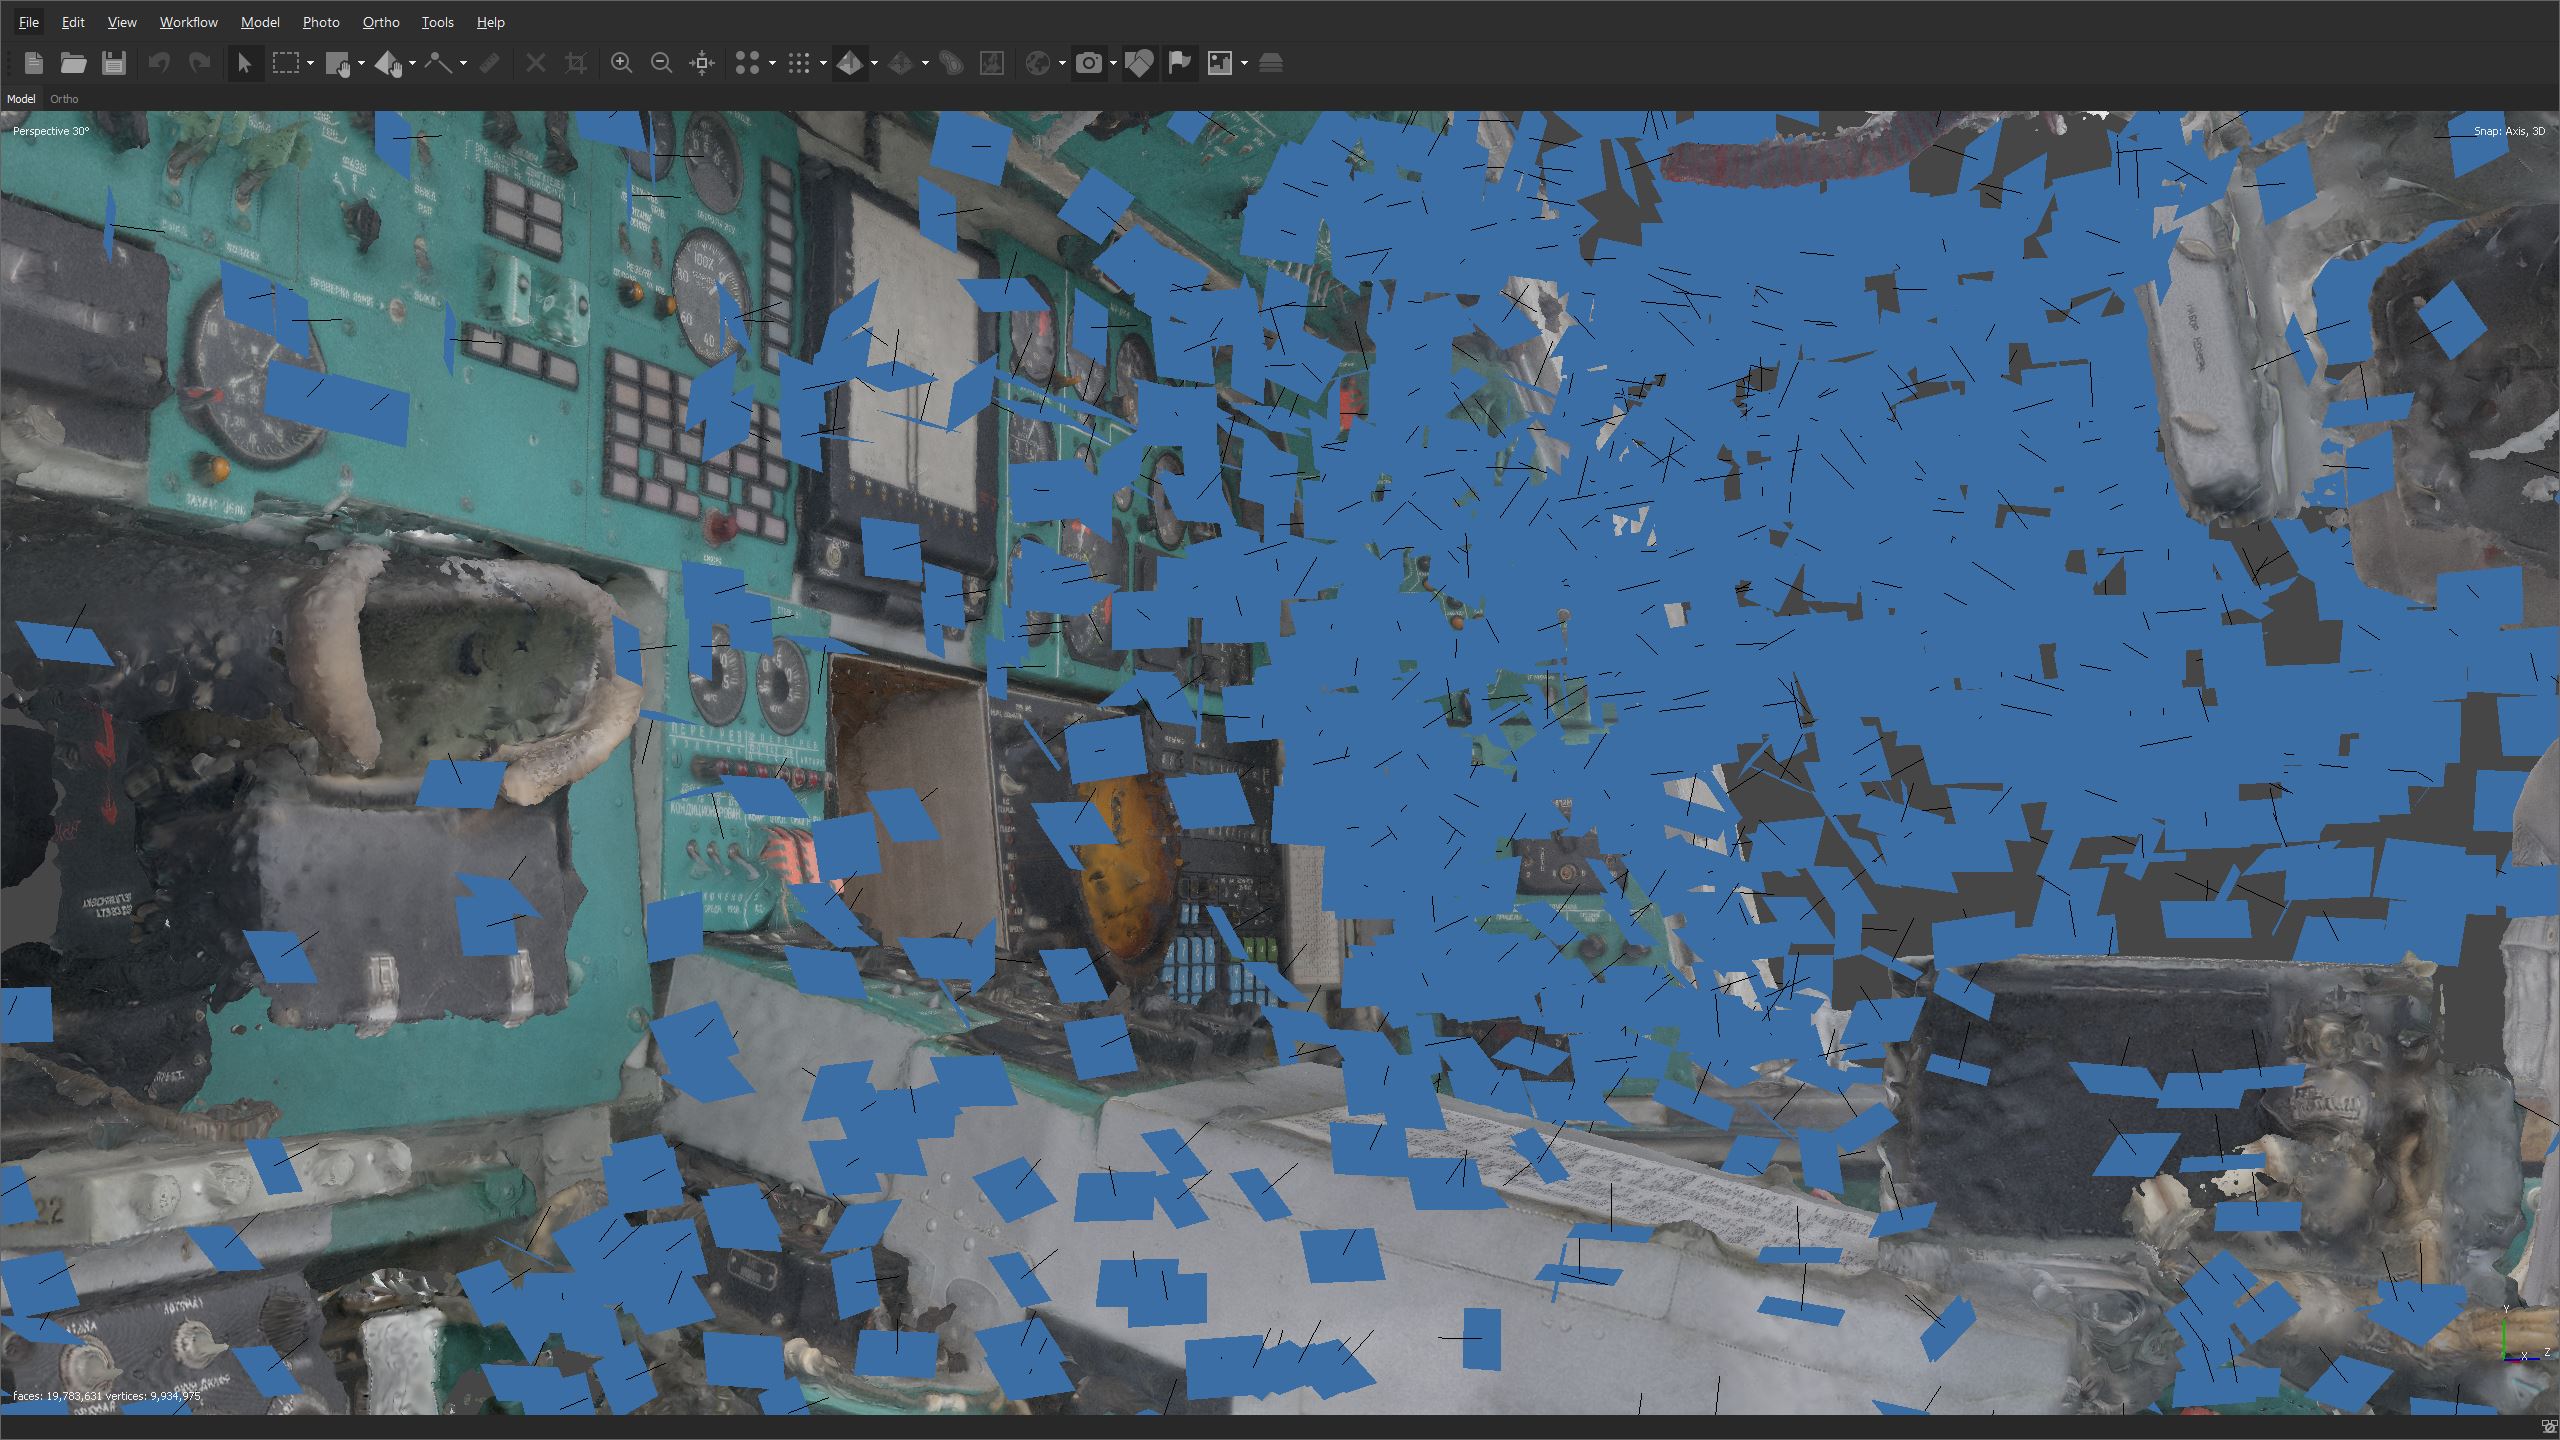
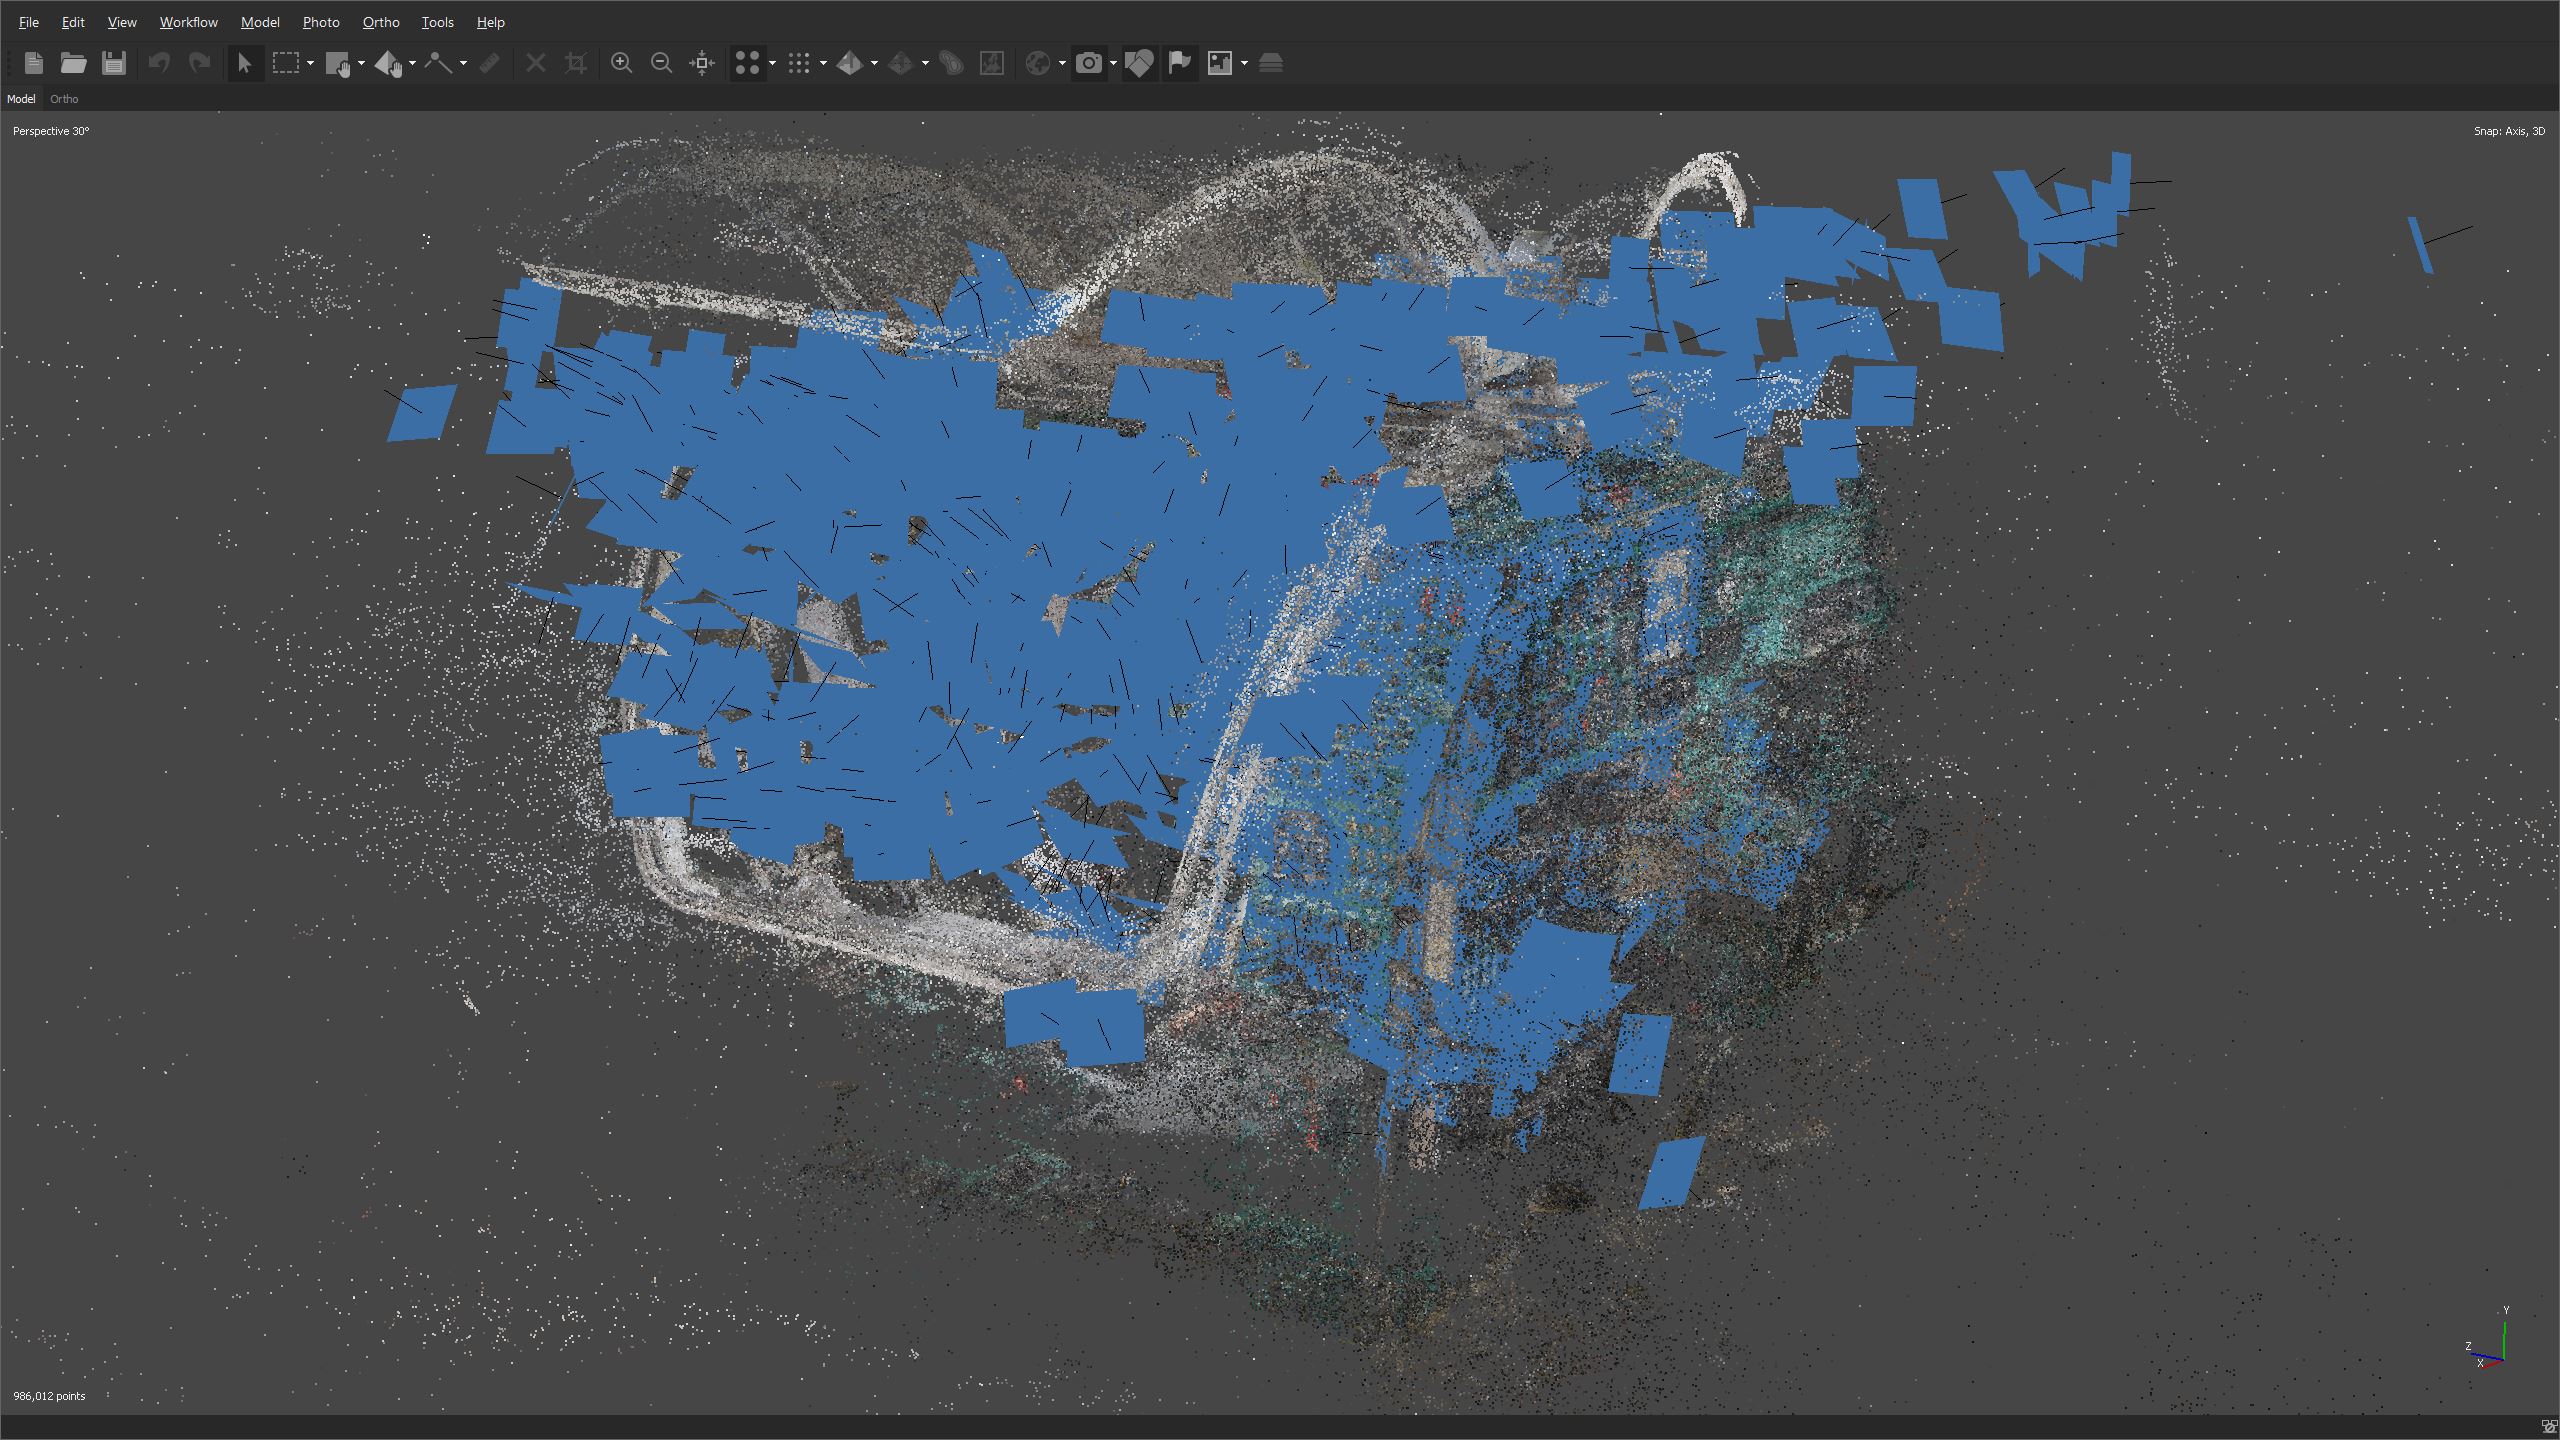
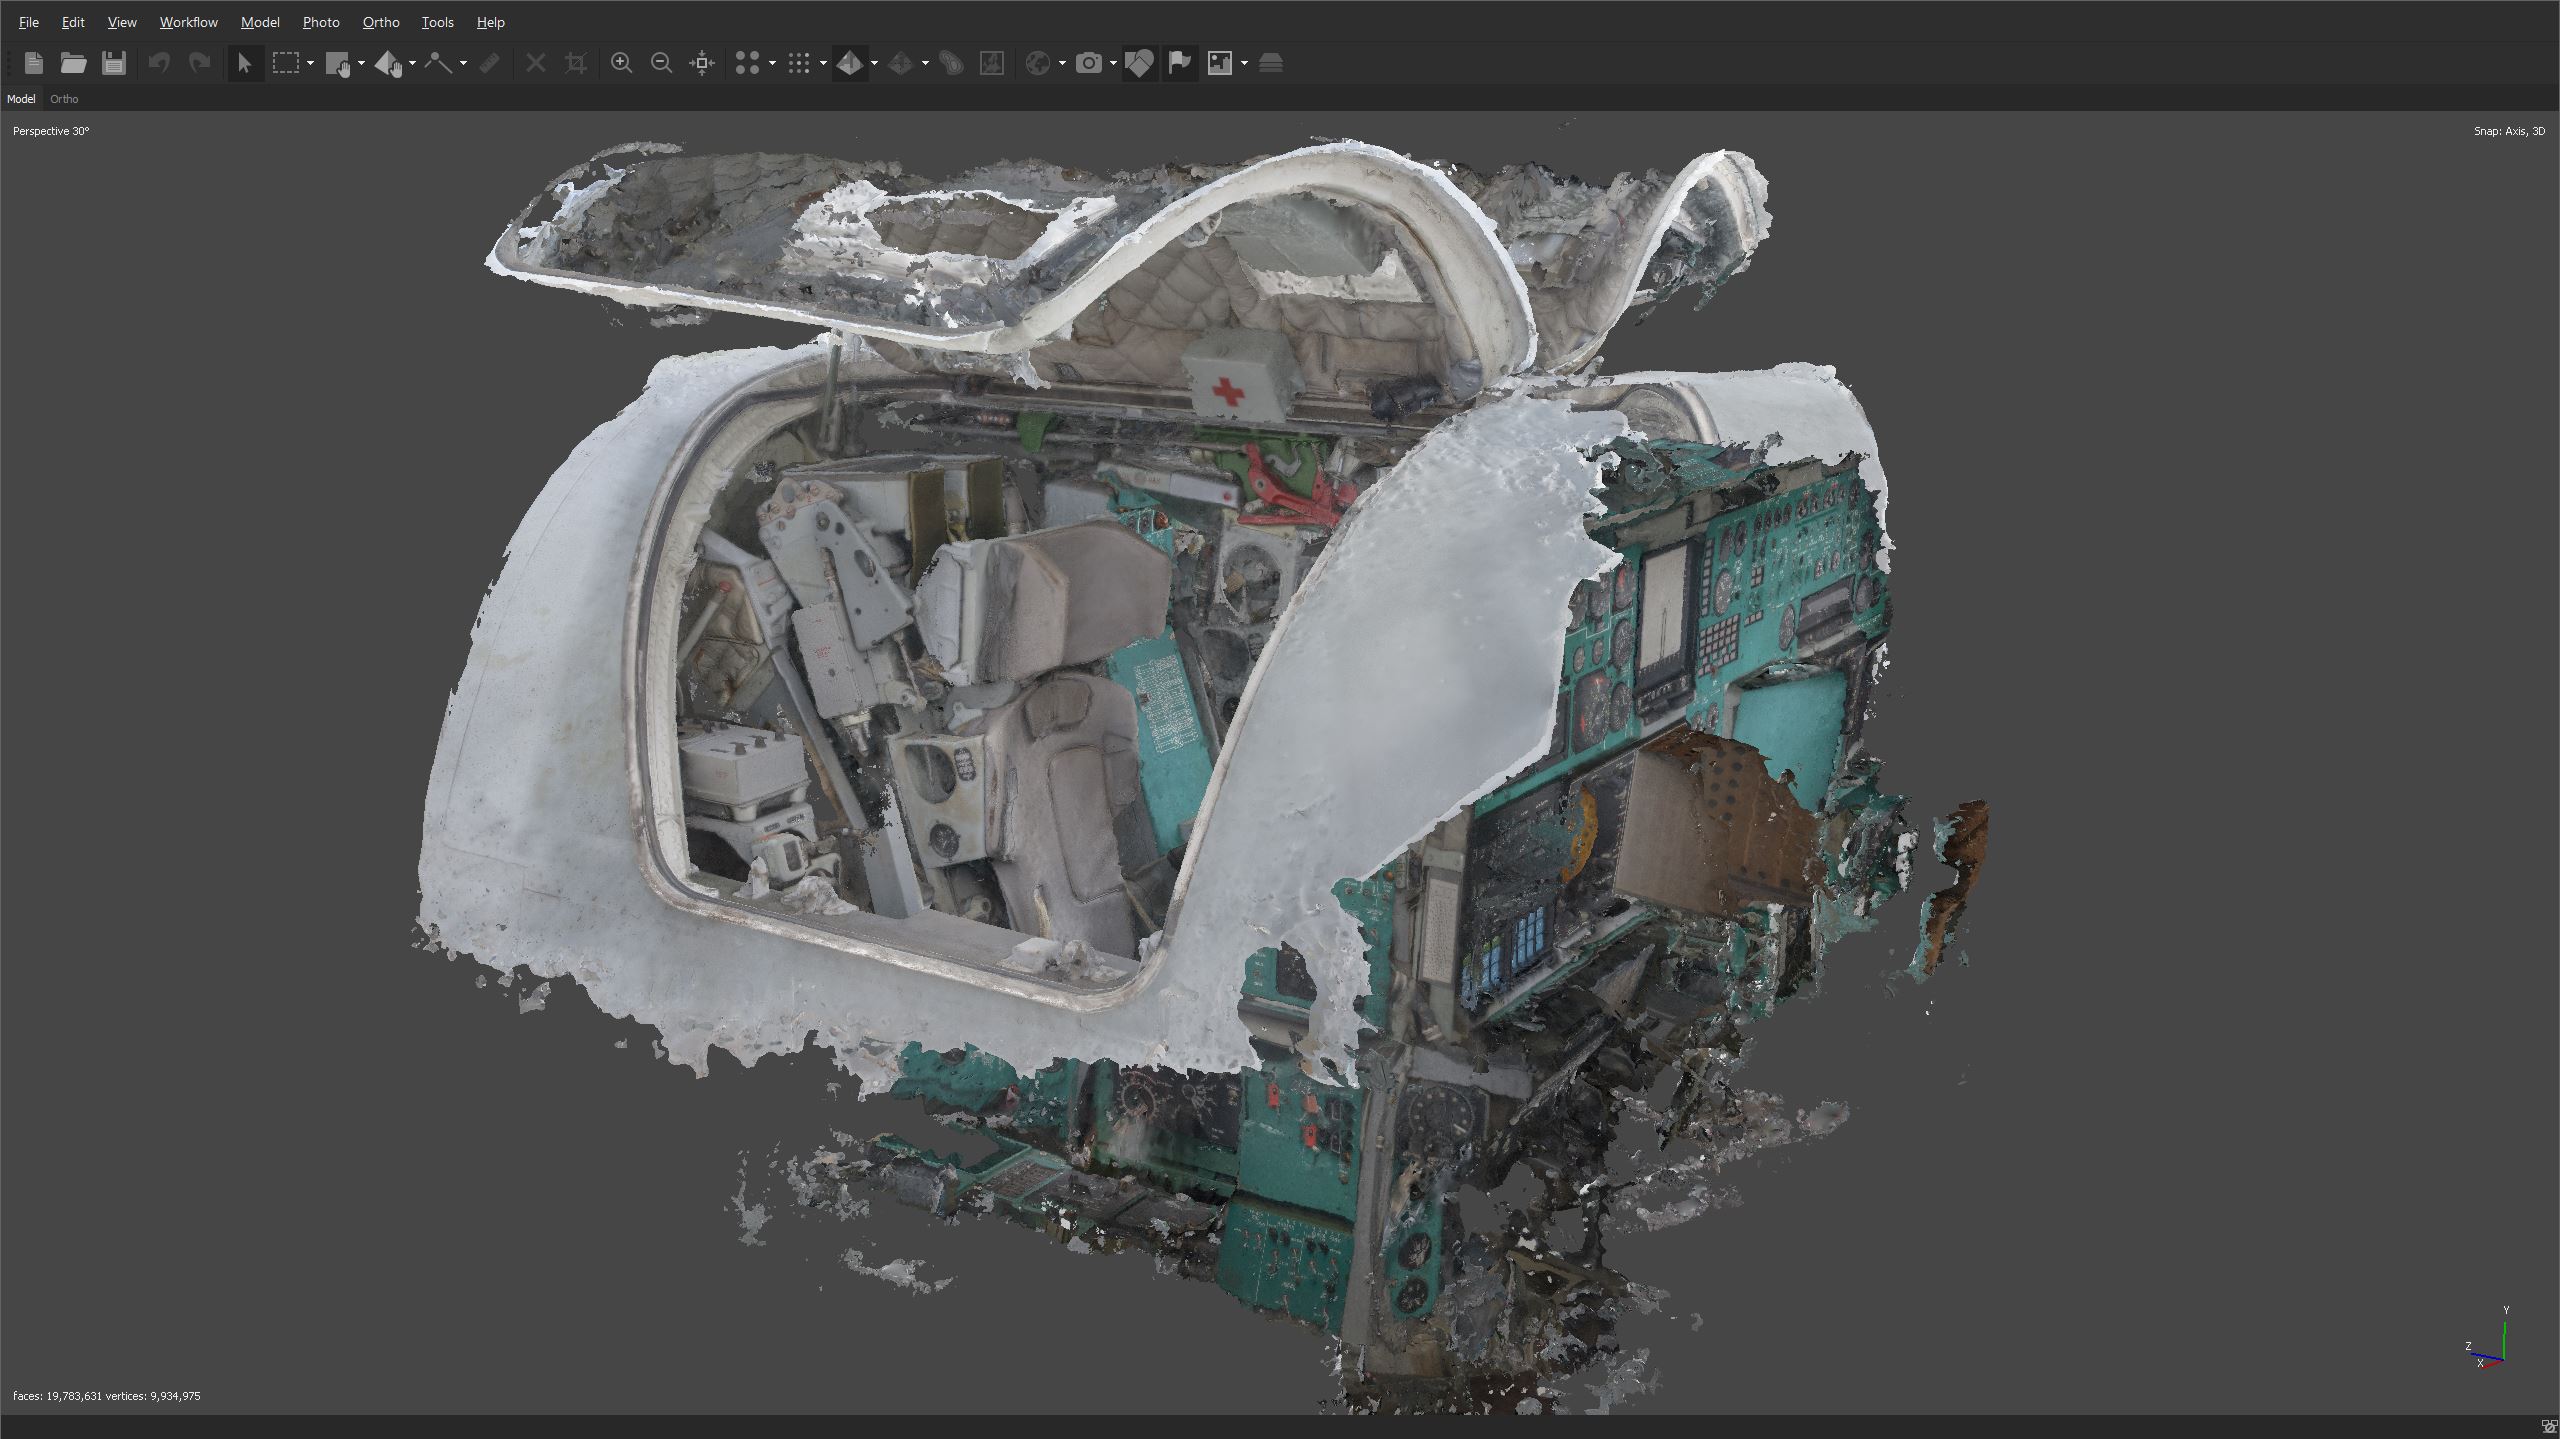
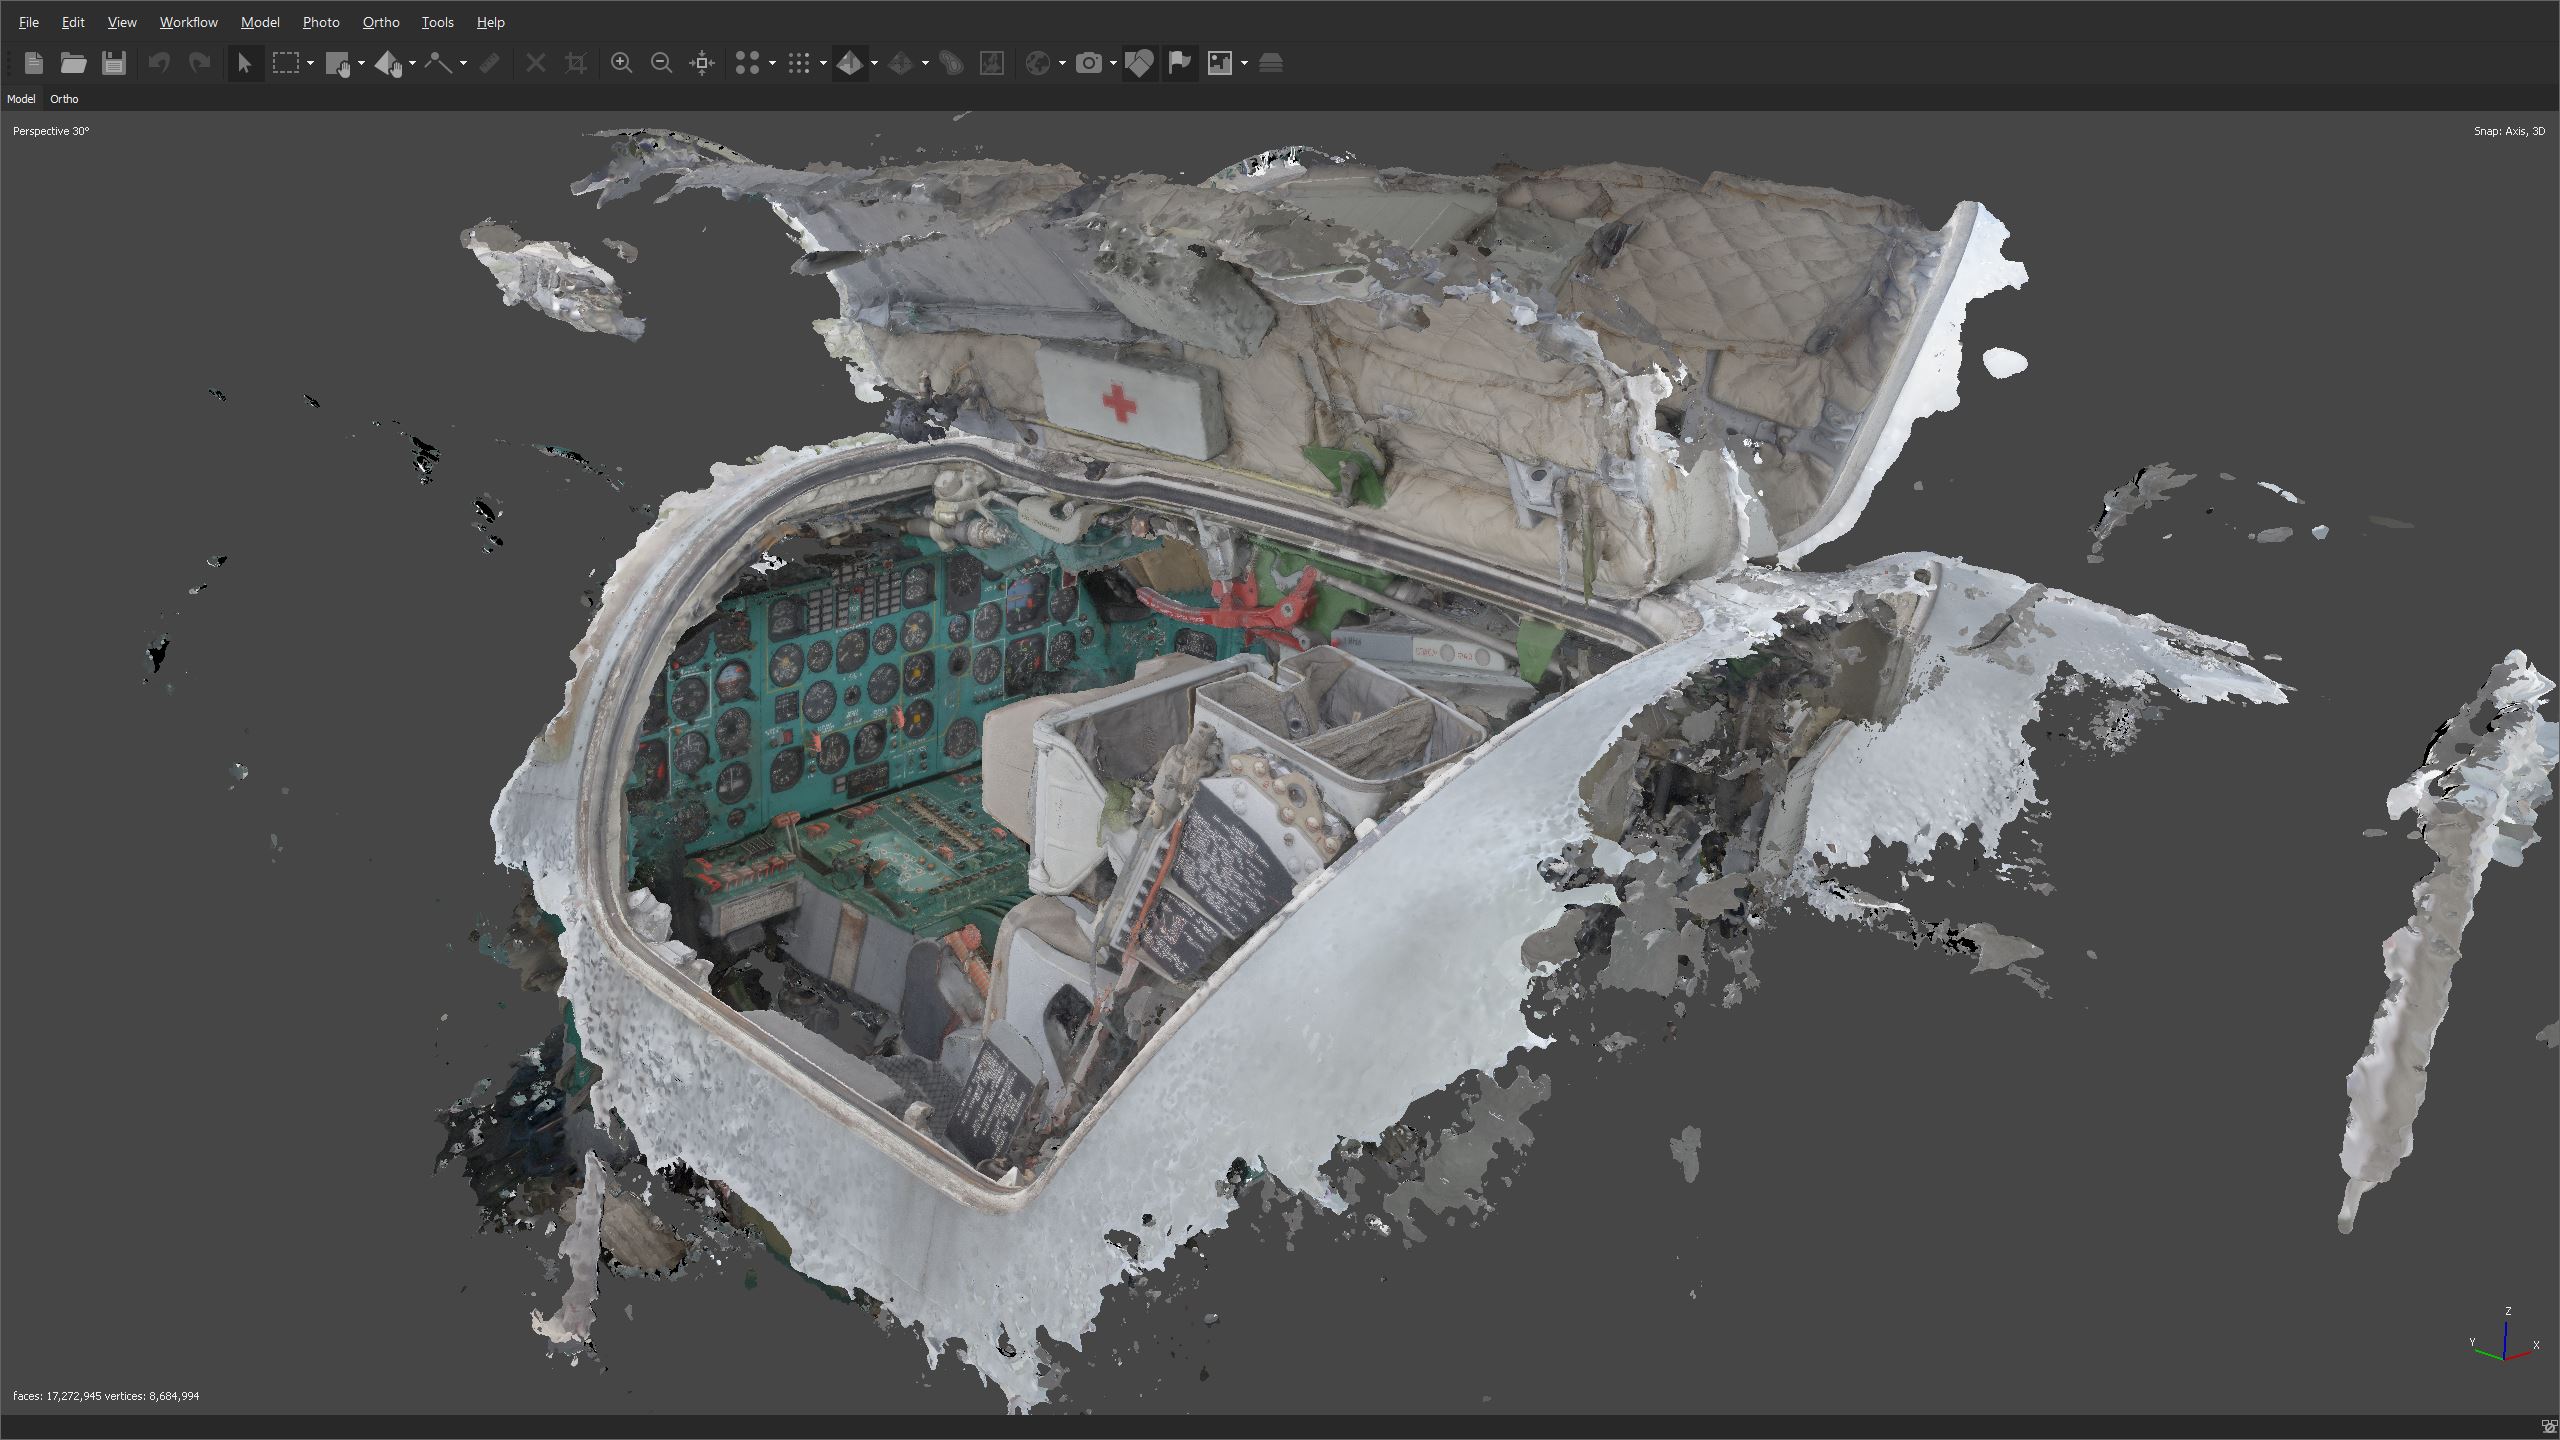
There was not much light & space in both cockpits, and I understood that it would be a challenging task to capture it all properly. I didn’t want to waste a single second, so I just started to shoot right away. I was sliding over the whole cockpit back and forth, taking bizarre positions, jumping in and out, and running between the sides of the plane. Unfortunately, due to lack of time and having only one camera, I did not have enough time to photograph the whole exterior of the plane in the same way as both cockpits and landing gears. Within three days I was able to shoot over 10000 pictures.
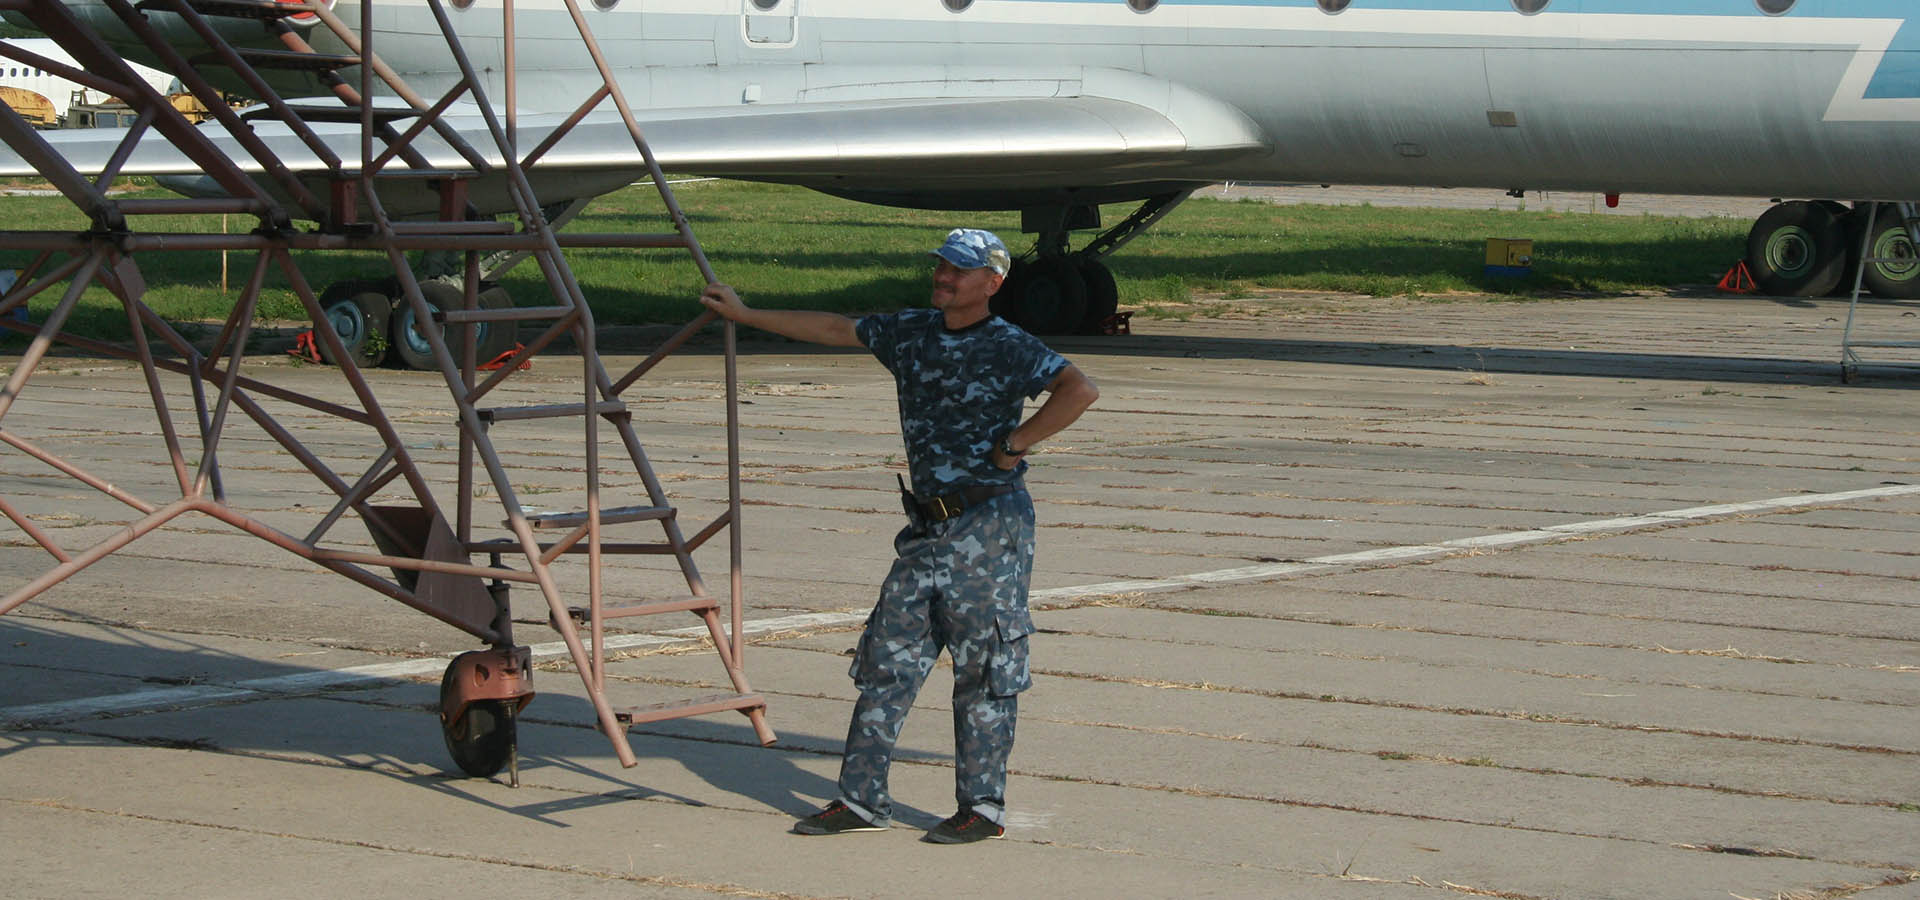
Dmitry and the staff of the museum were very kind to us, and it was a pleasure to talk to them, hear their stories, and see other planes of the museum from inside, during our short breaks. But it was time to go home.
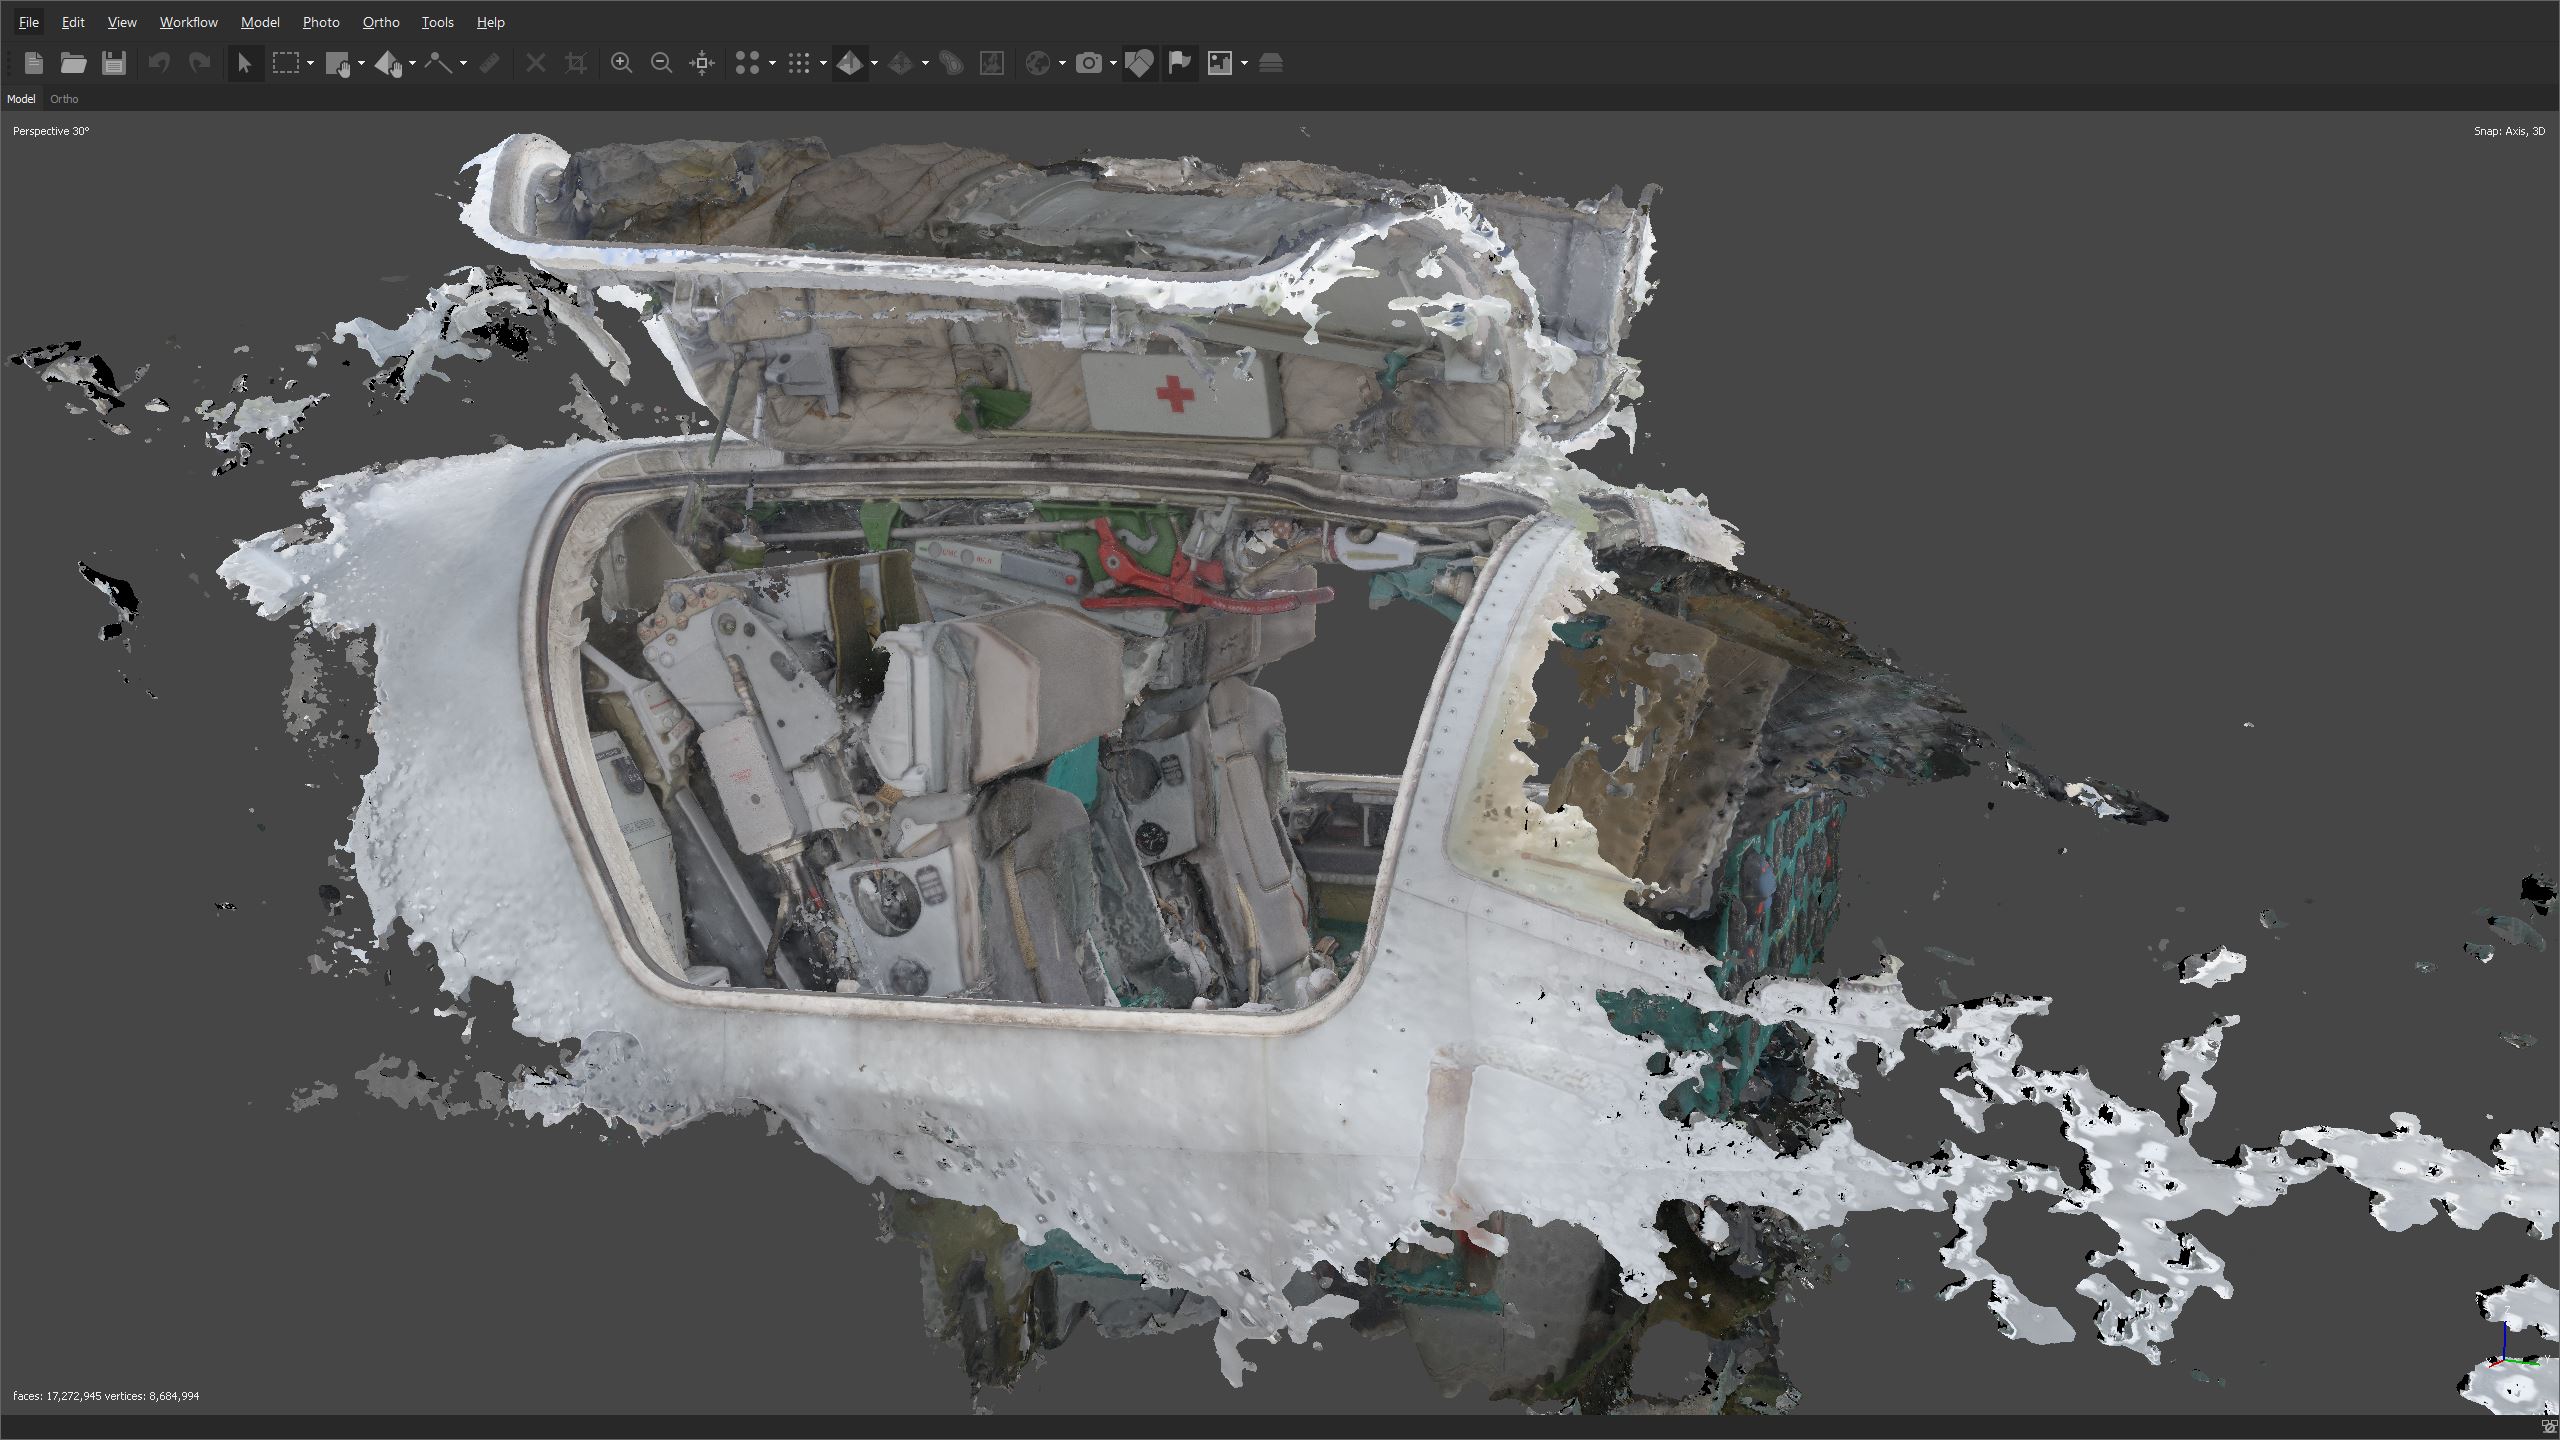
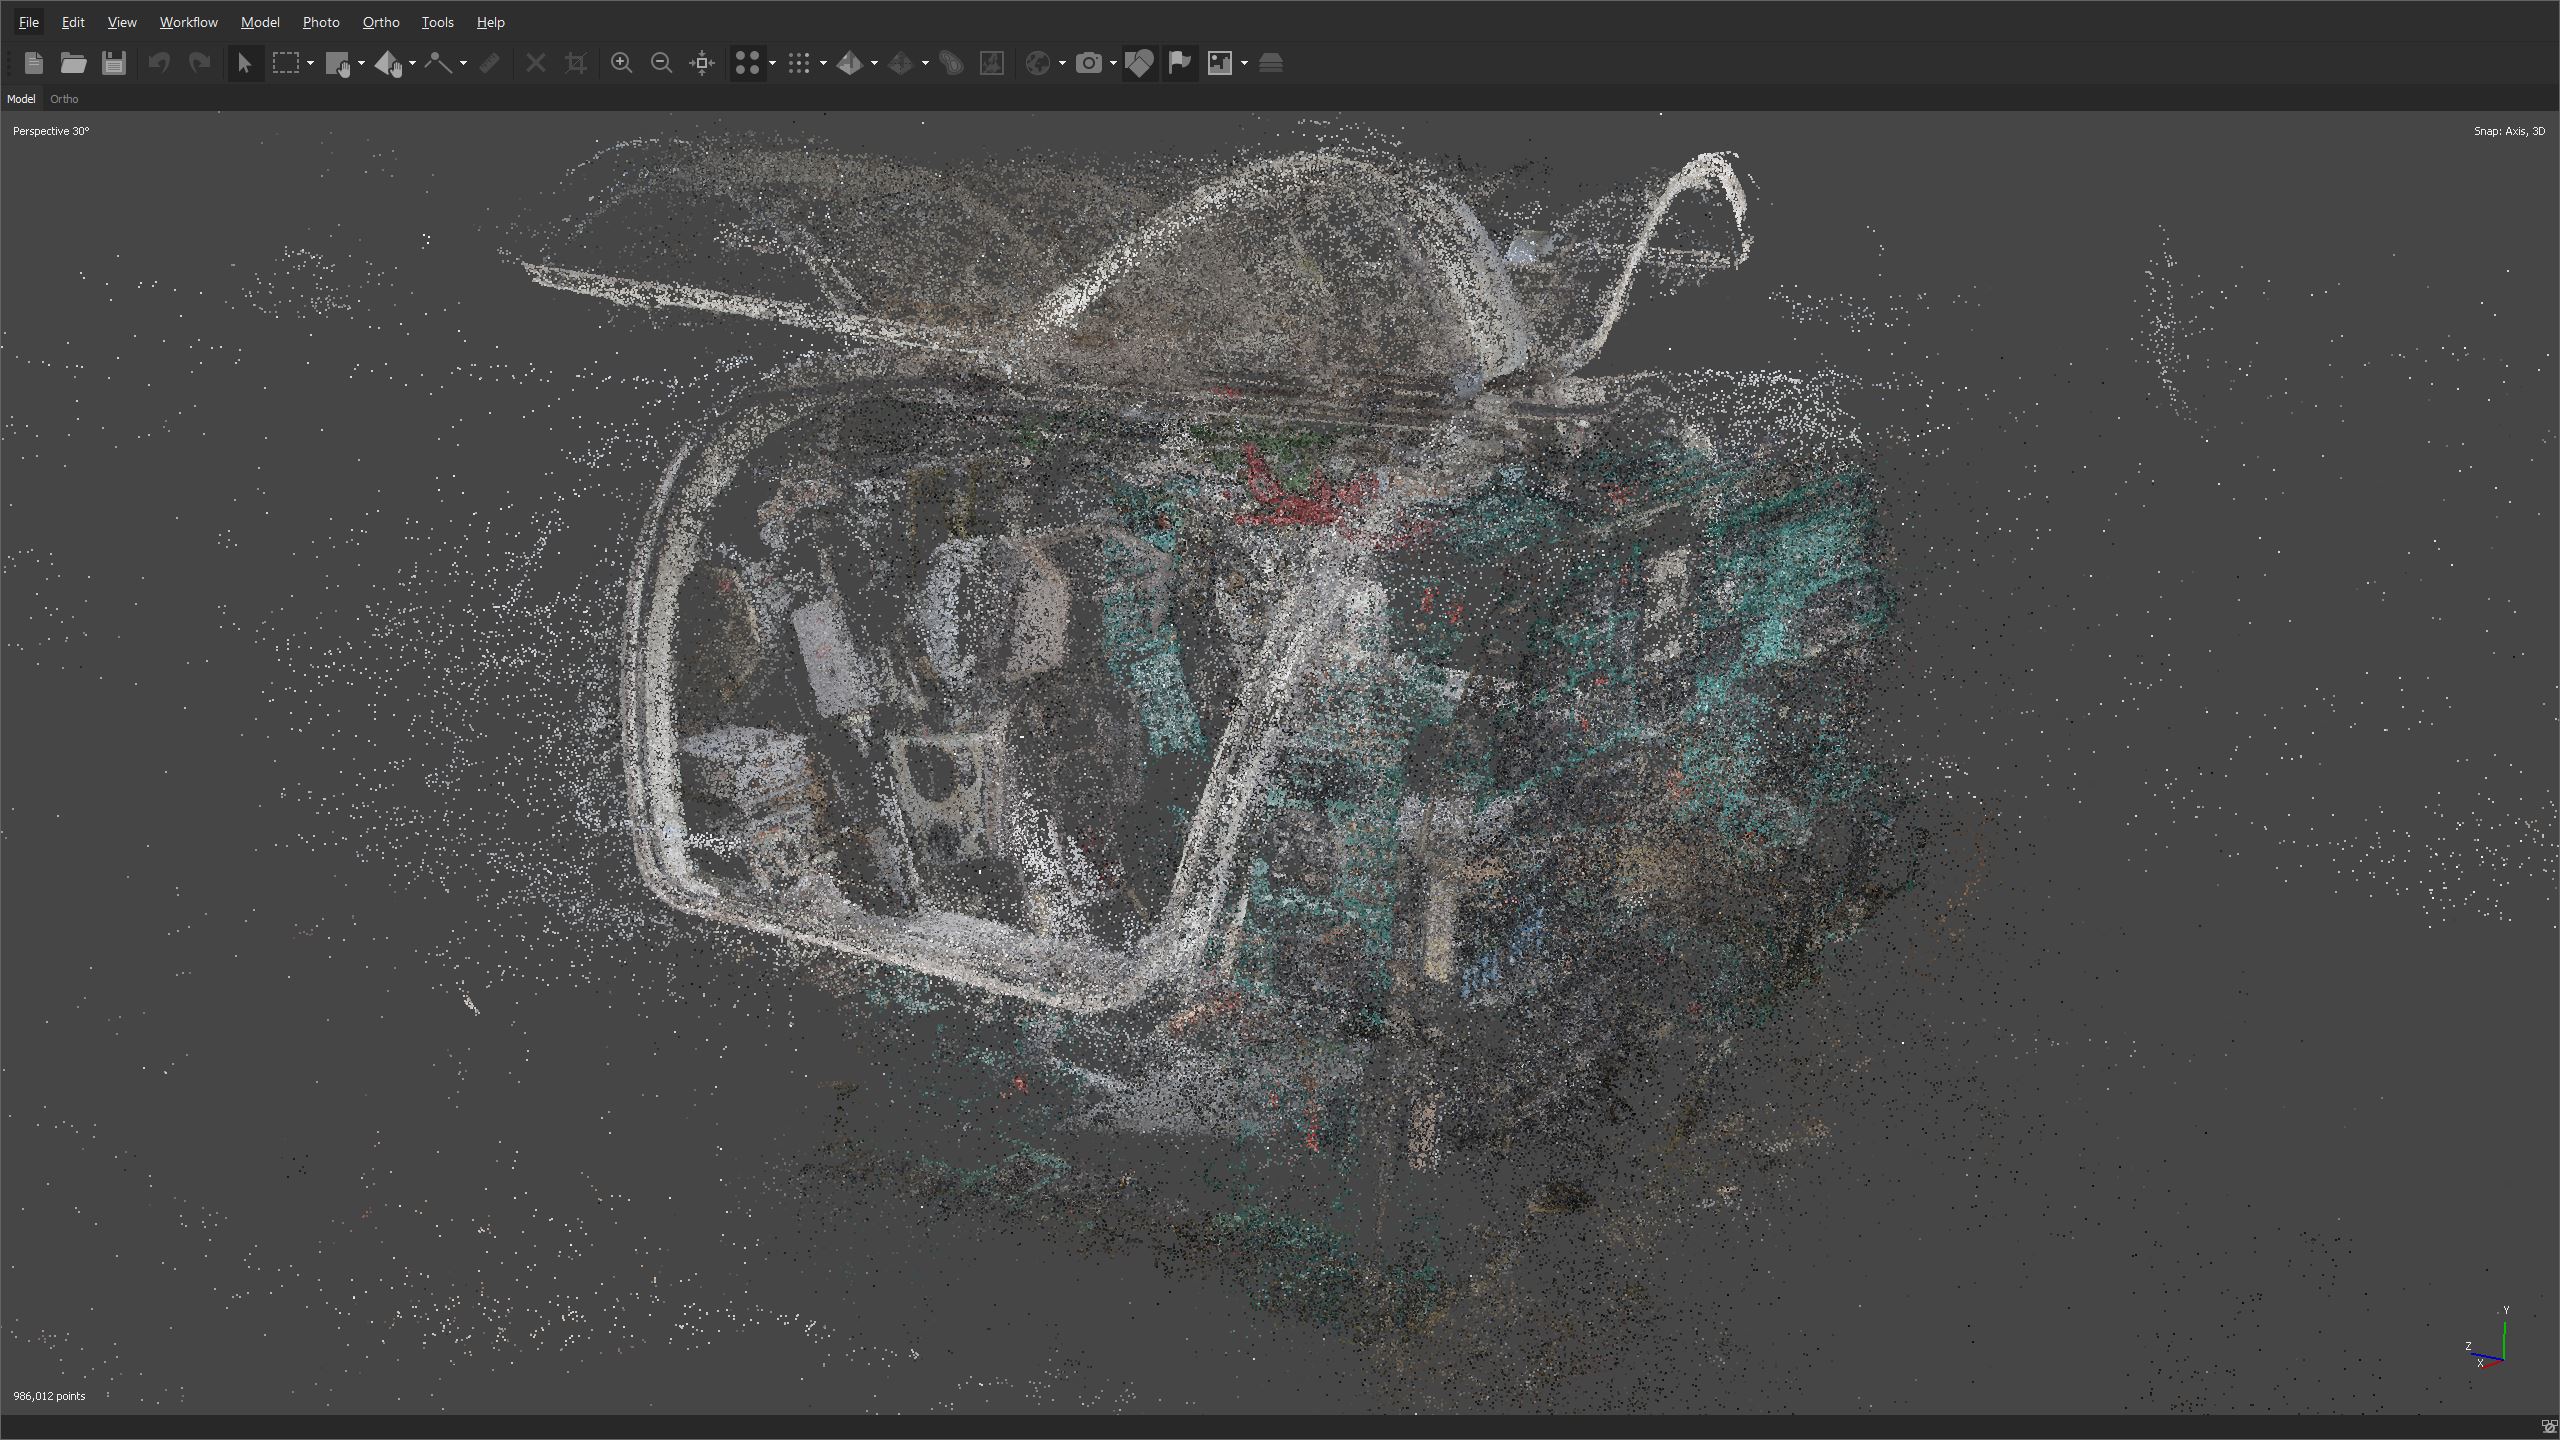
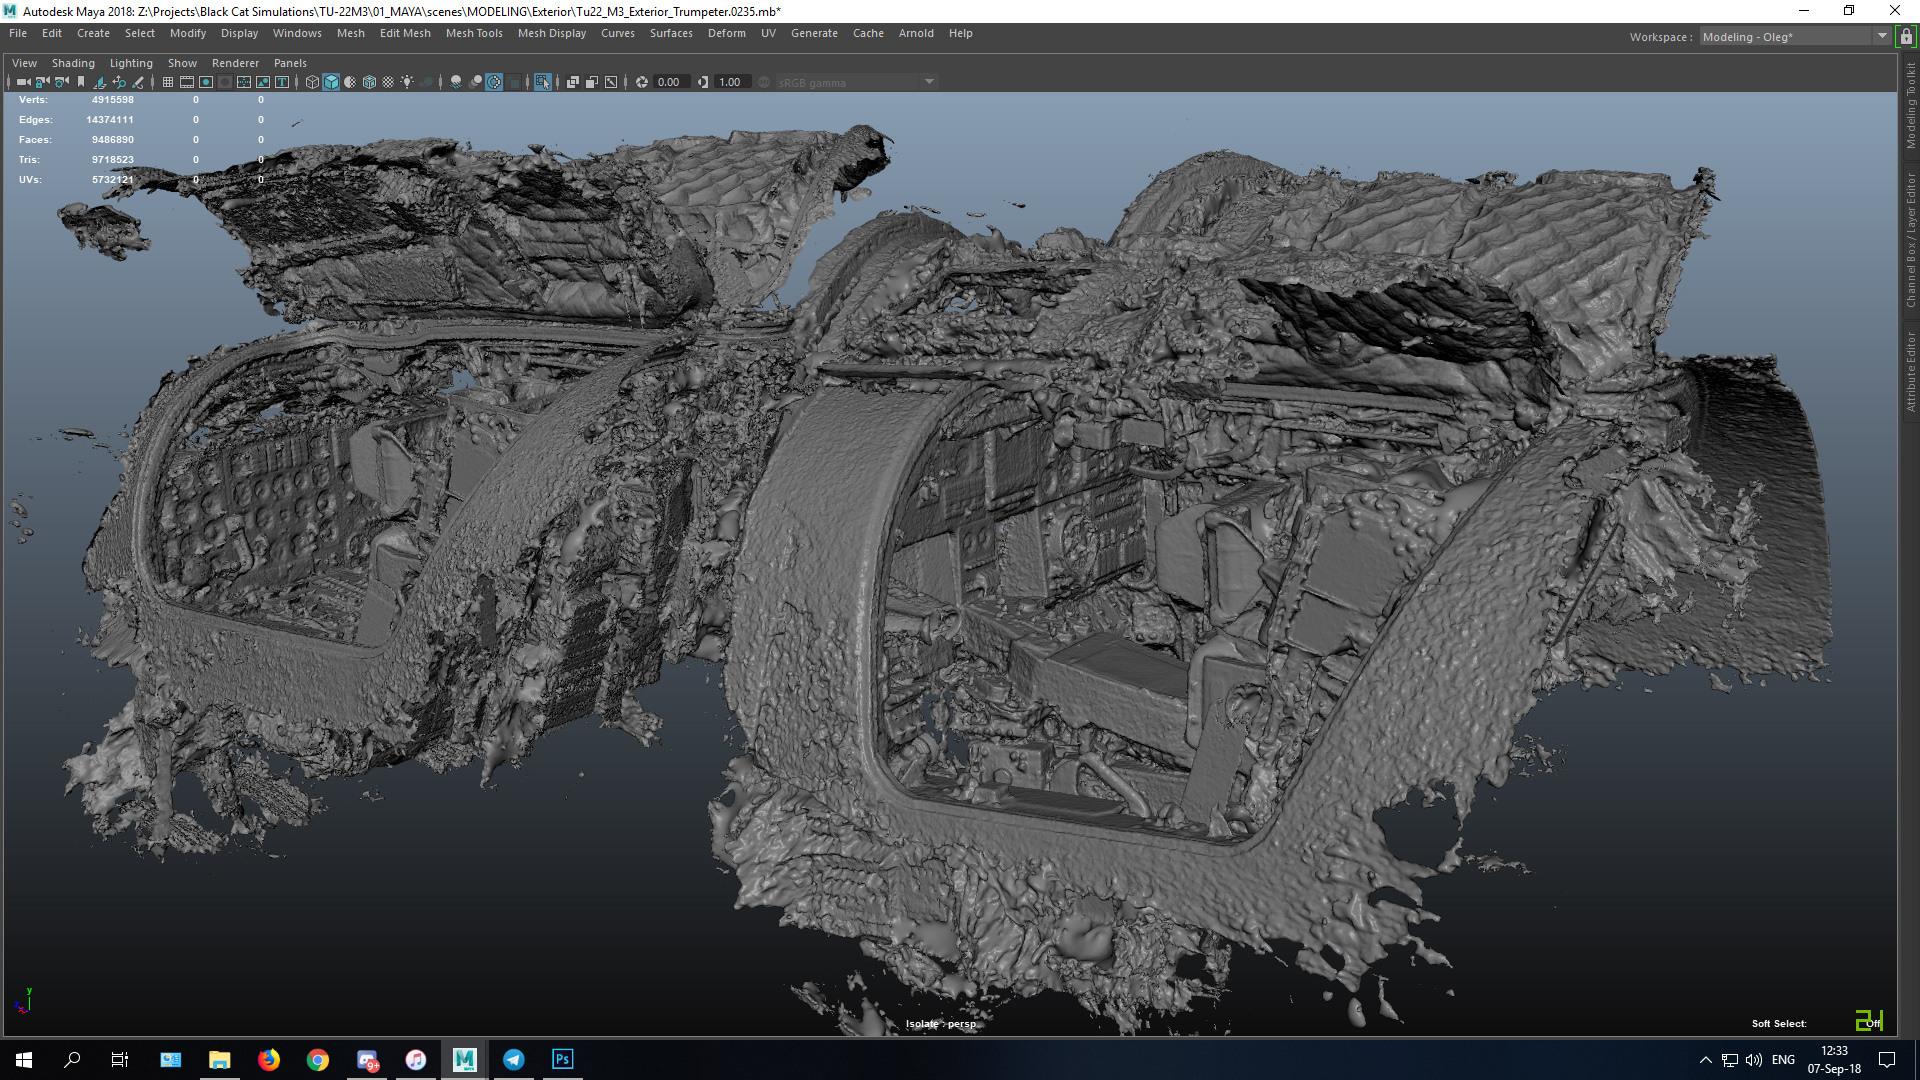
After returning home to The Netherlands, I began to process all the taken pictures and run the first calculations of photogrammetry.
My computer had only 64GB of RAM, so crashes were not uncommon – considering the amount of data that I was feeding into the calculation process.
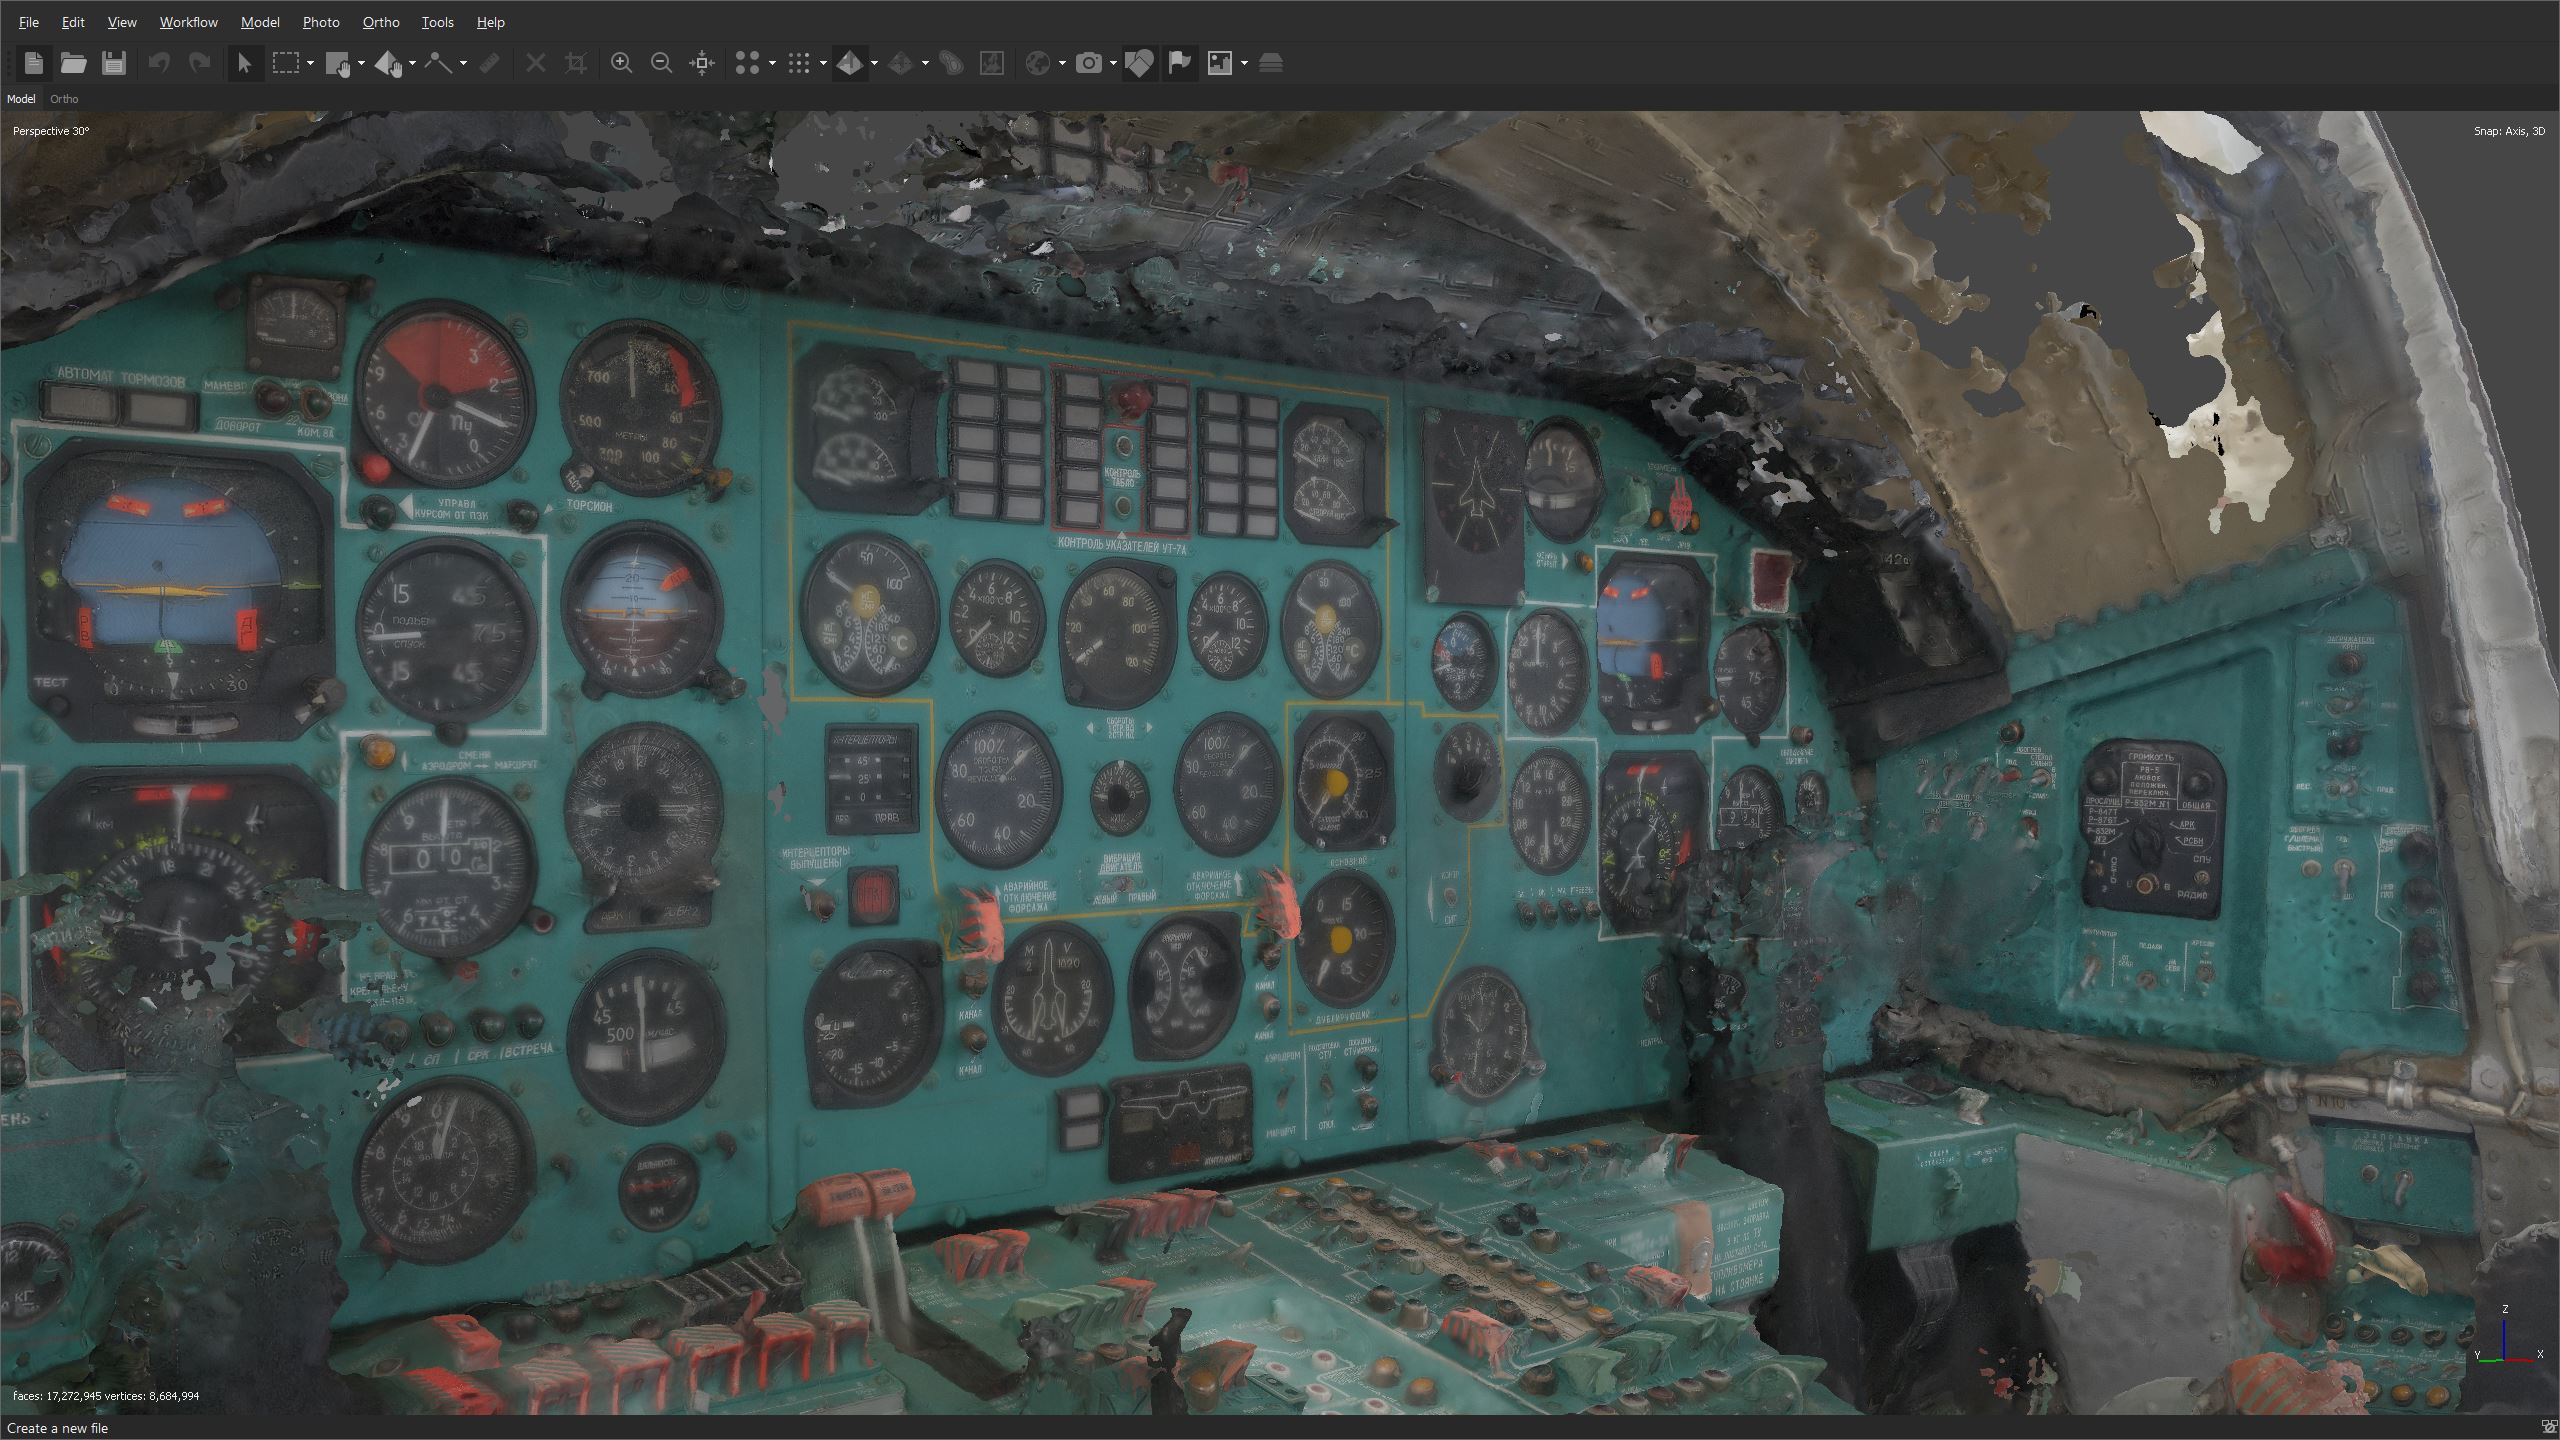
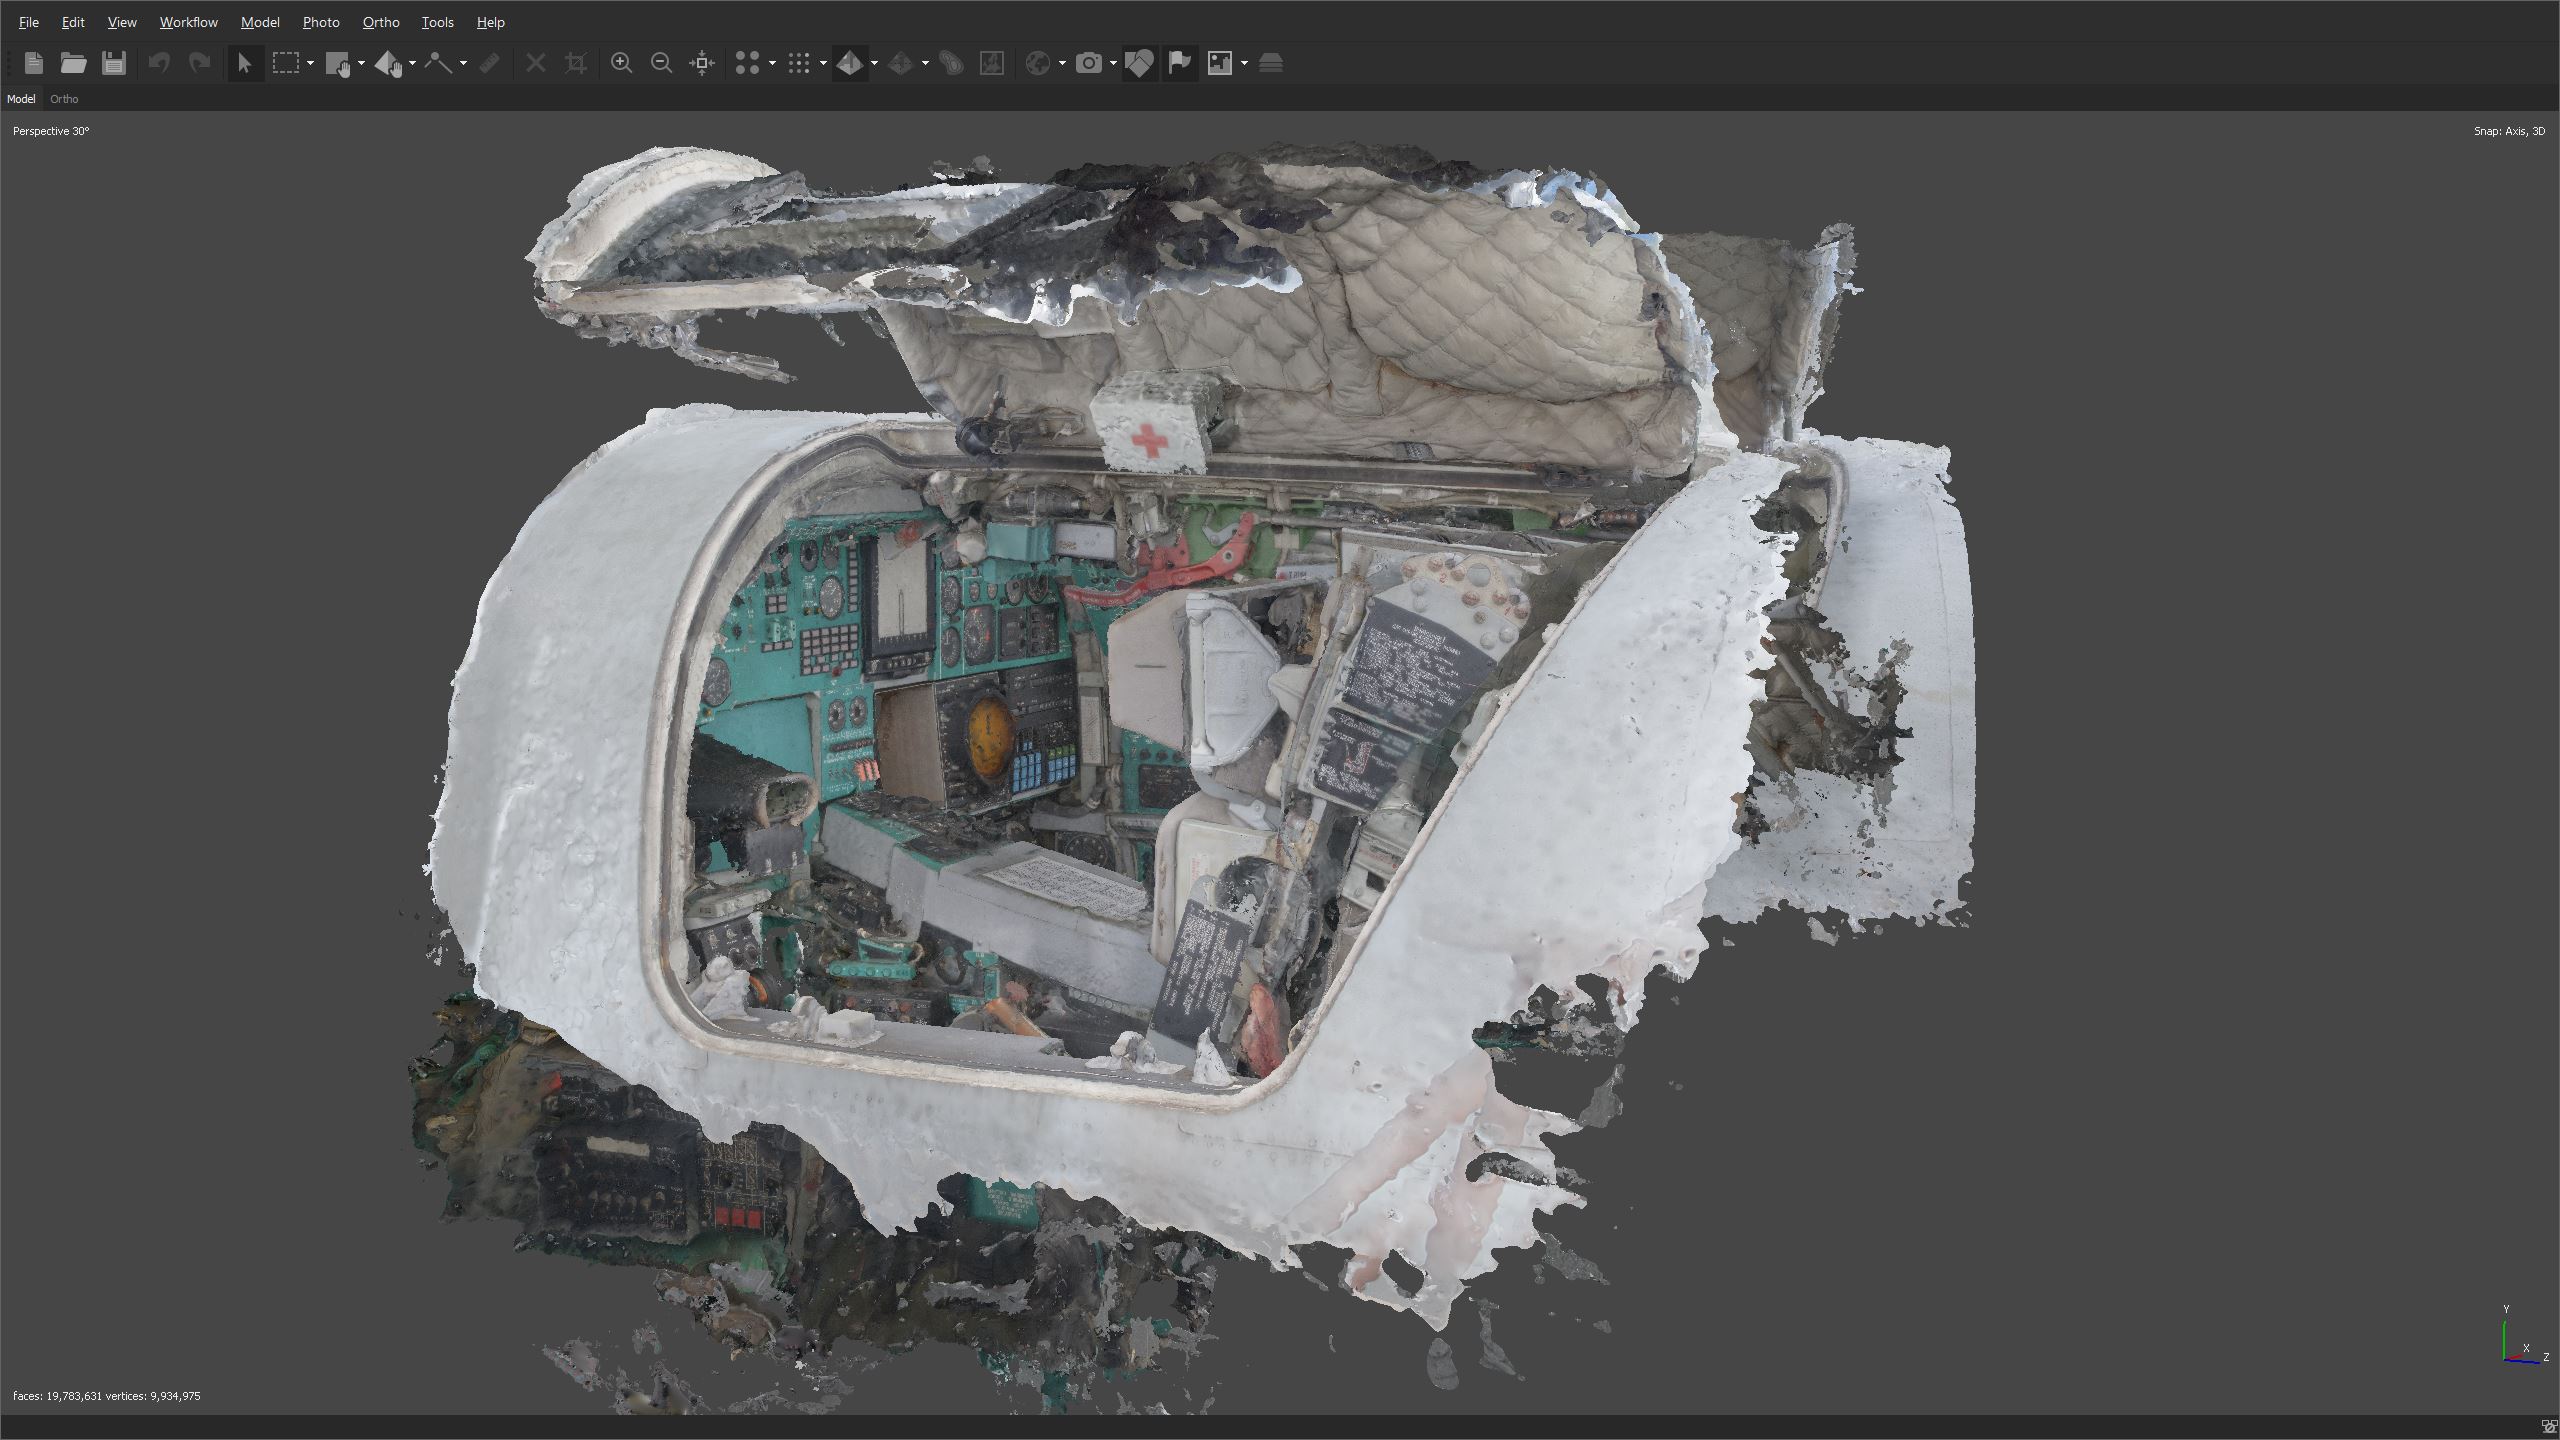
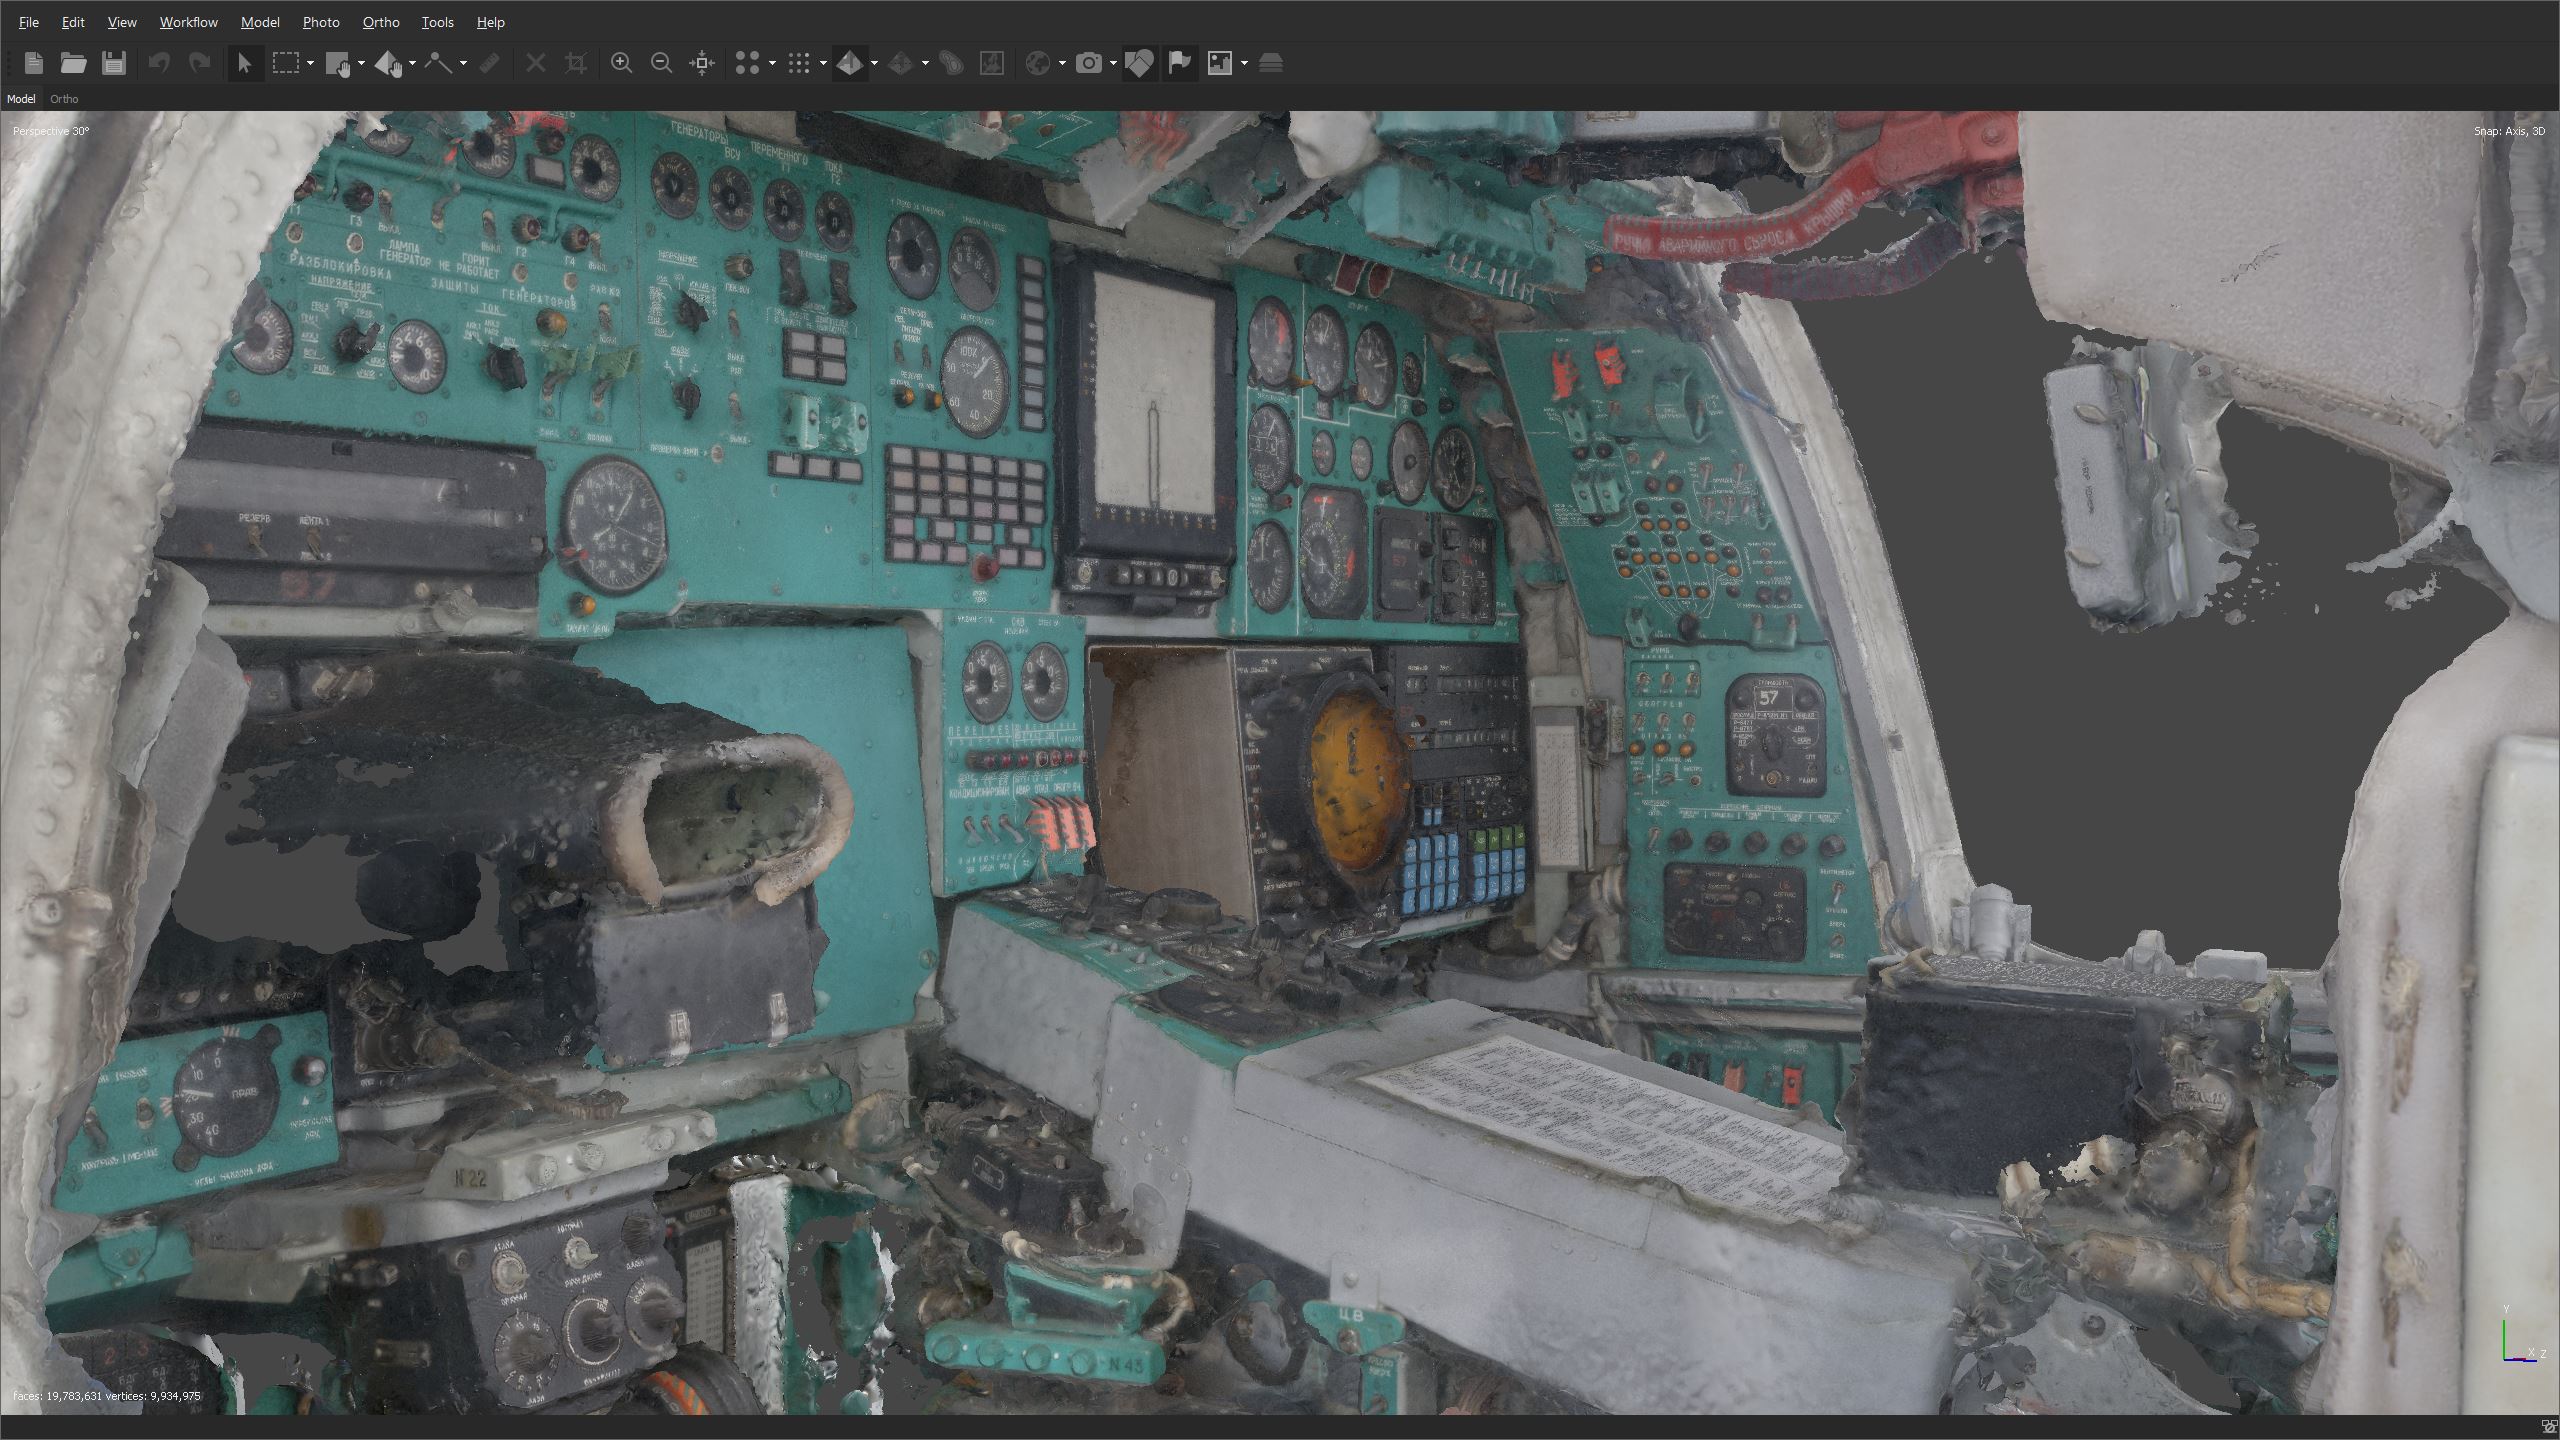
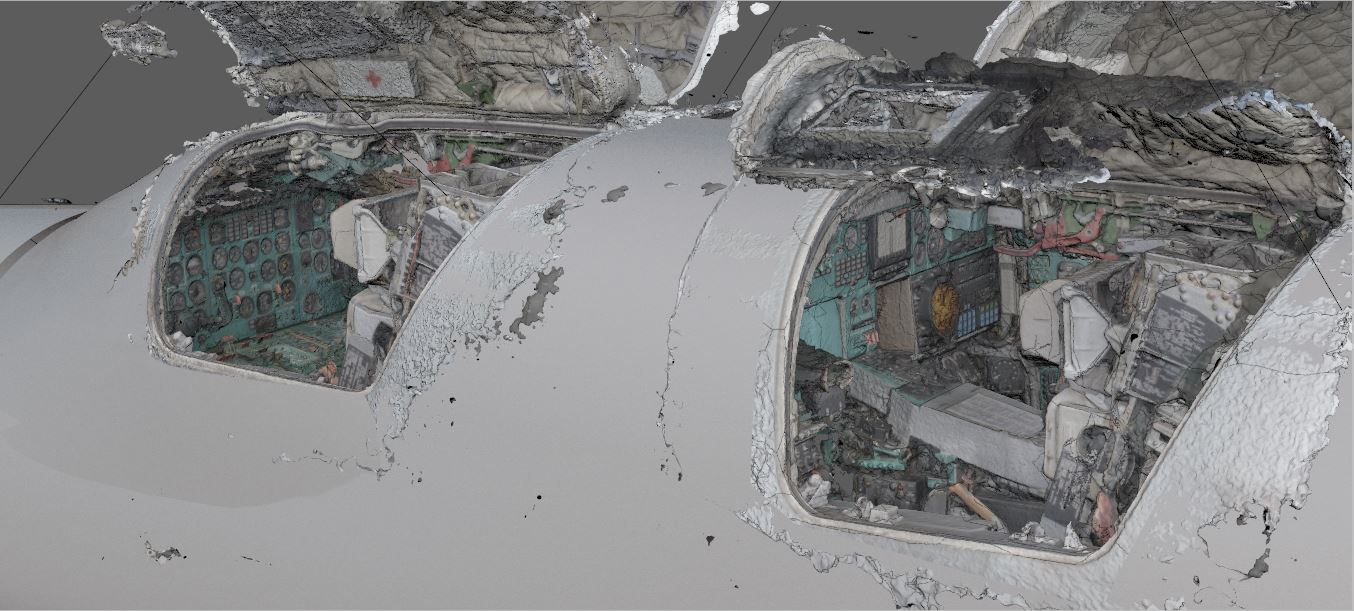
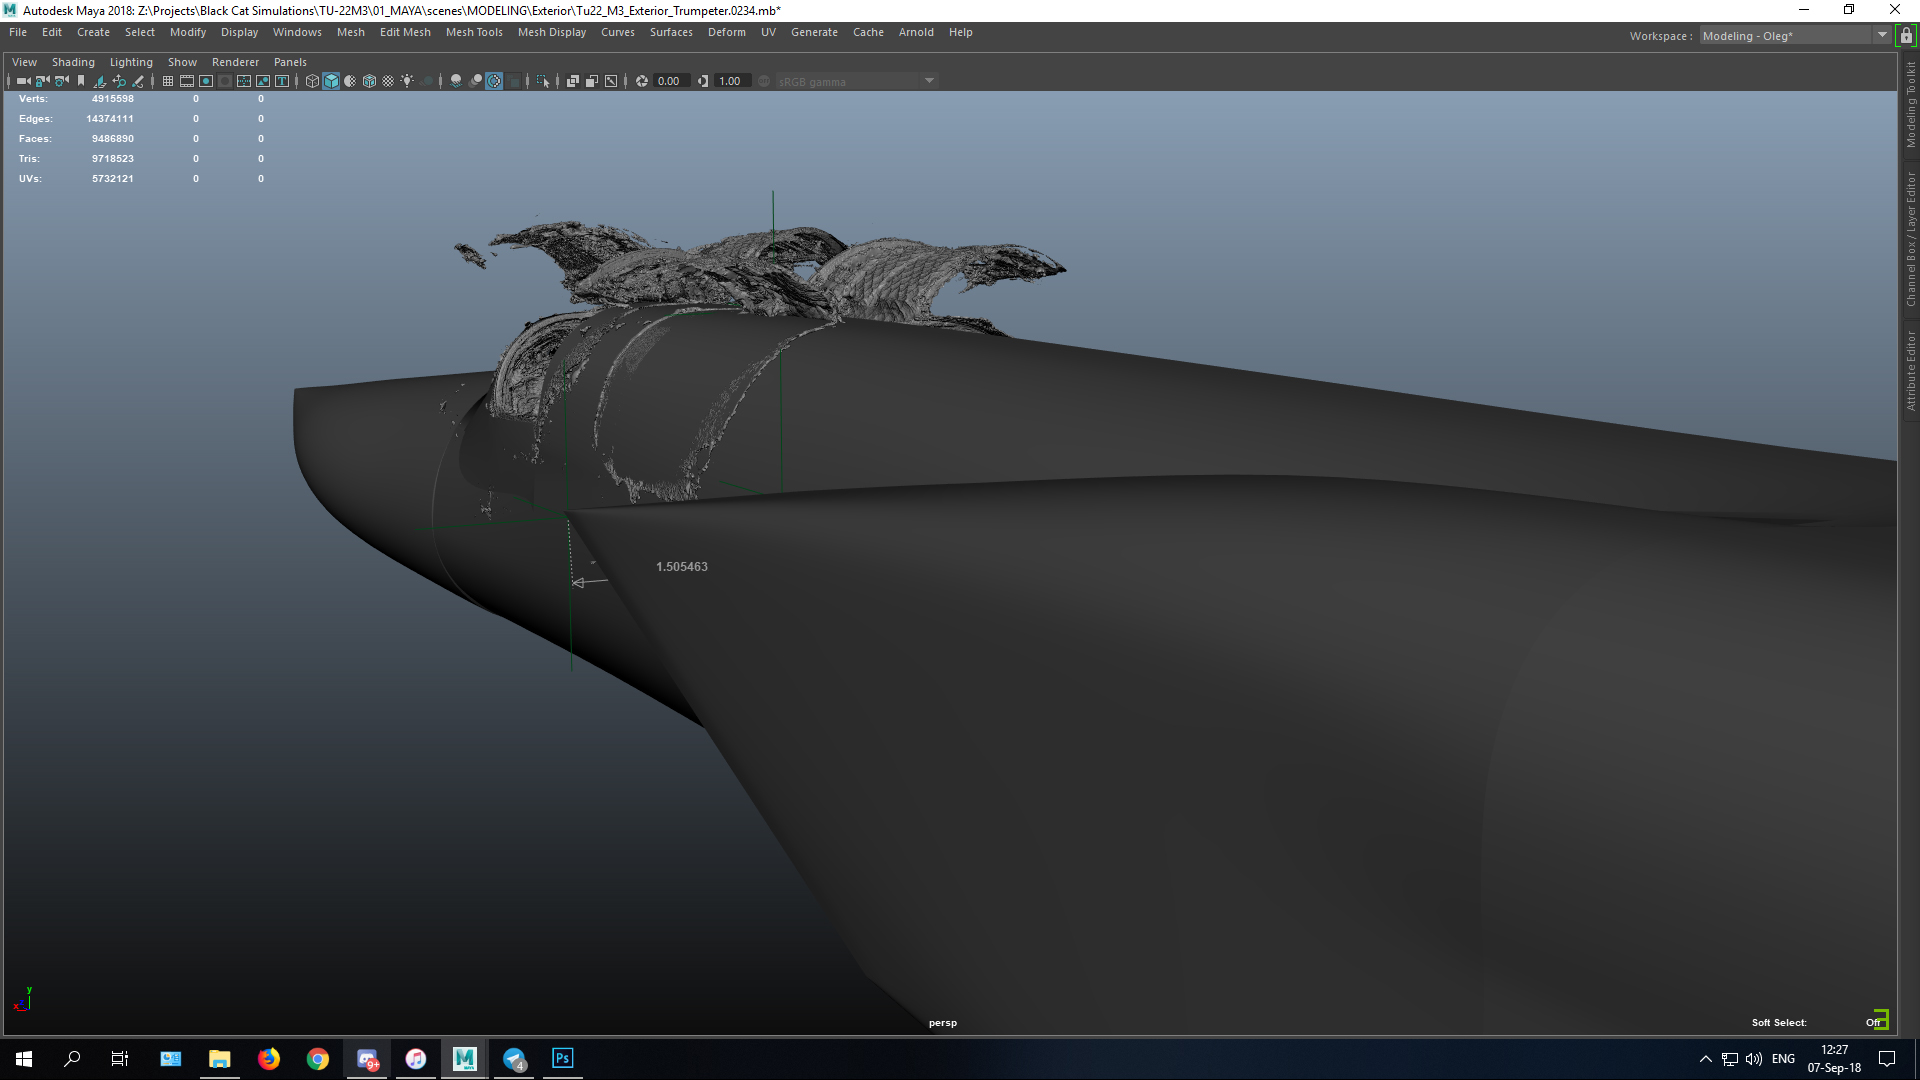
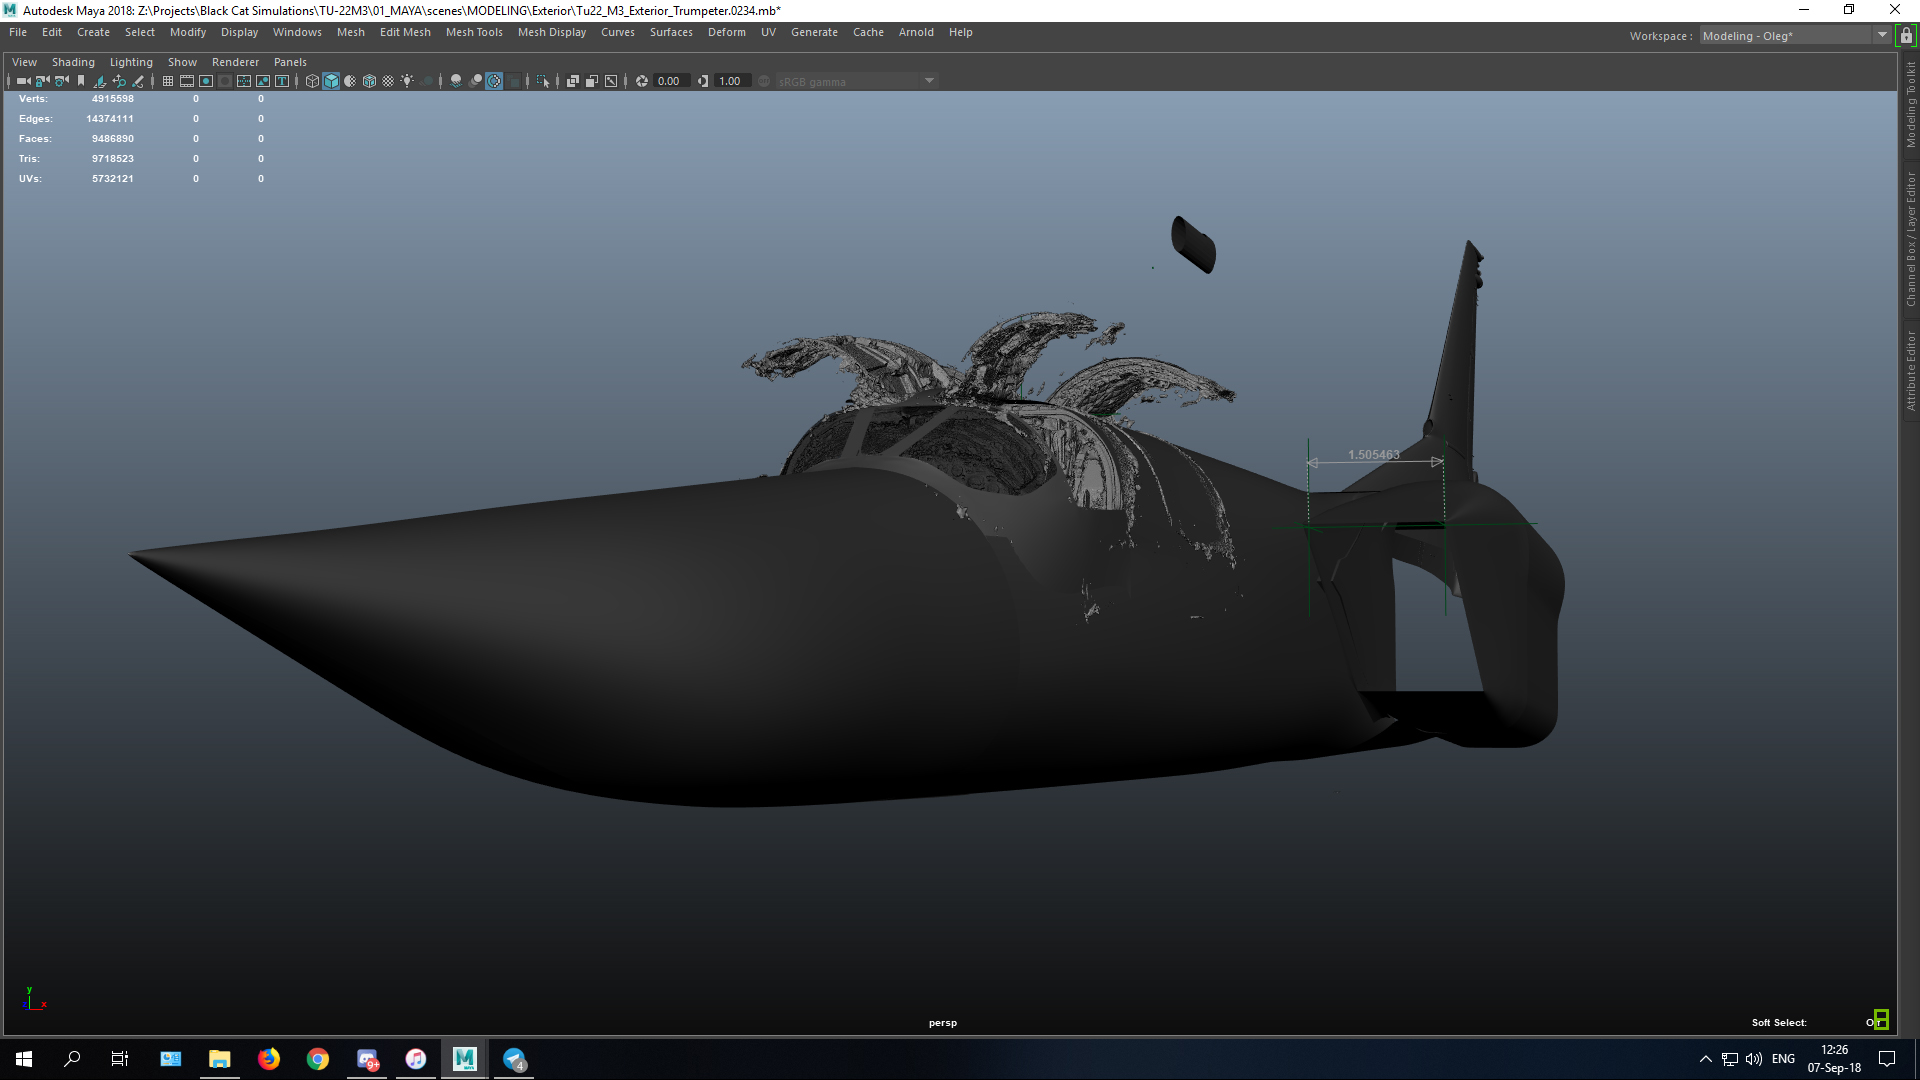
It took me nearly a month to finish all the calculations and export the meshes. We were amazed by the results of photogrammetry – it was looking really good, considering the old Canon camera and challenging shoot conditions.
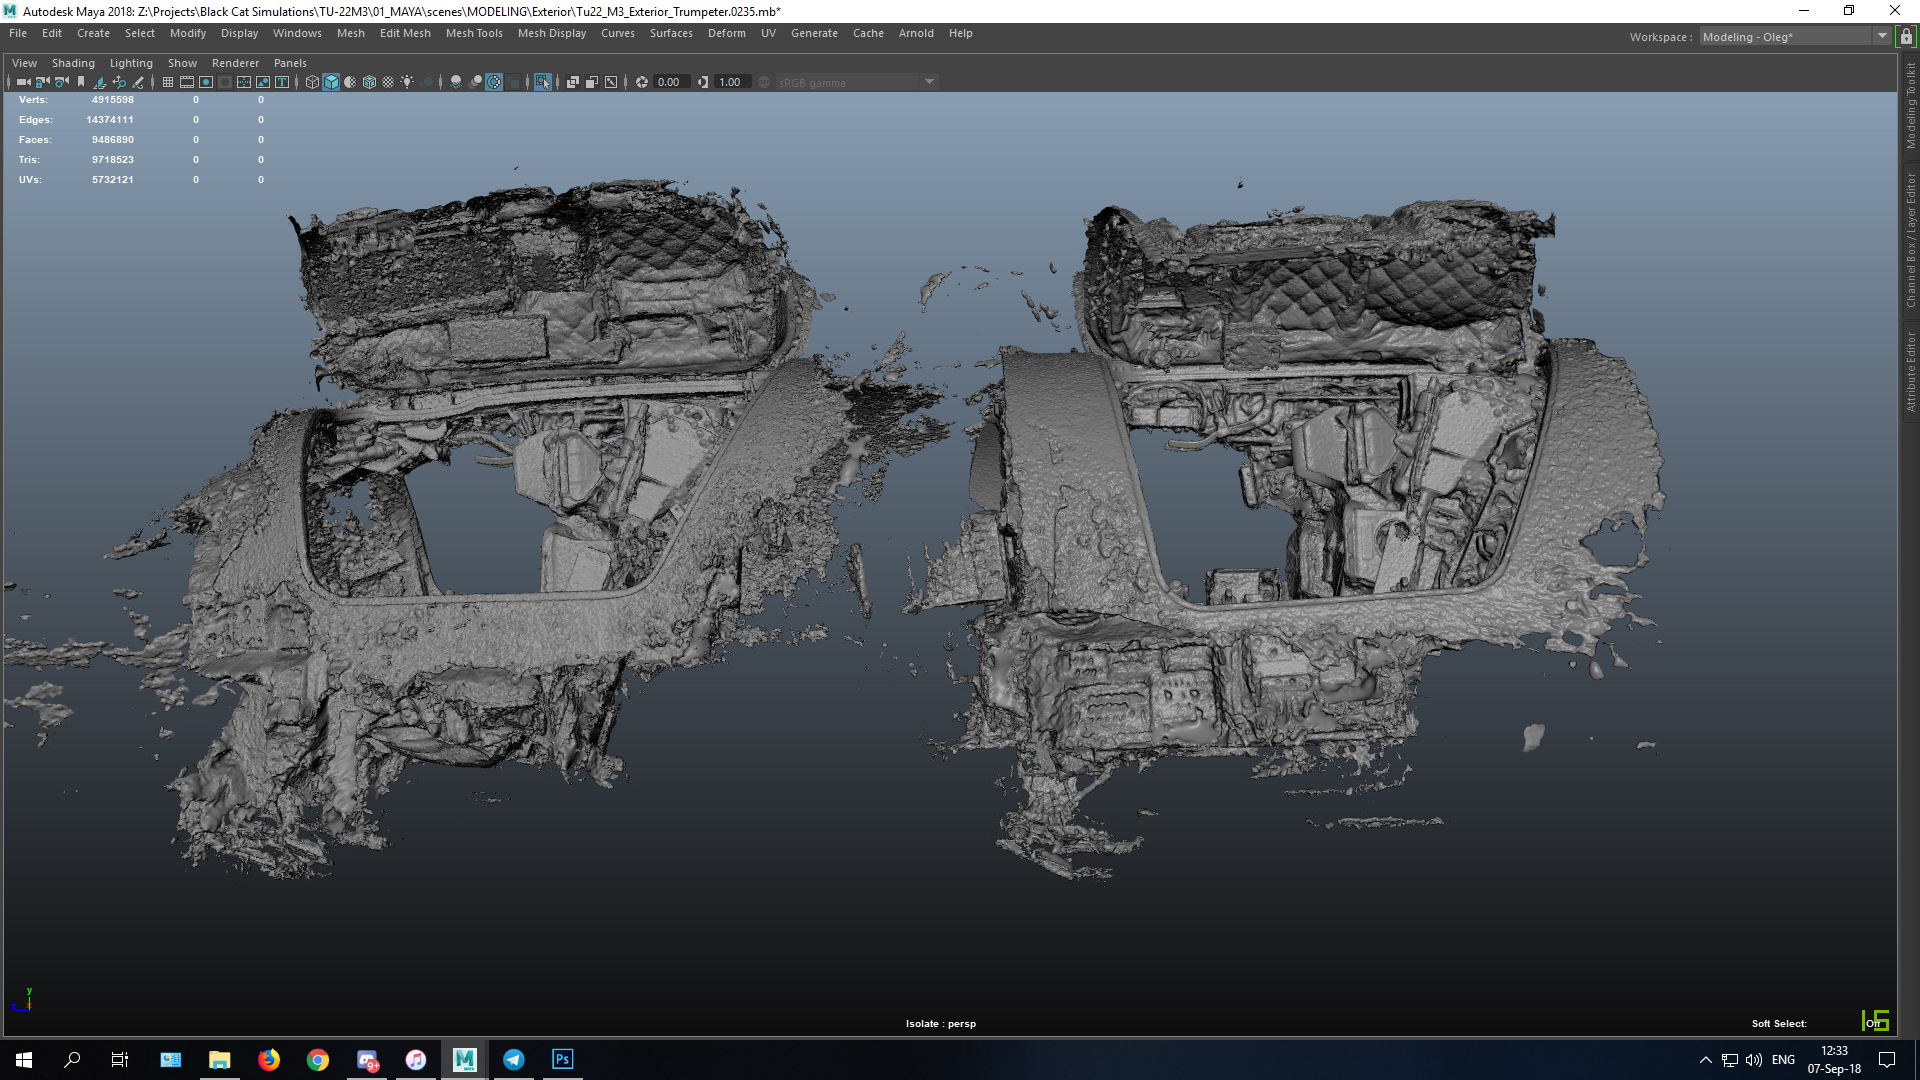
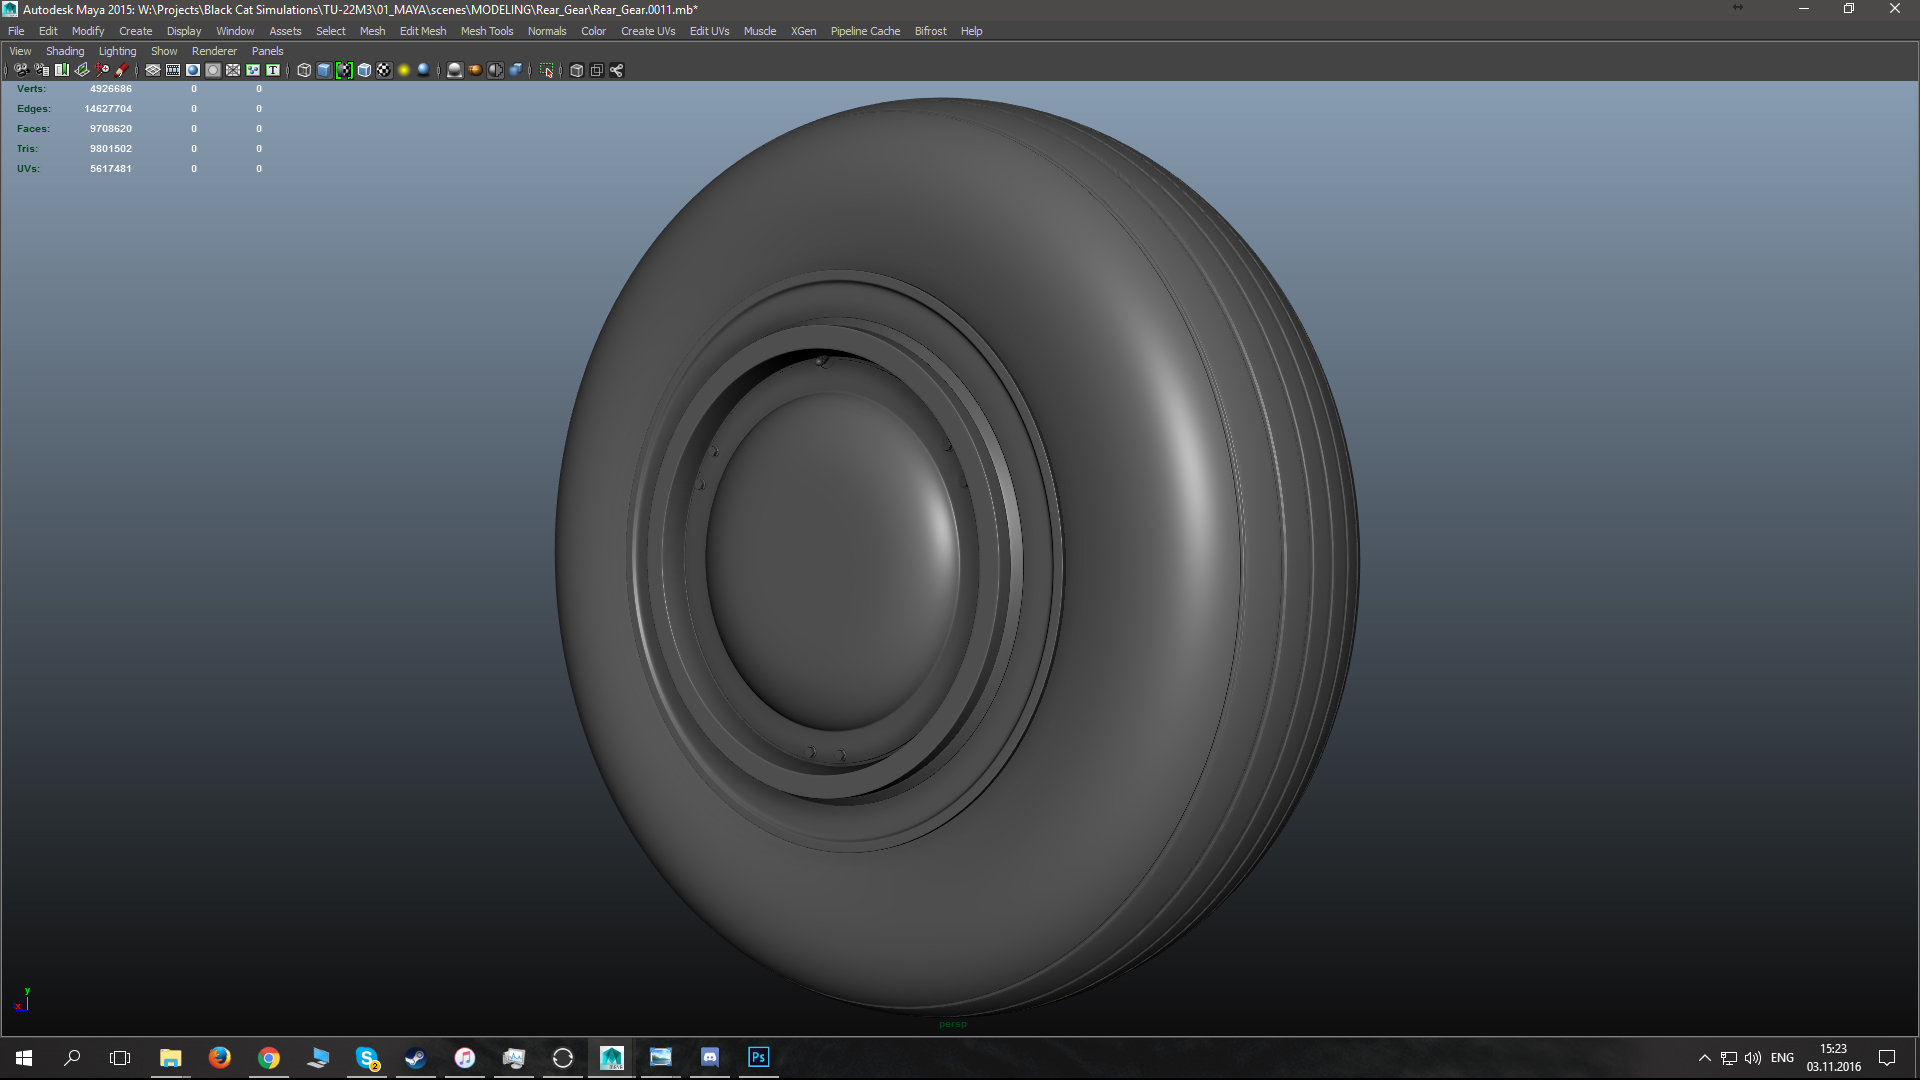
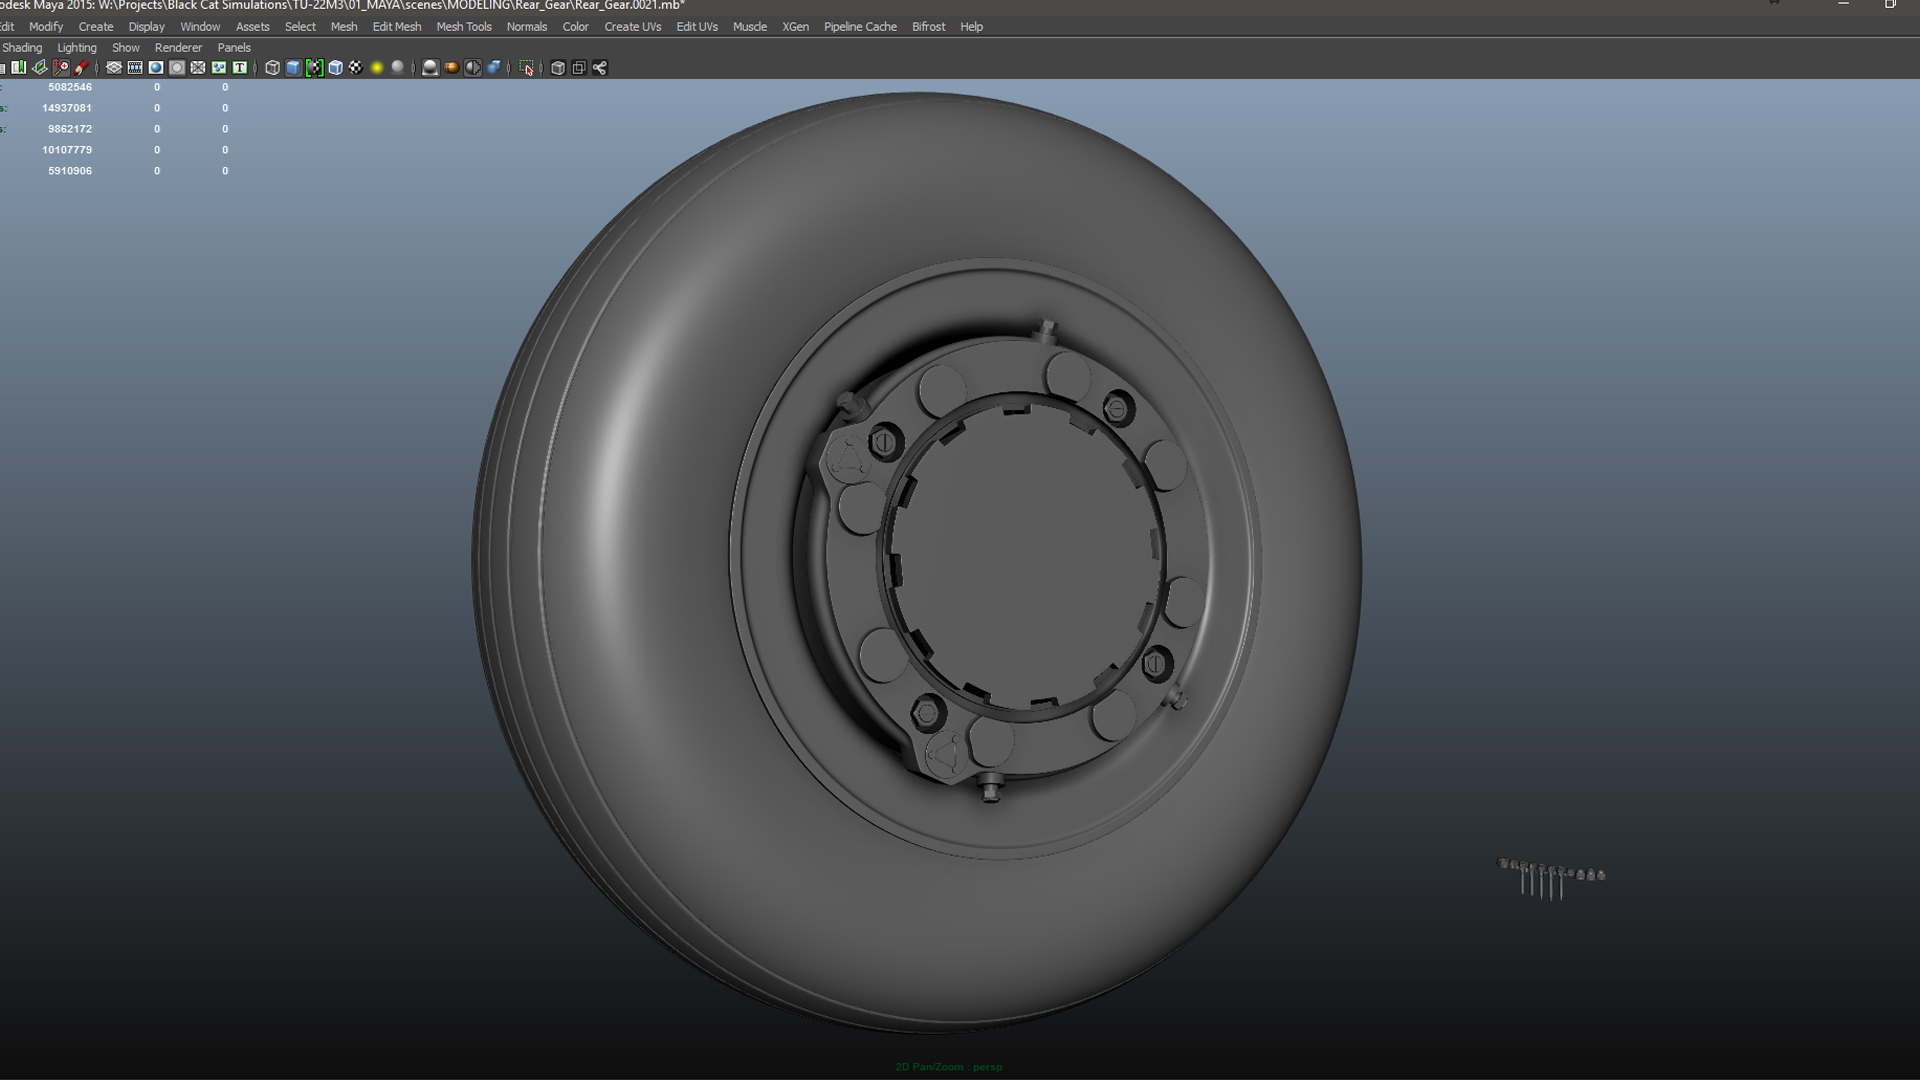
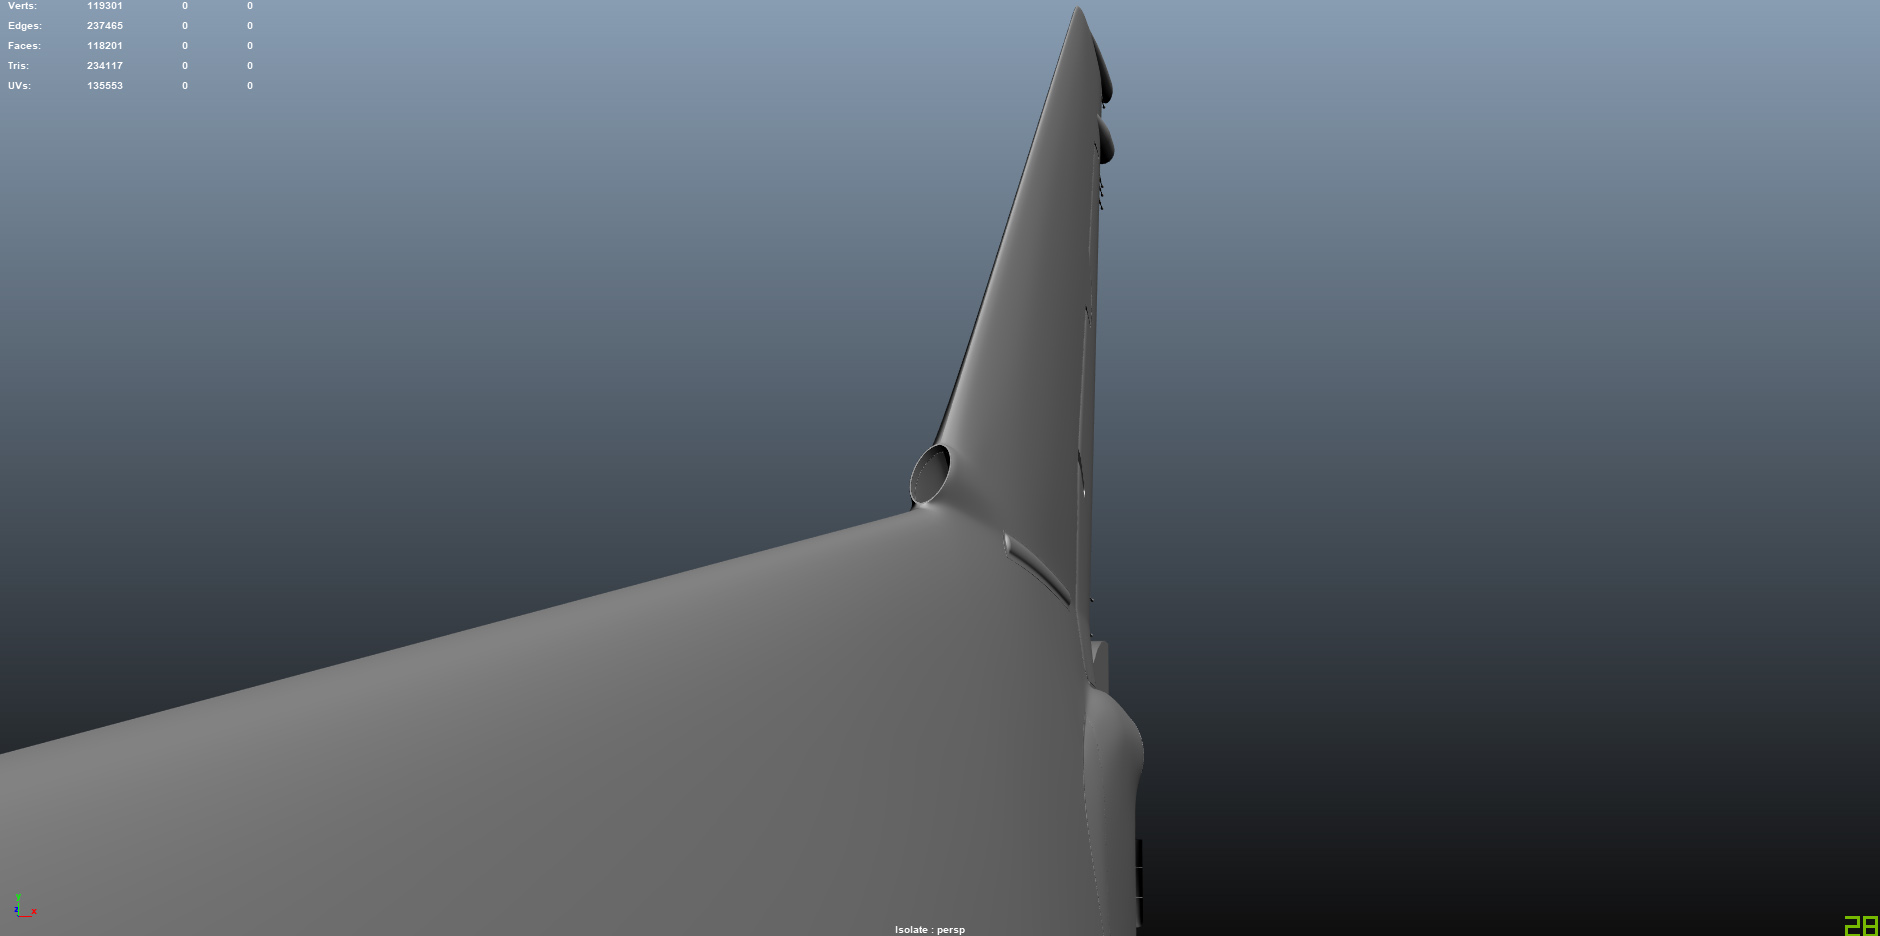
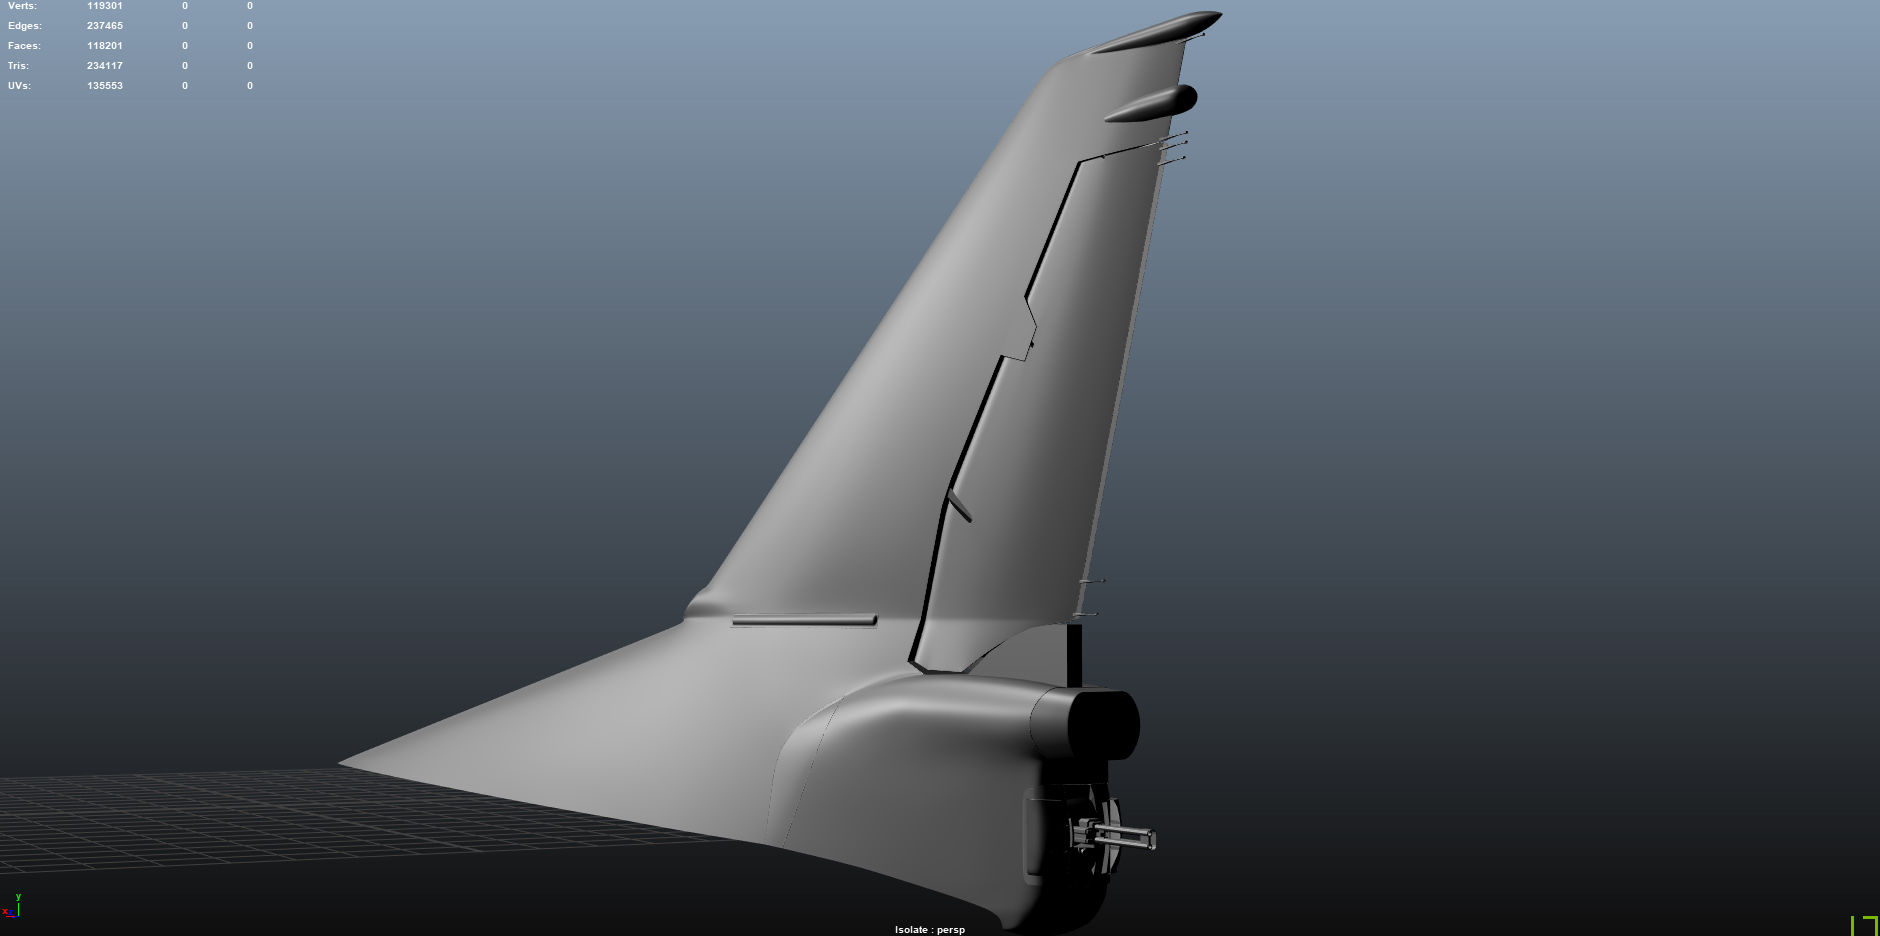
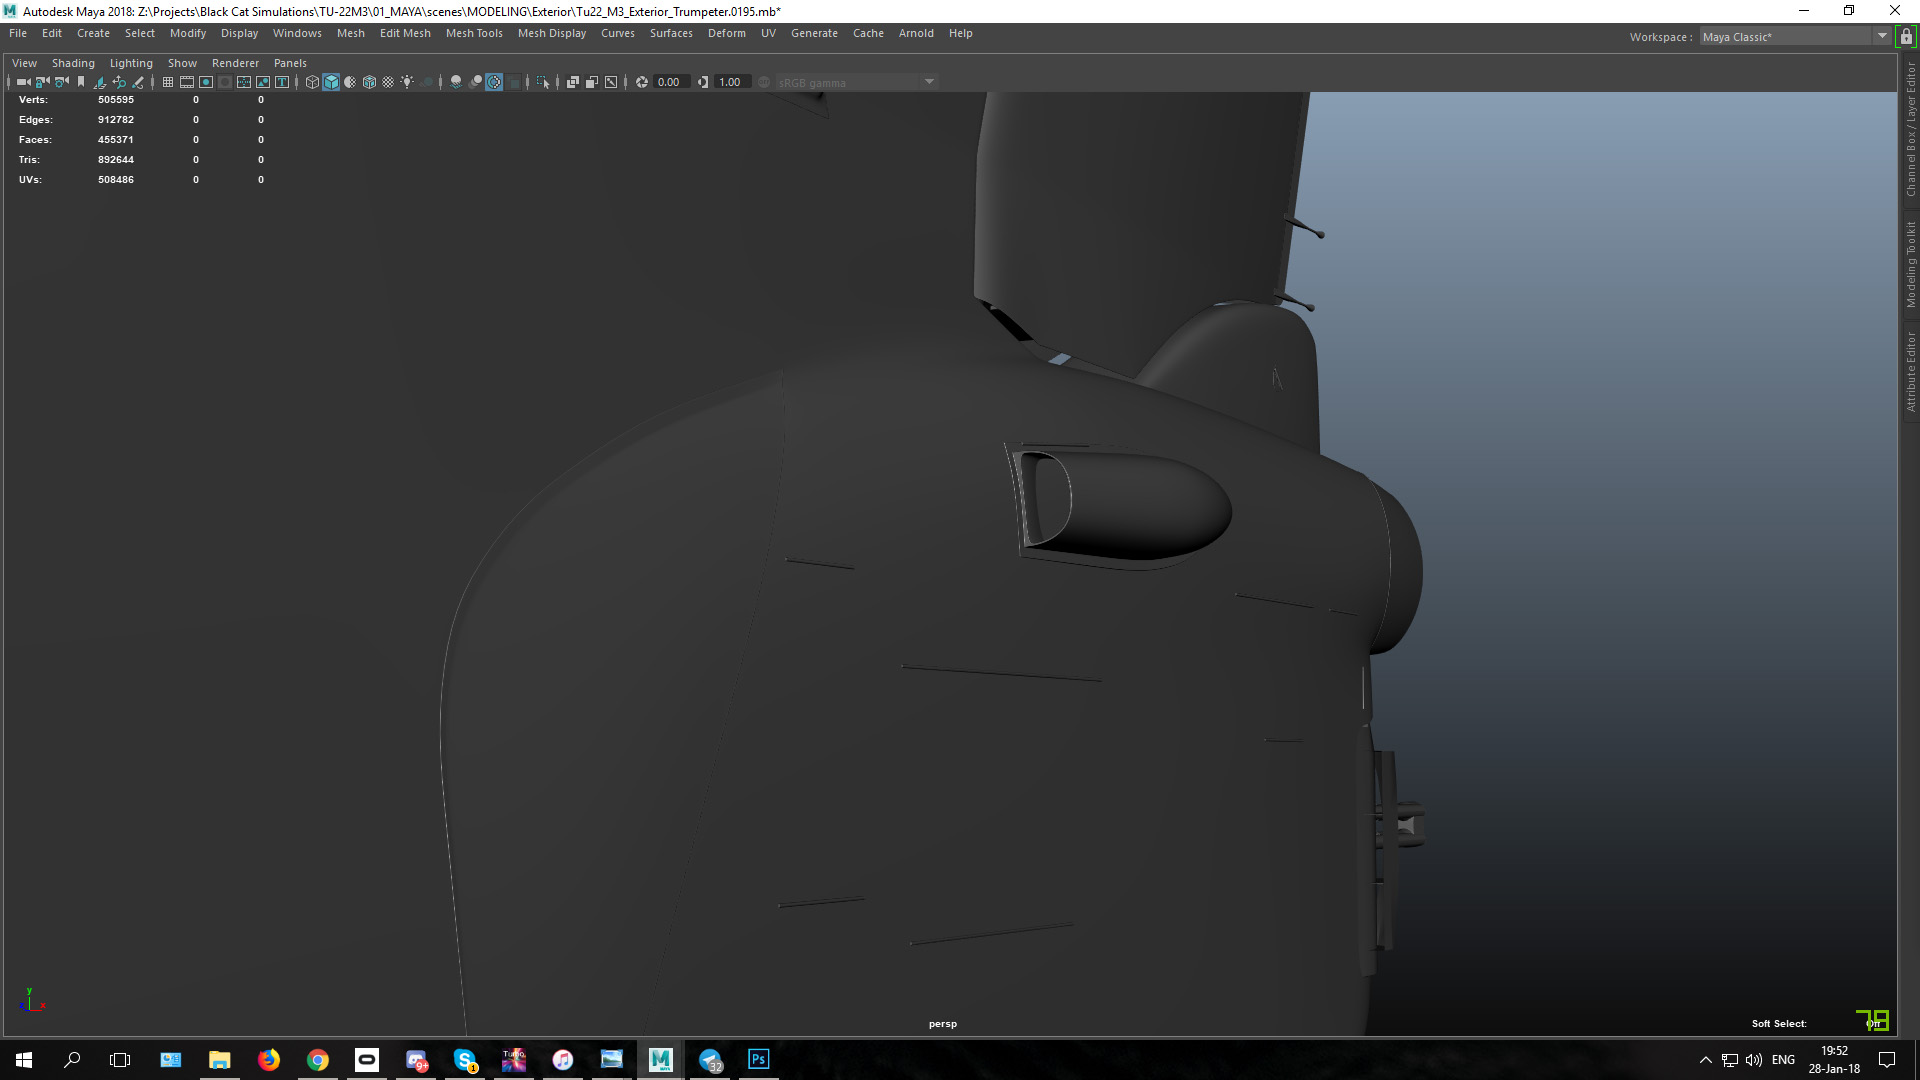
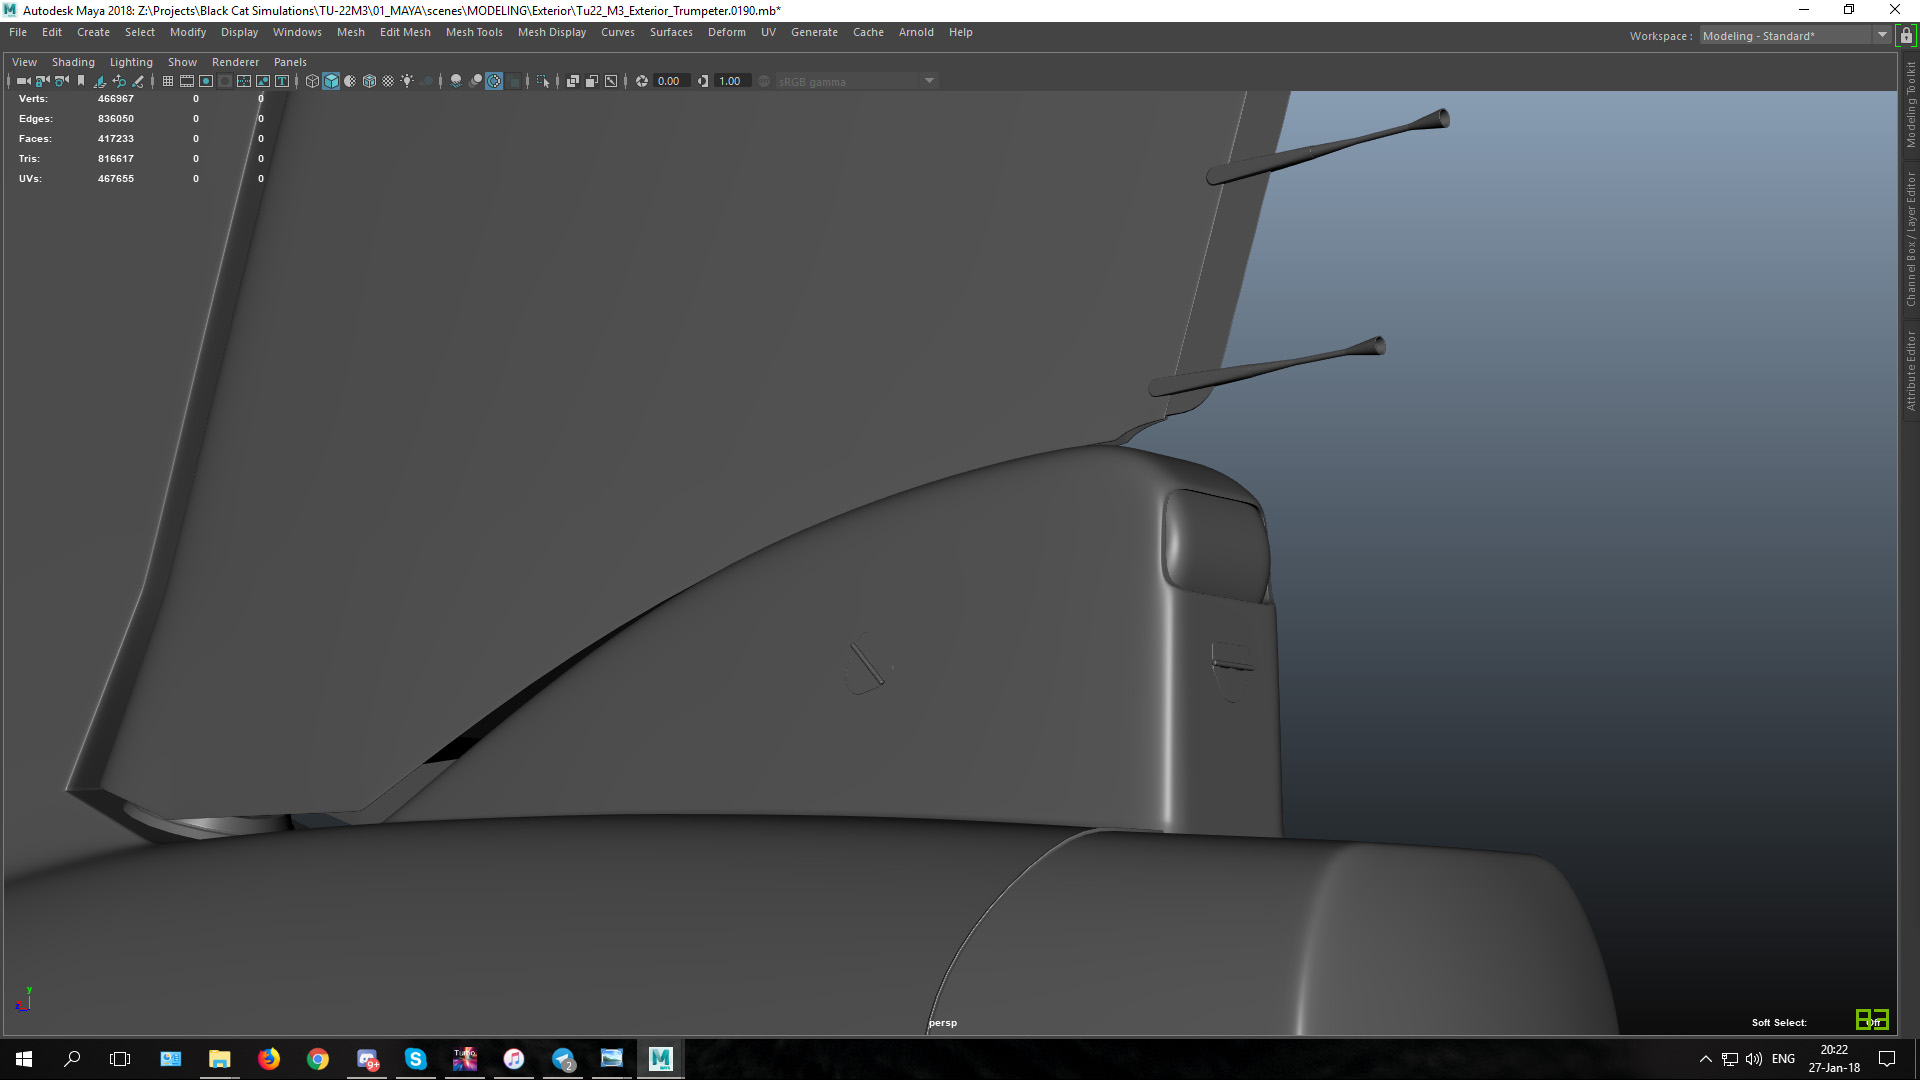
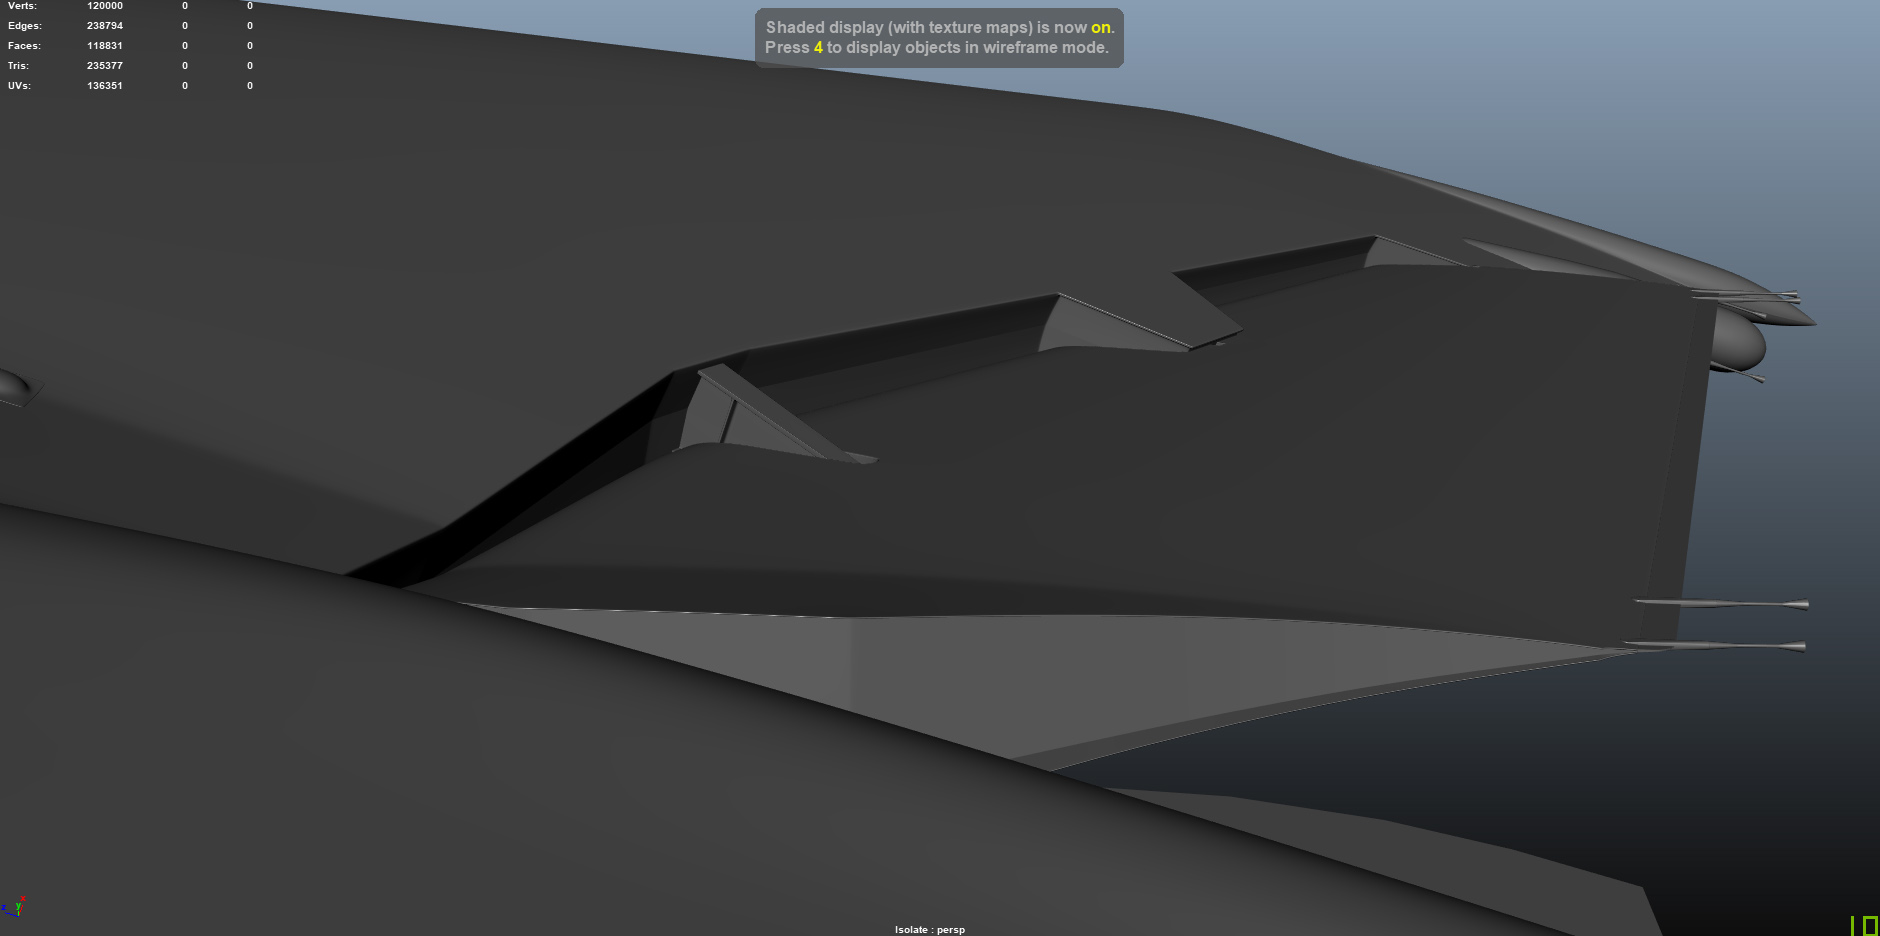
Right after that, I began to model the plane. It did go very well, but soon after I realized that without financial support it was not possible to complete this mod on the level of detail that we wanted. I was the only modeler in our team and the amount of work needed to be done – was immense. Monthly bills had to be paid, we did try to find funding, but it was not on a level that could sustain the cost of living. The decision was made to archive the project until better times.
I still have a wish to revive this project, and finish the model in all its glory!
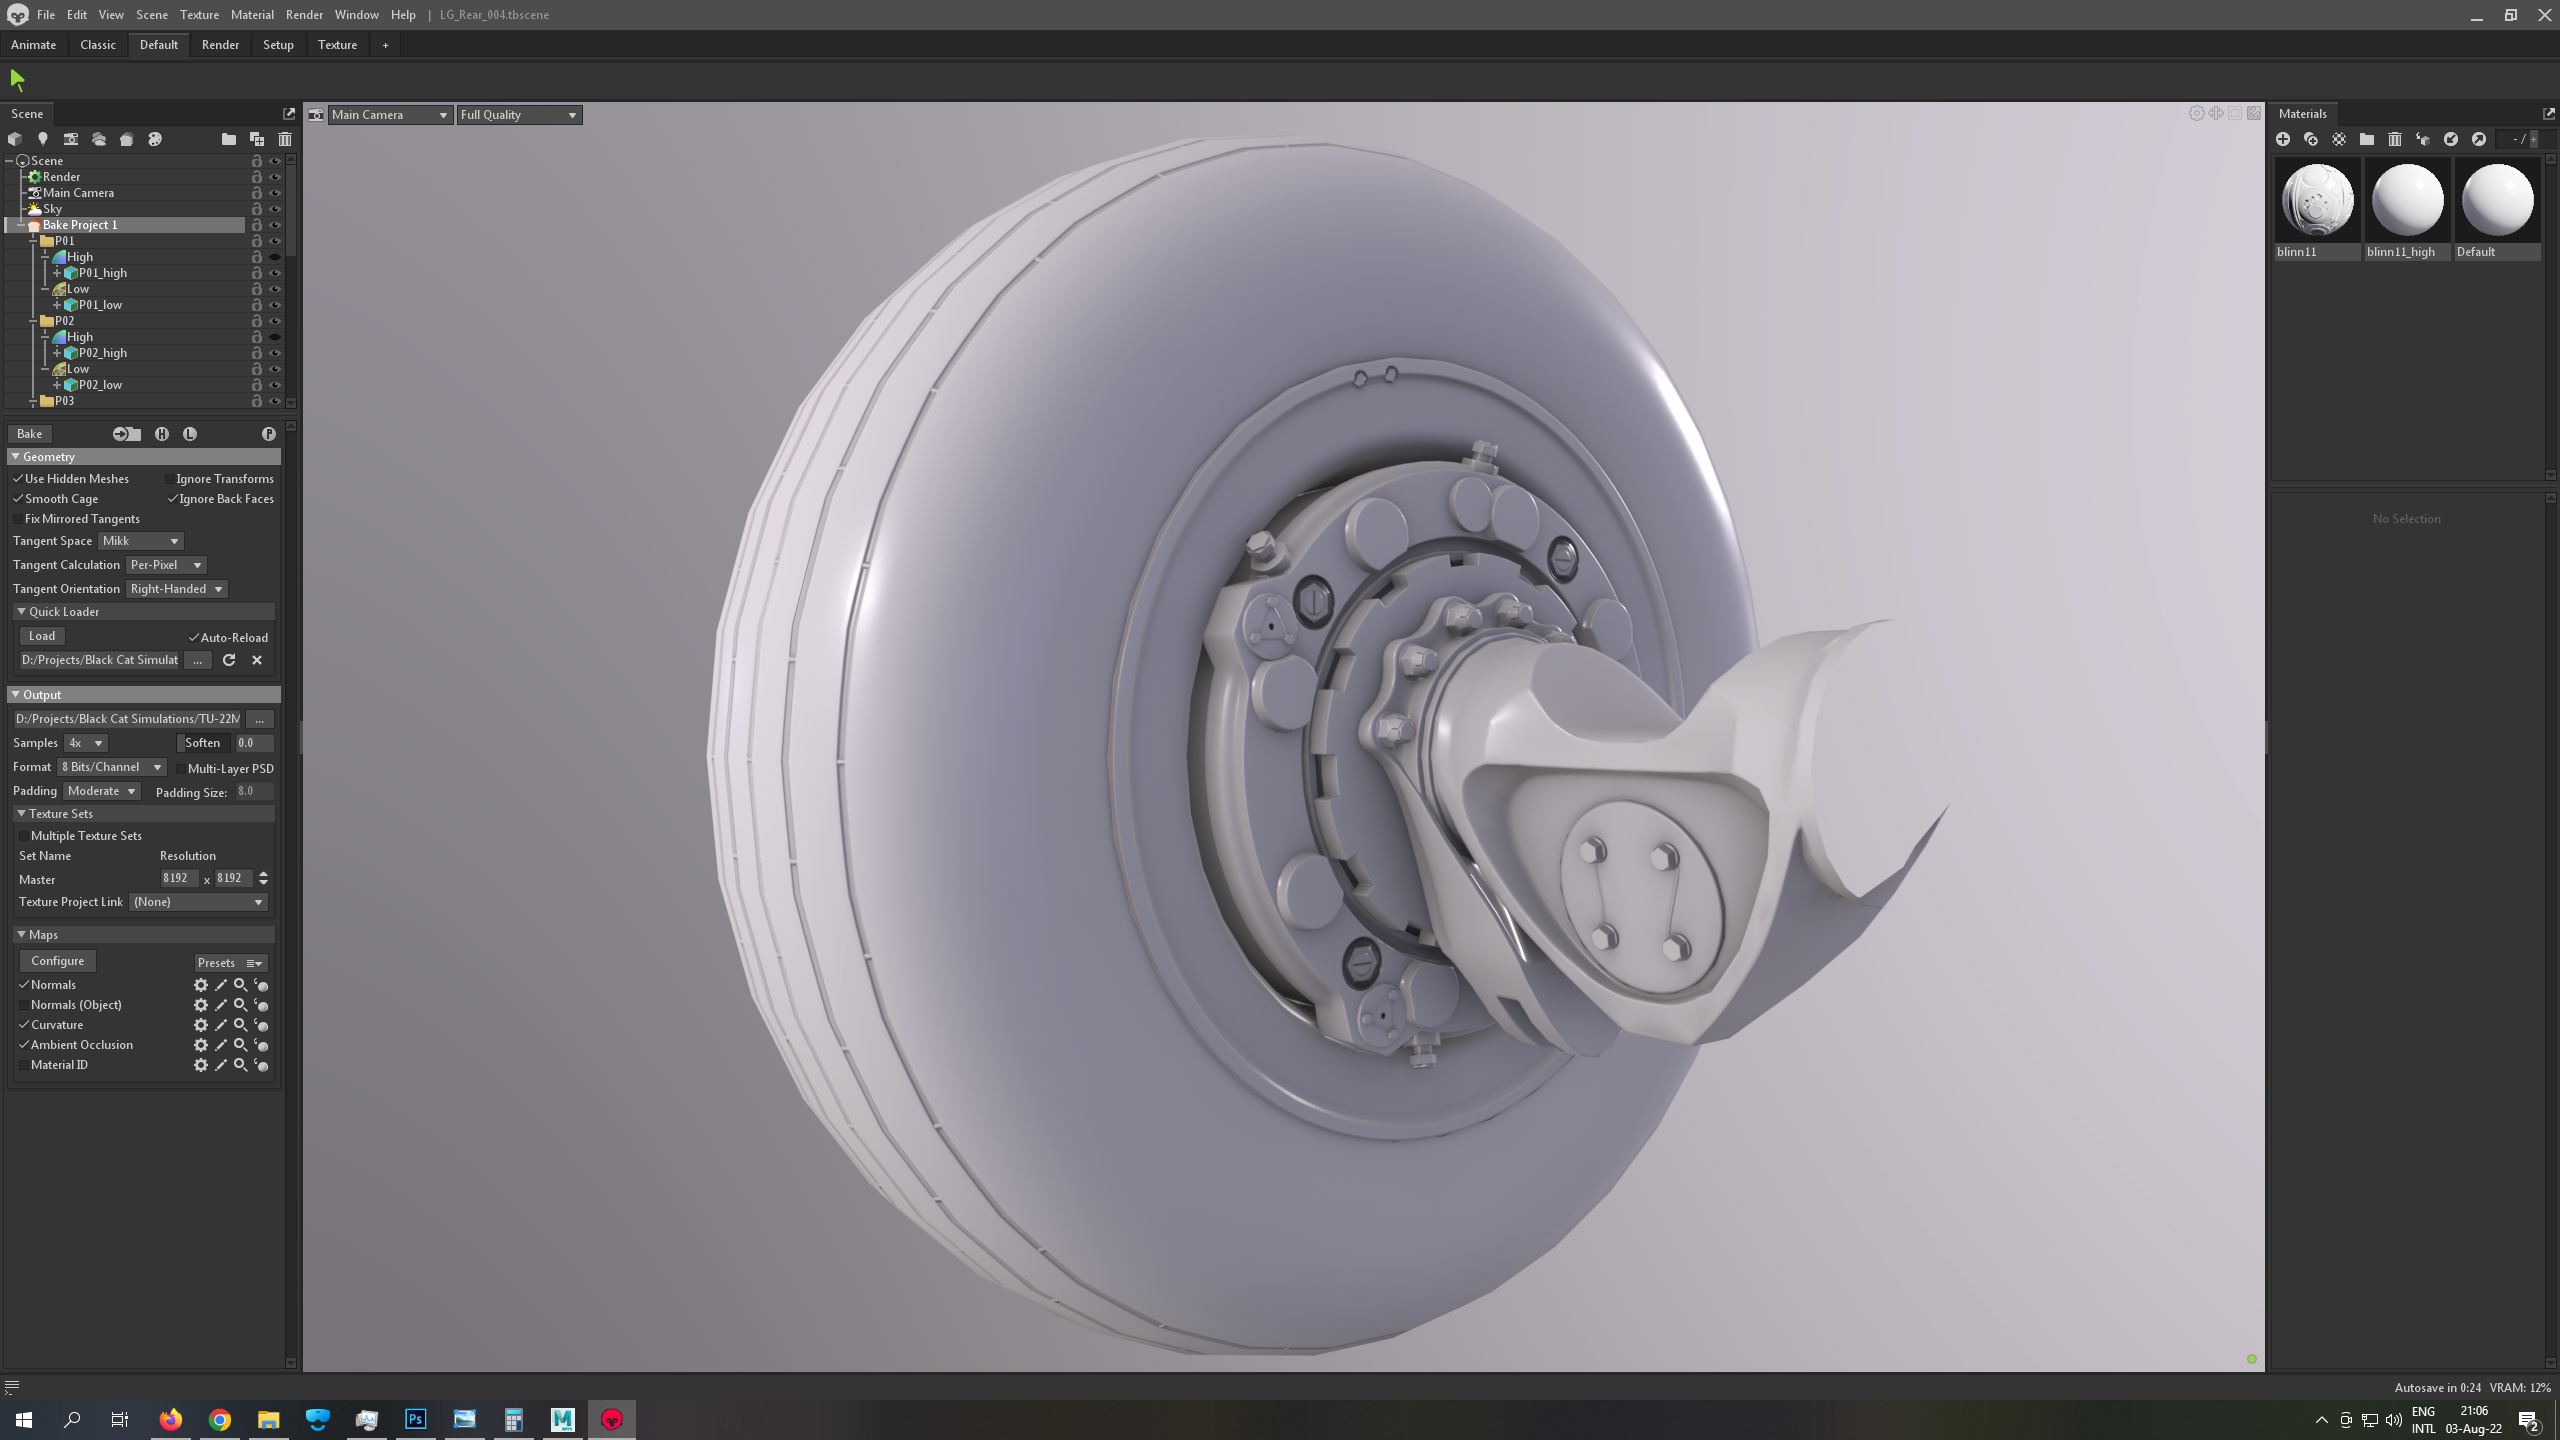
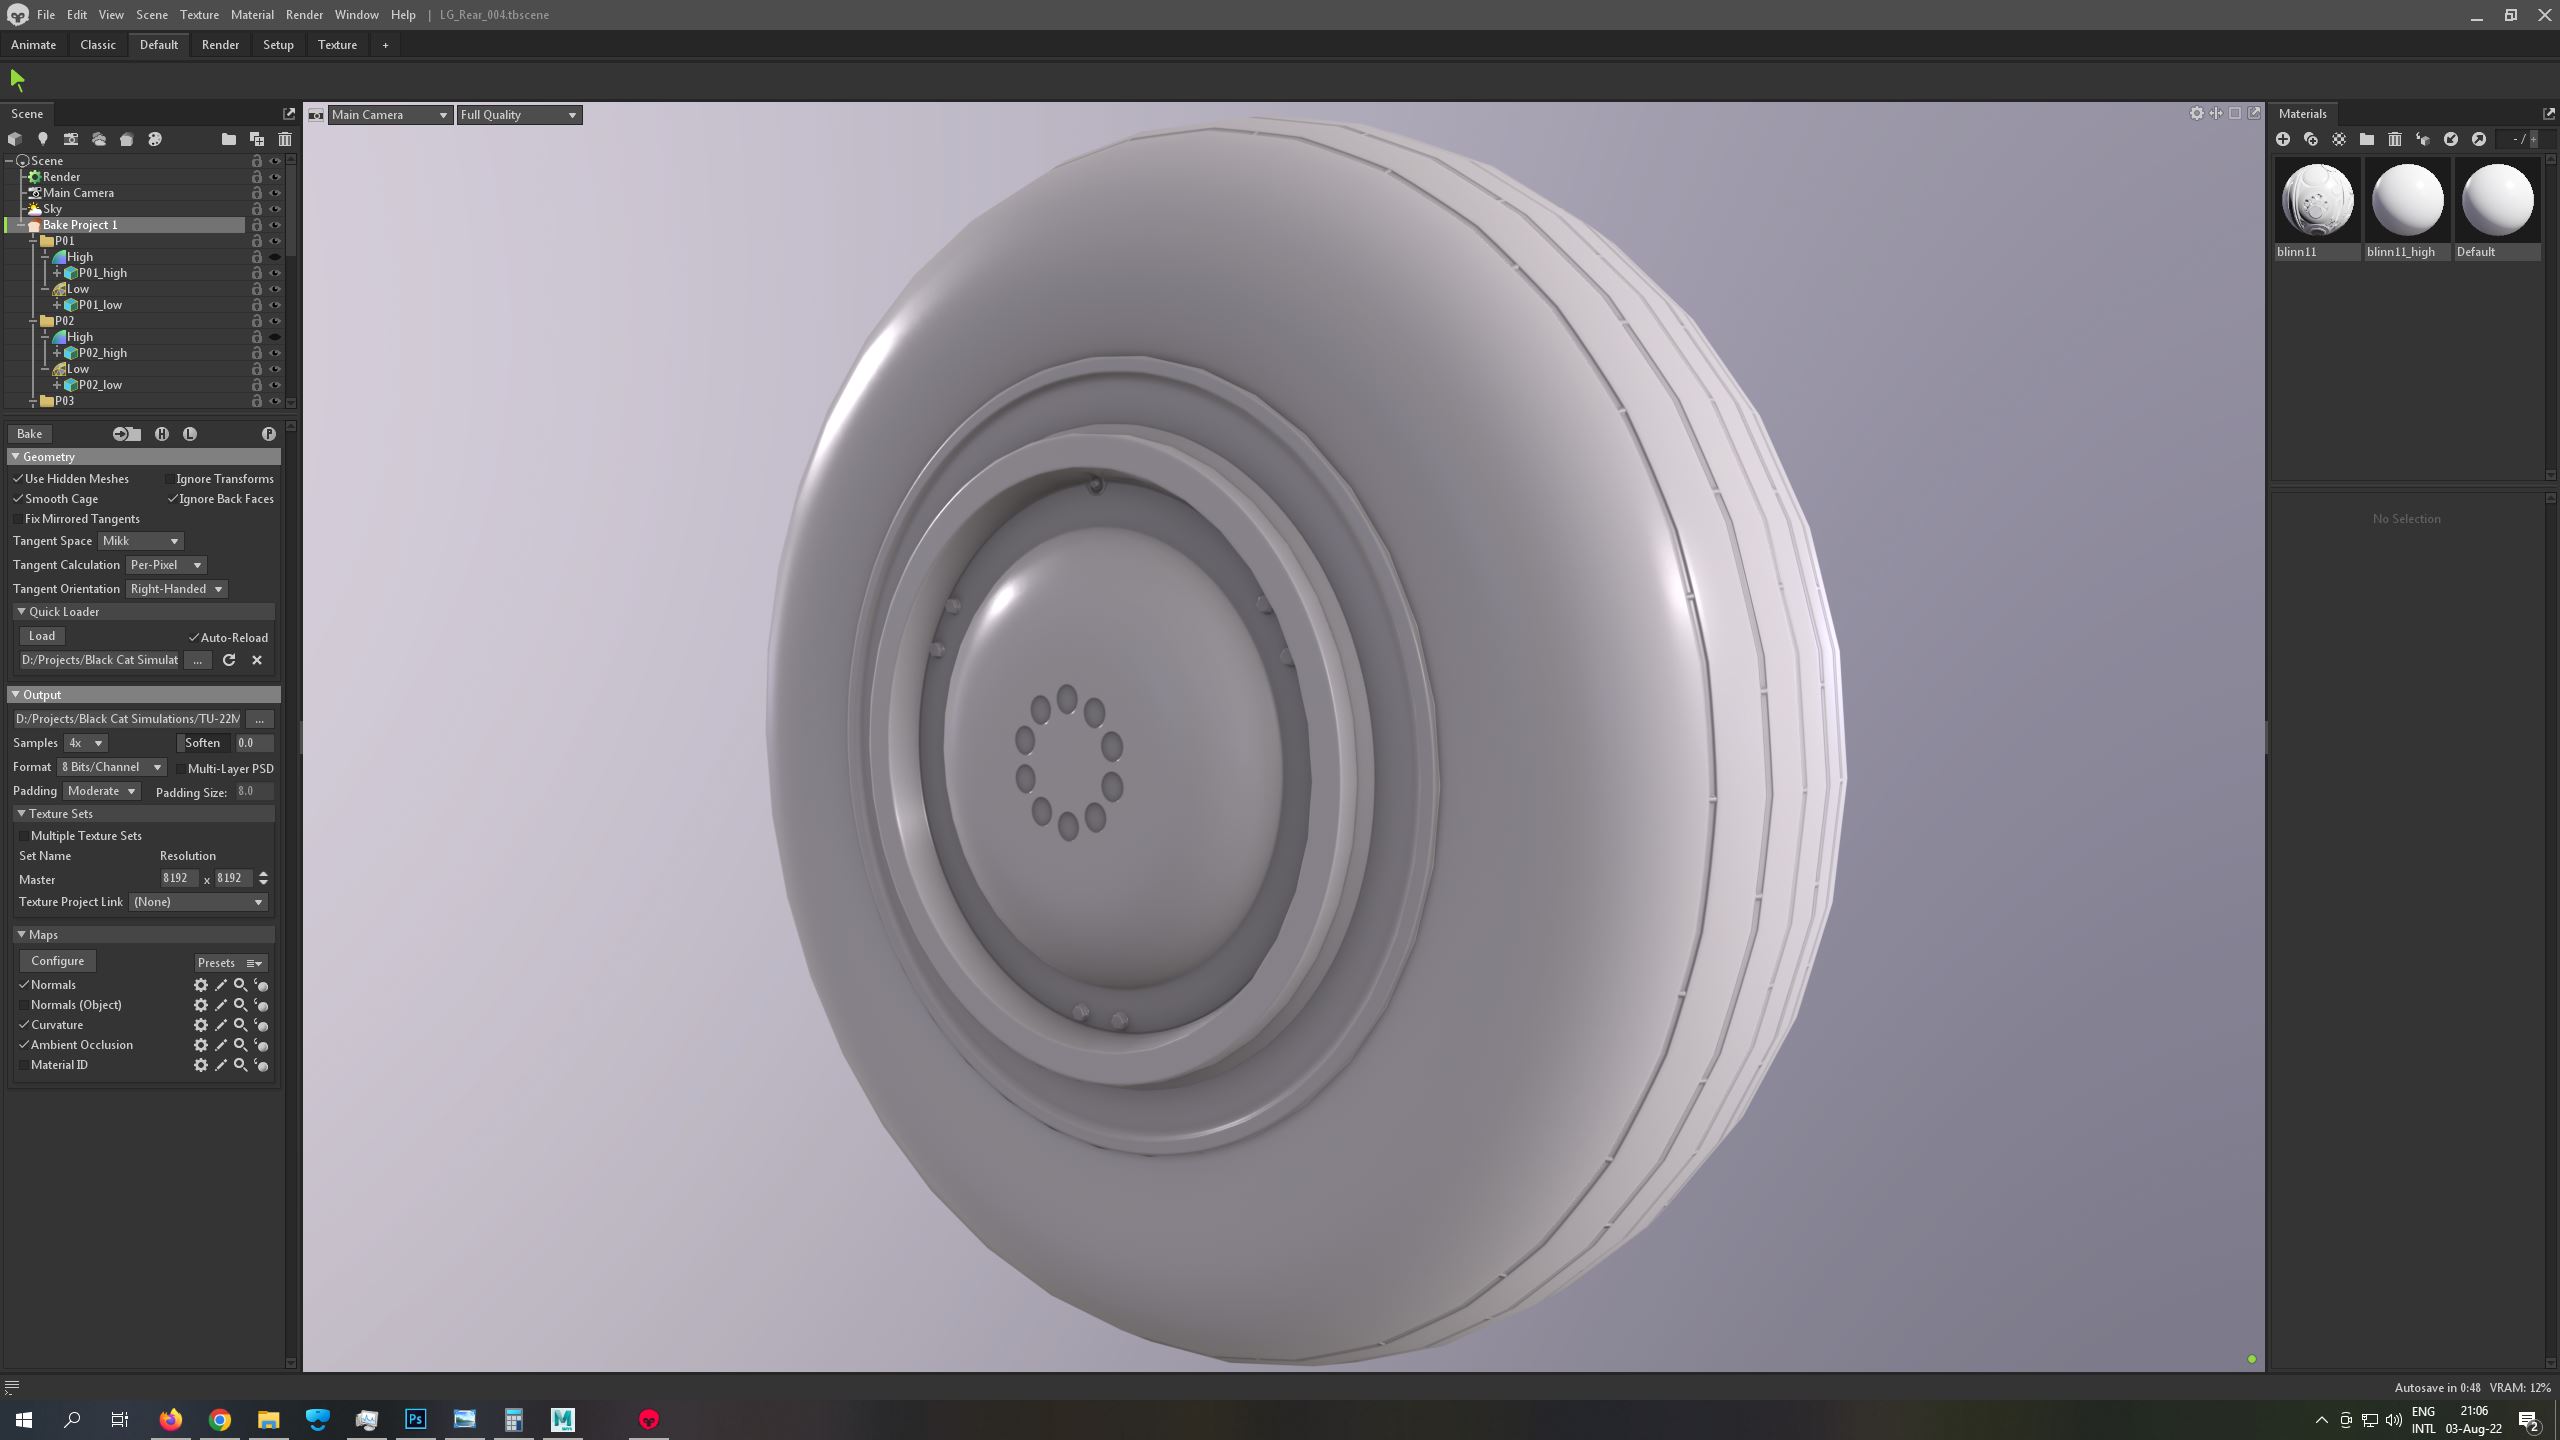
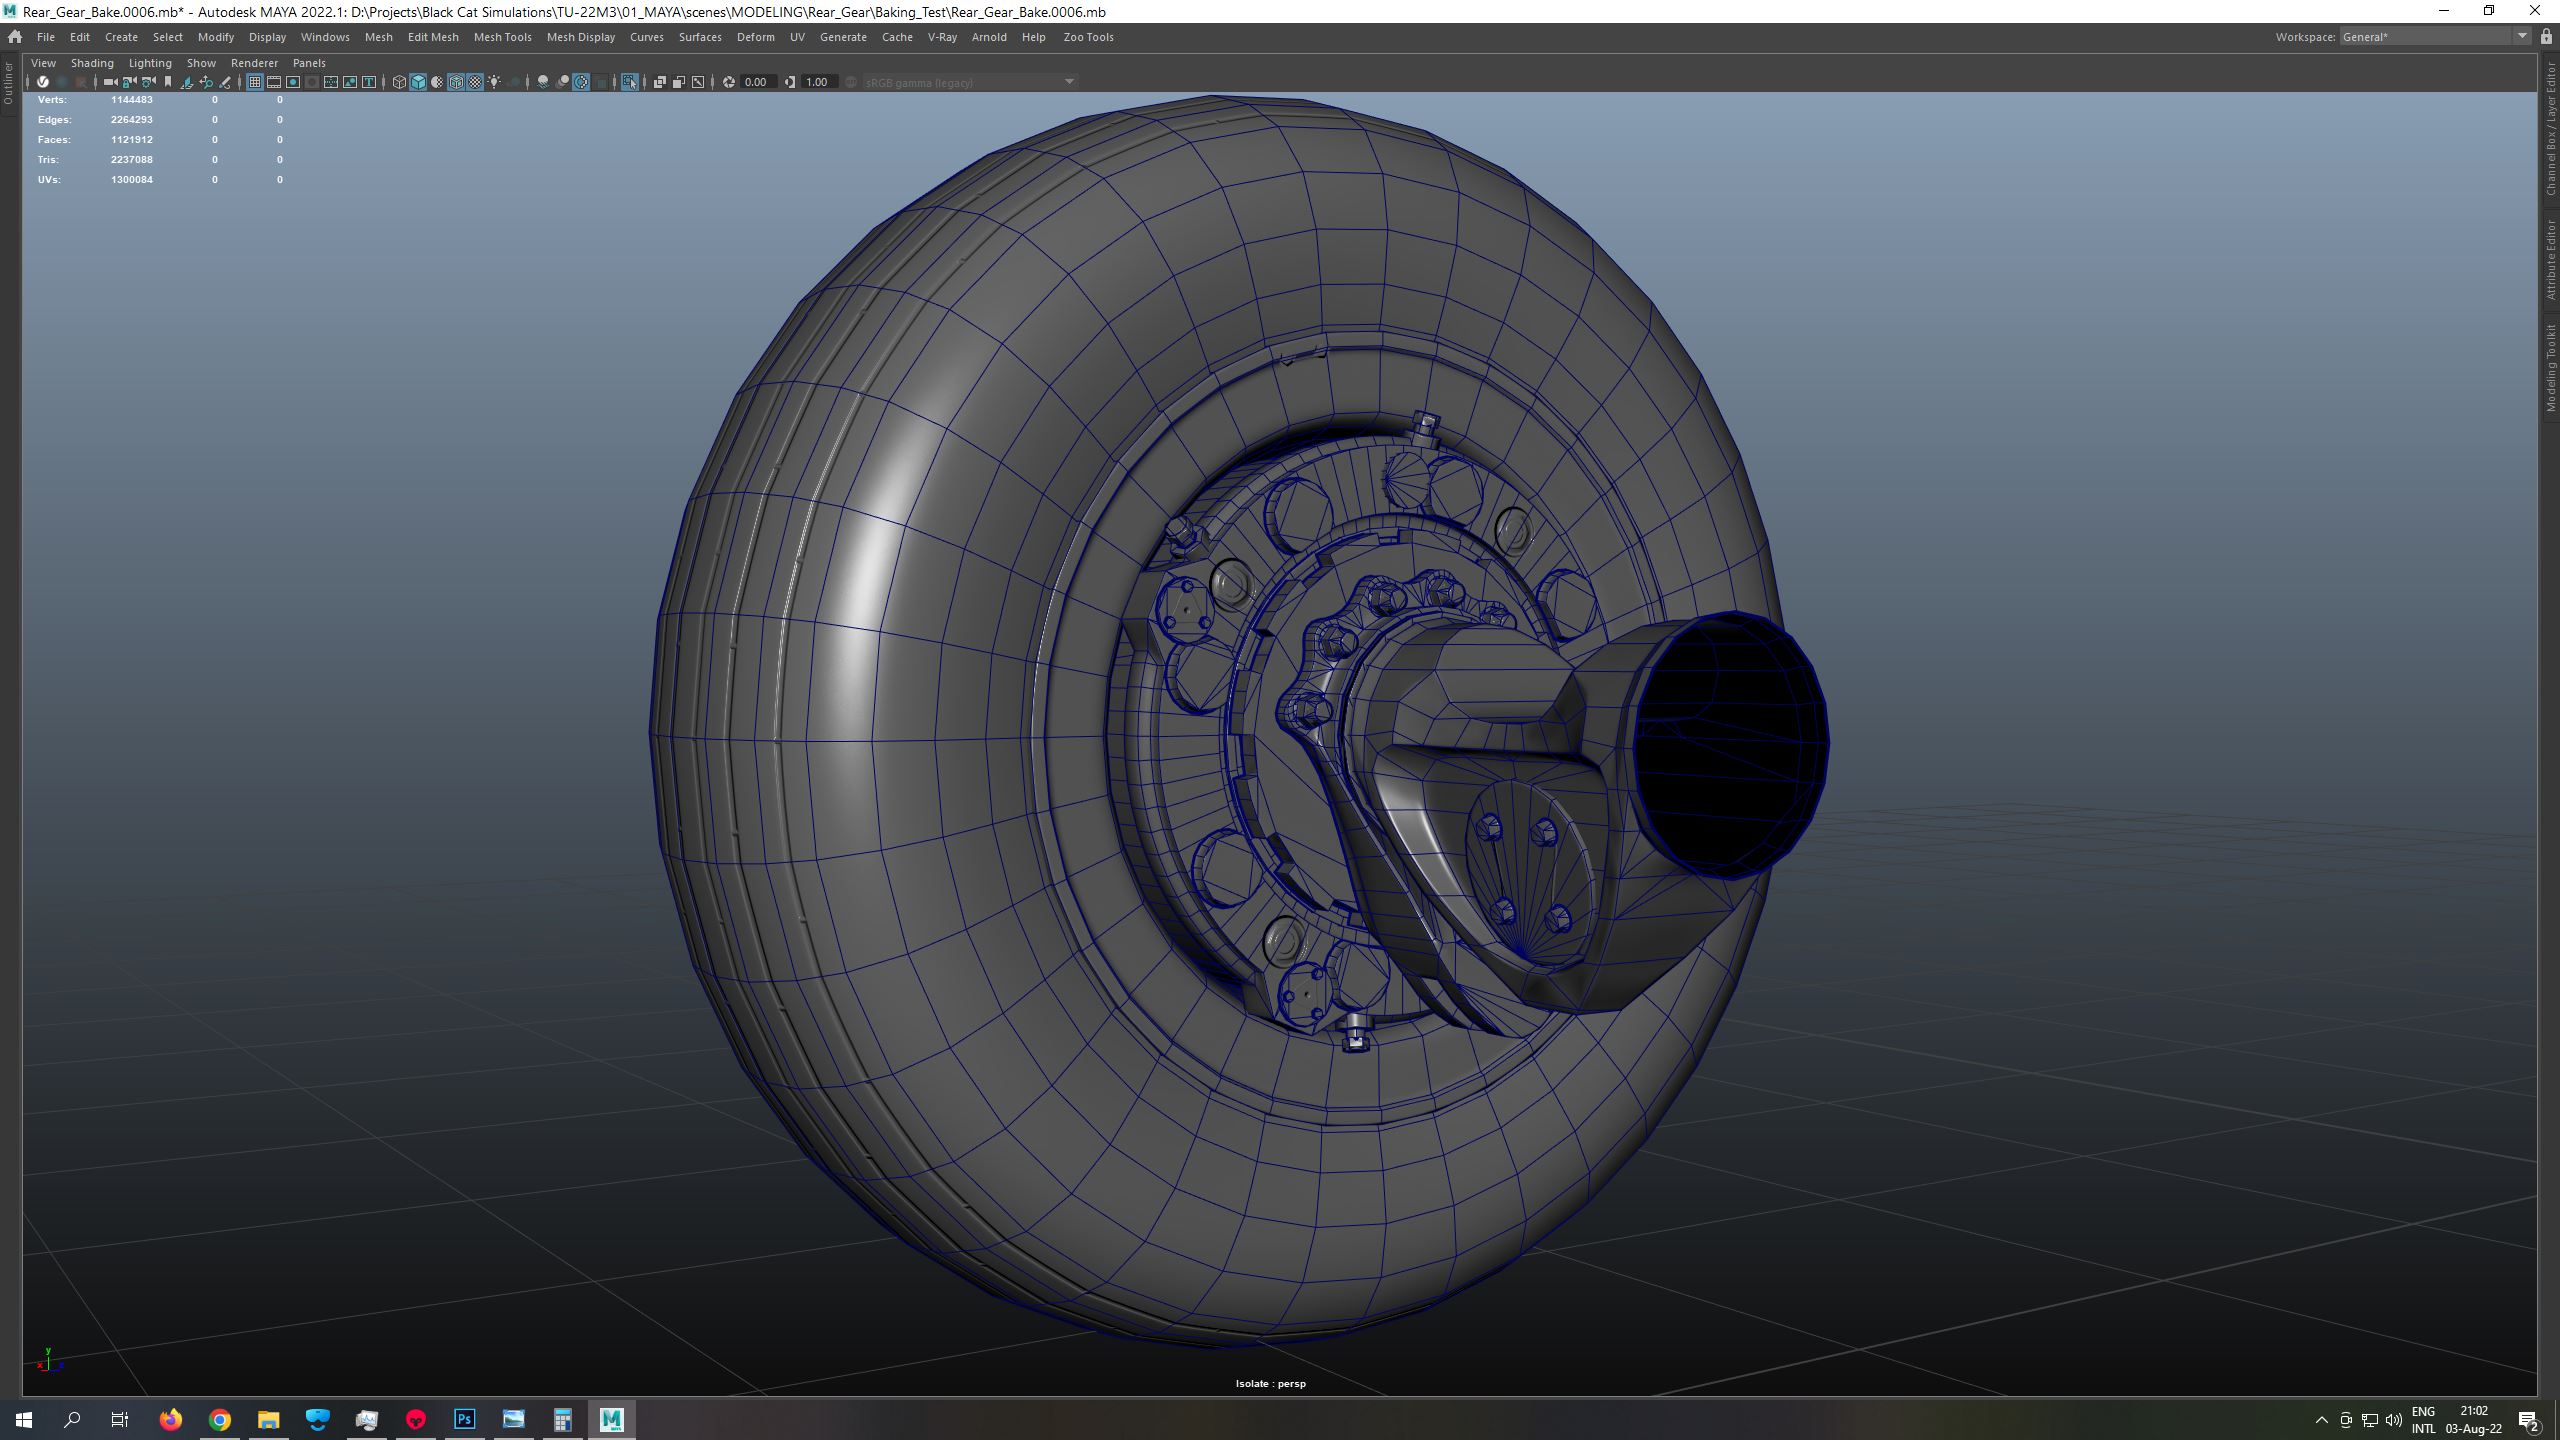
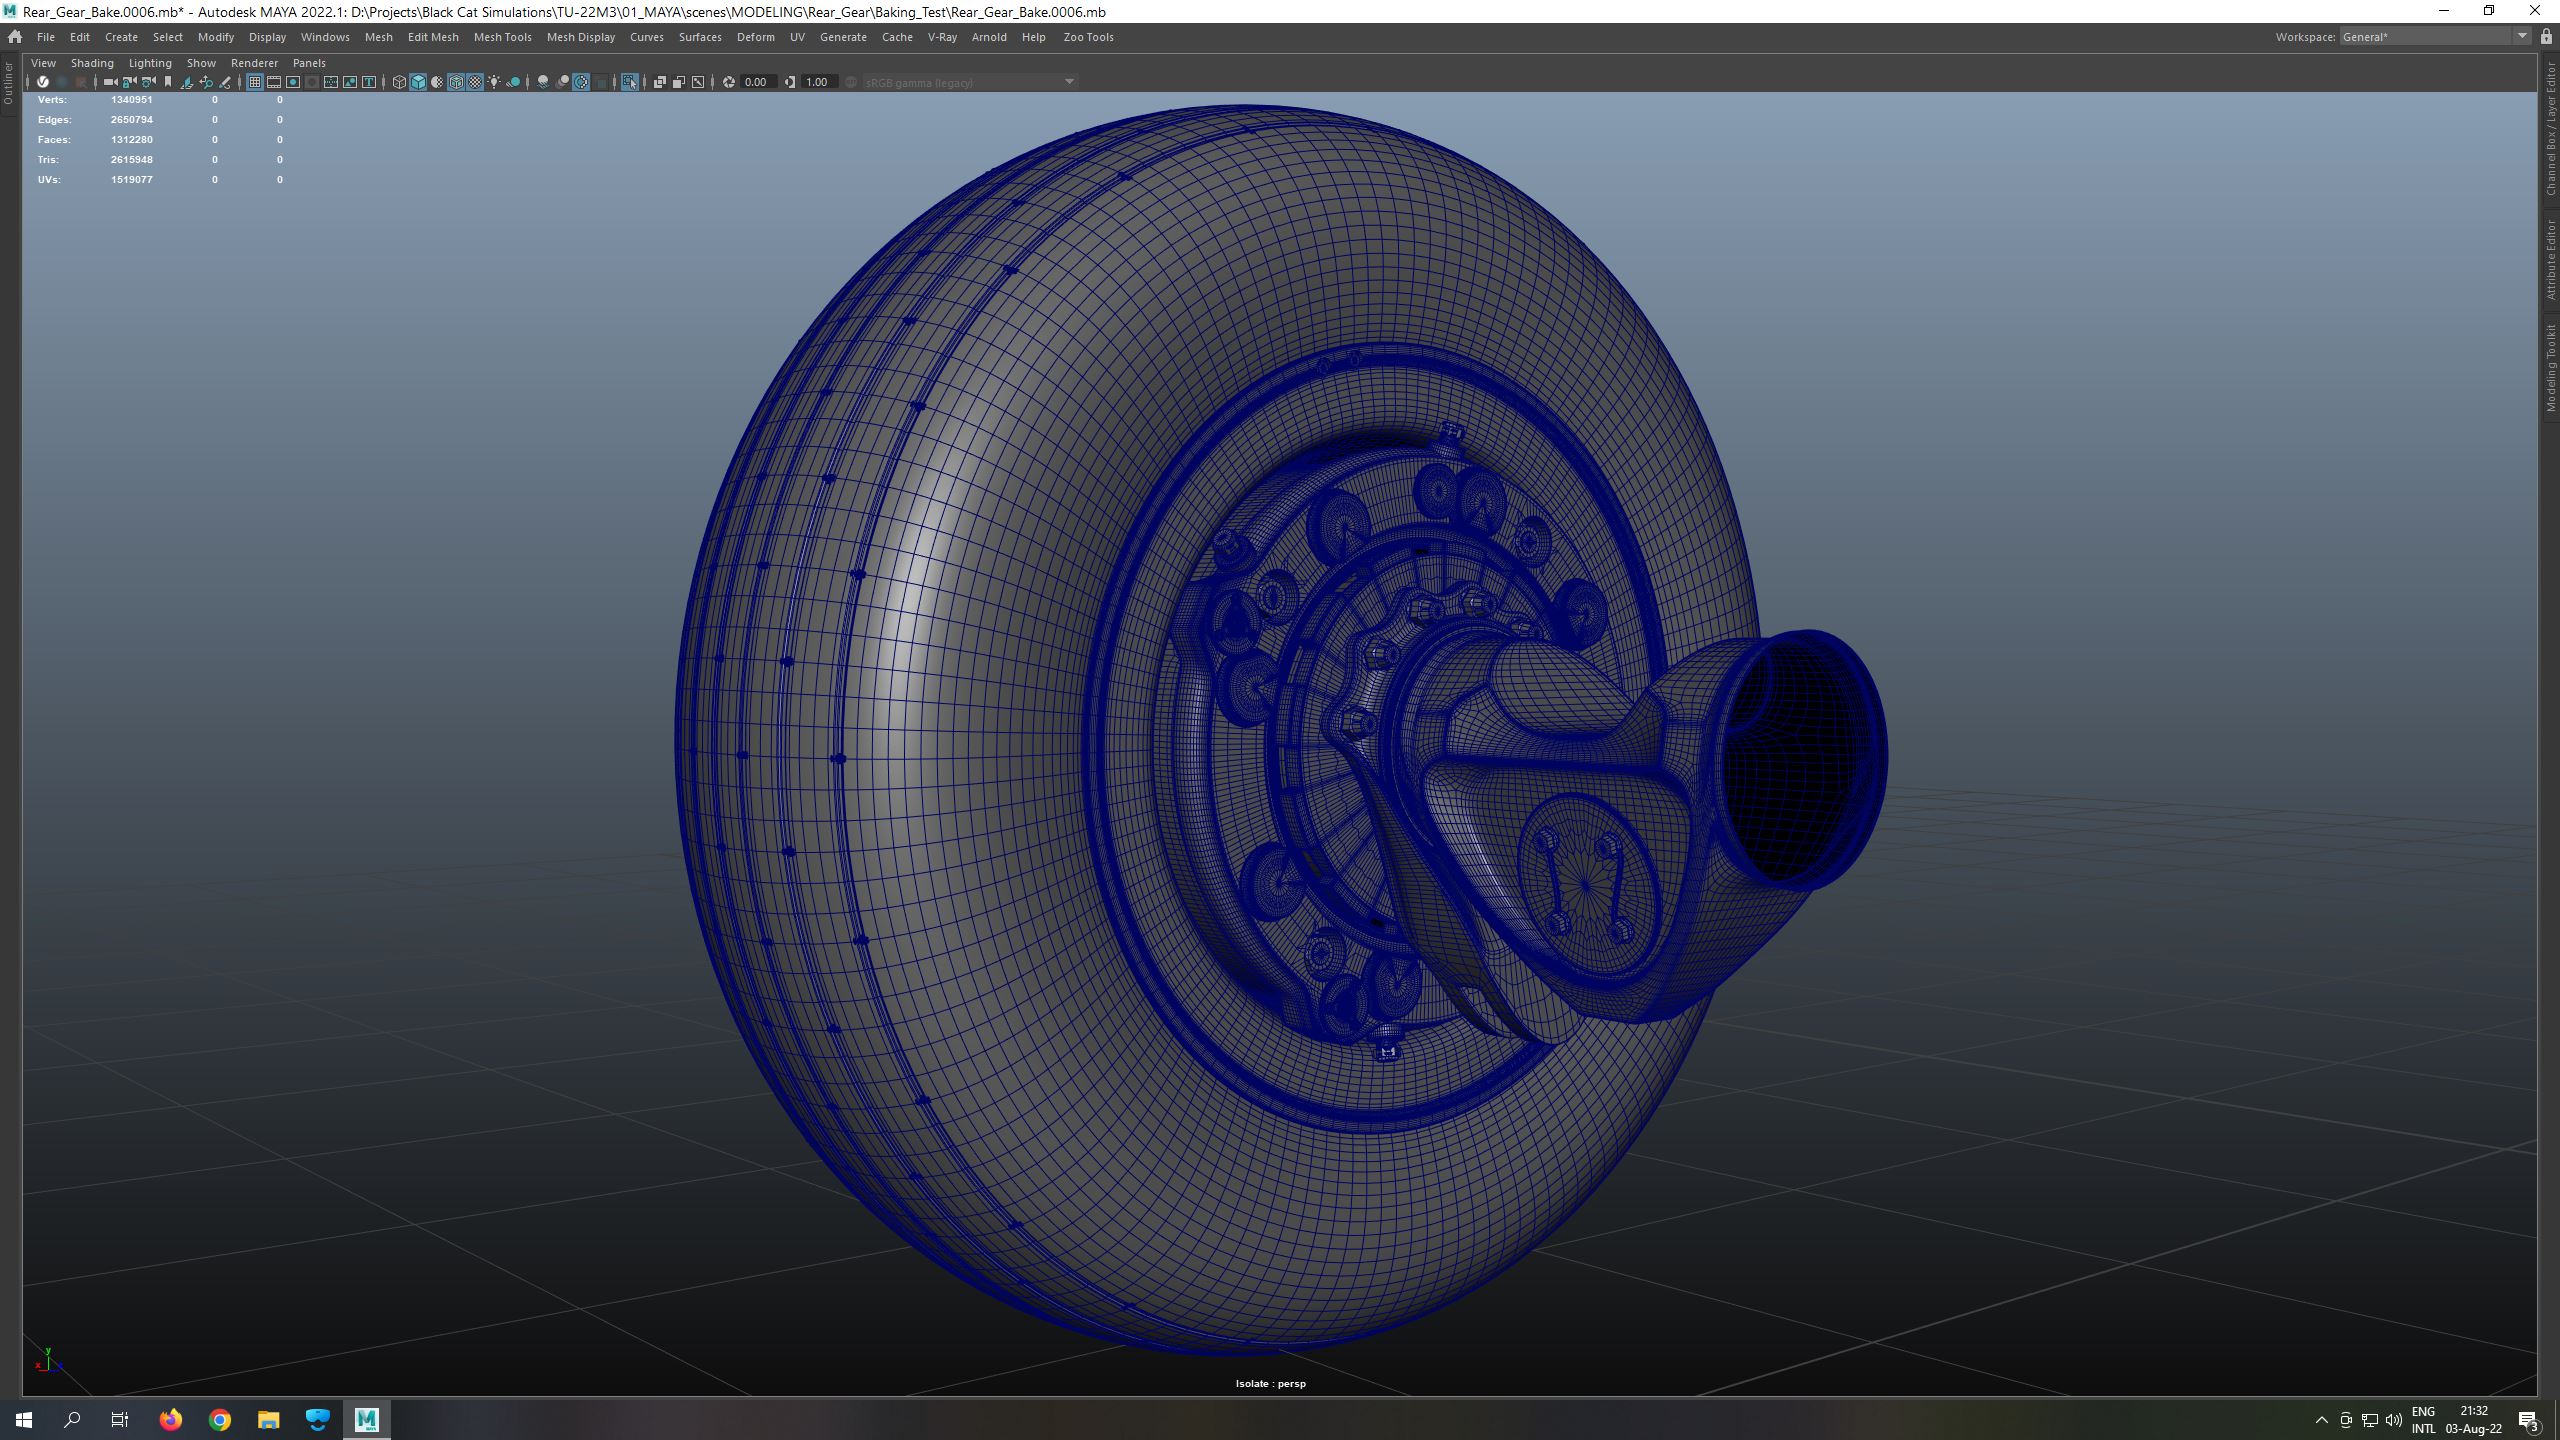
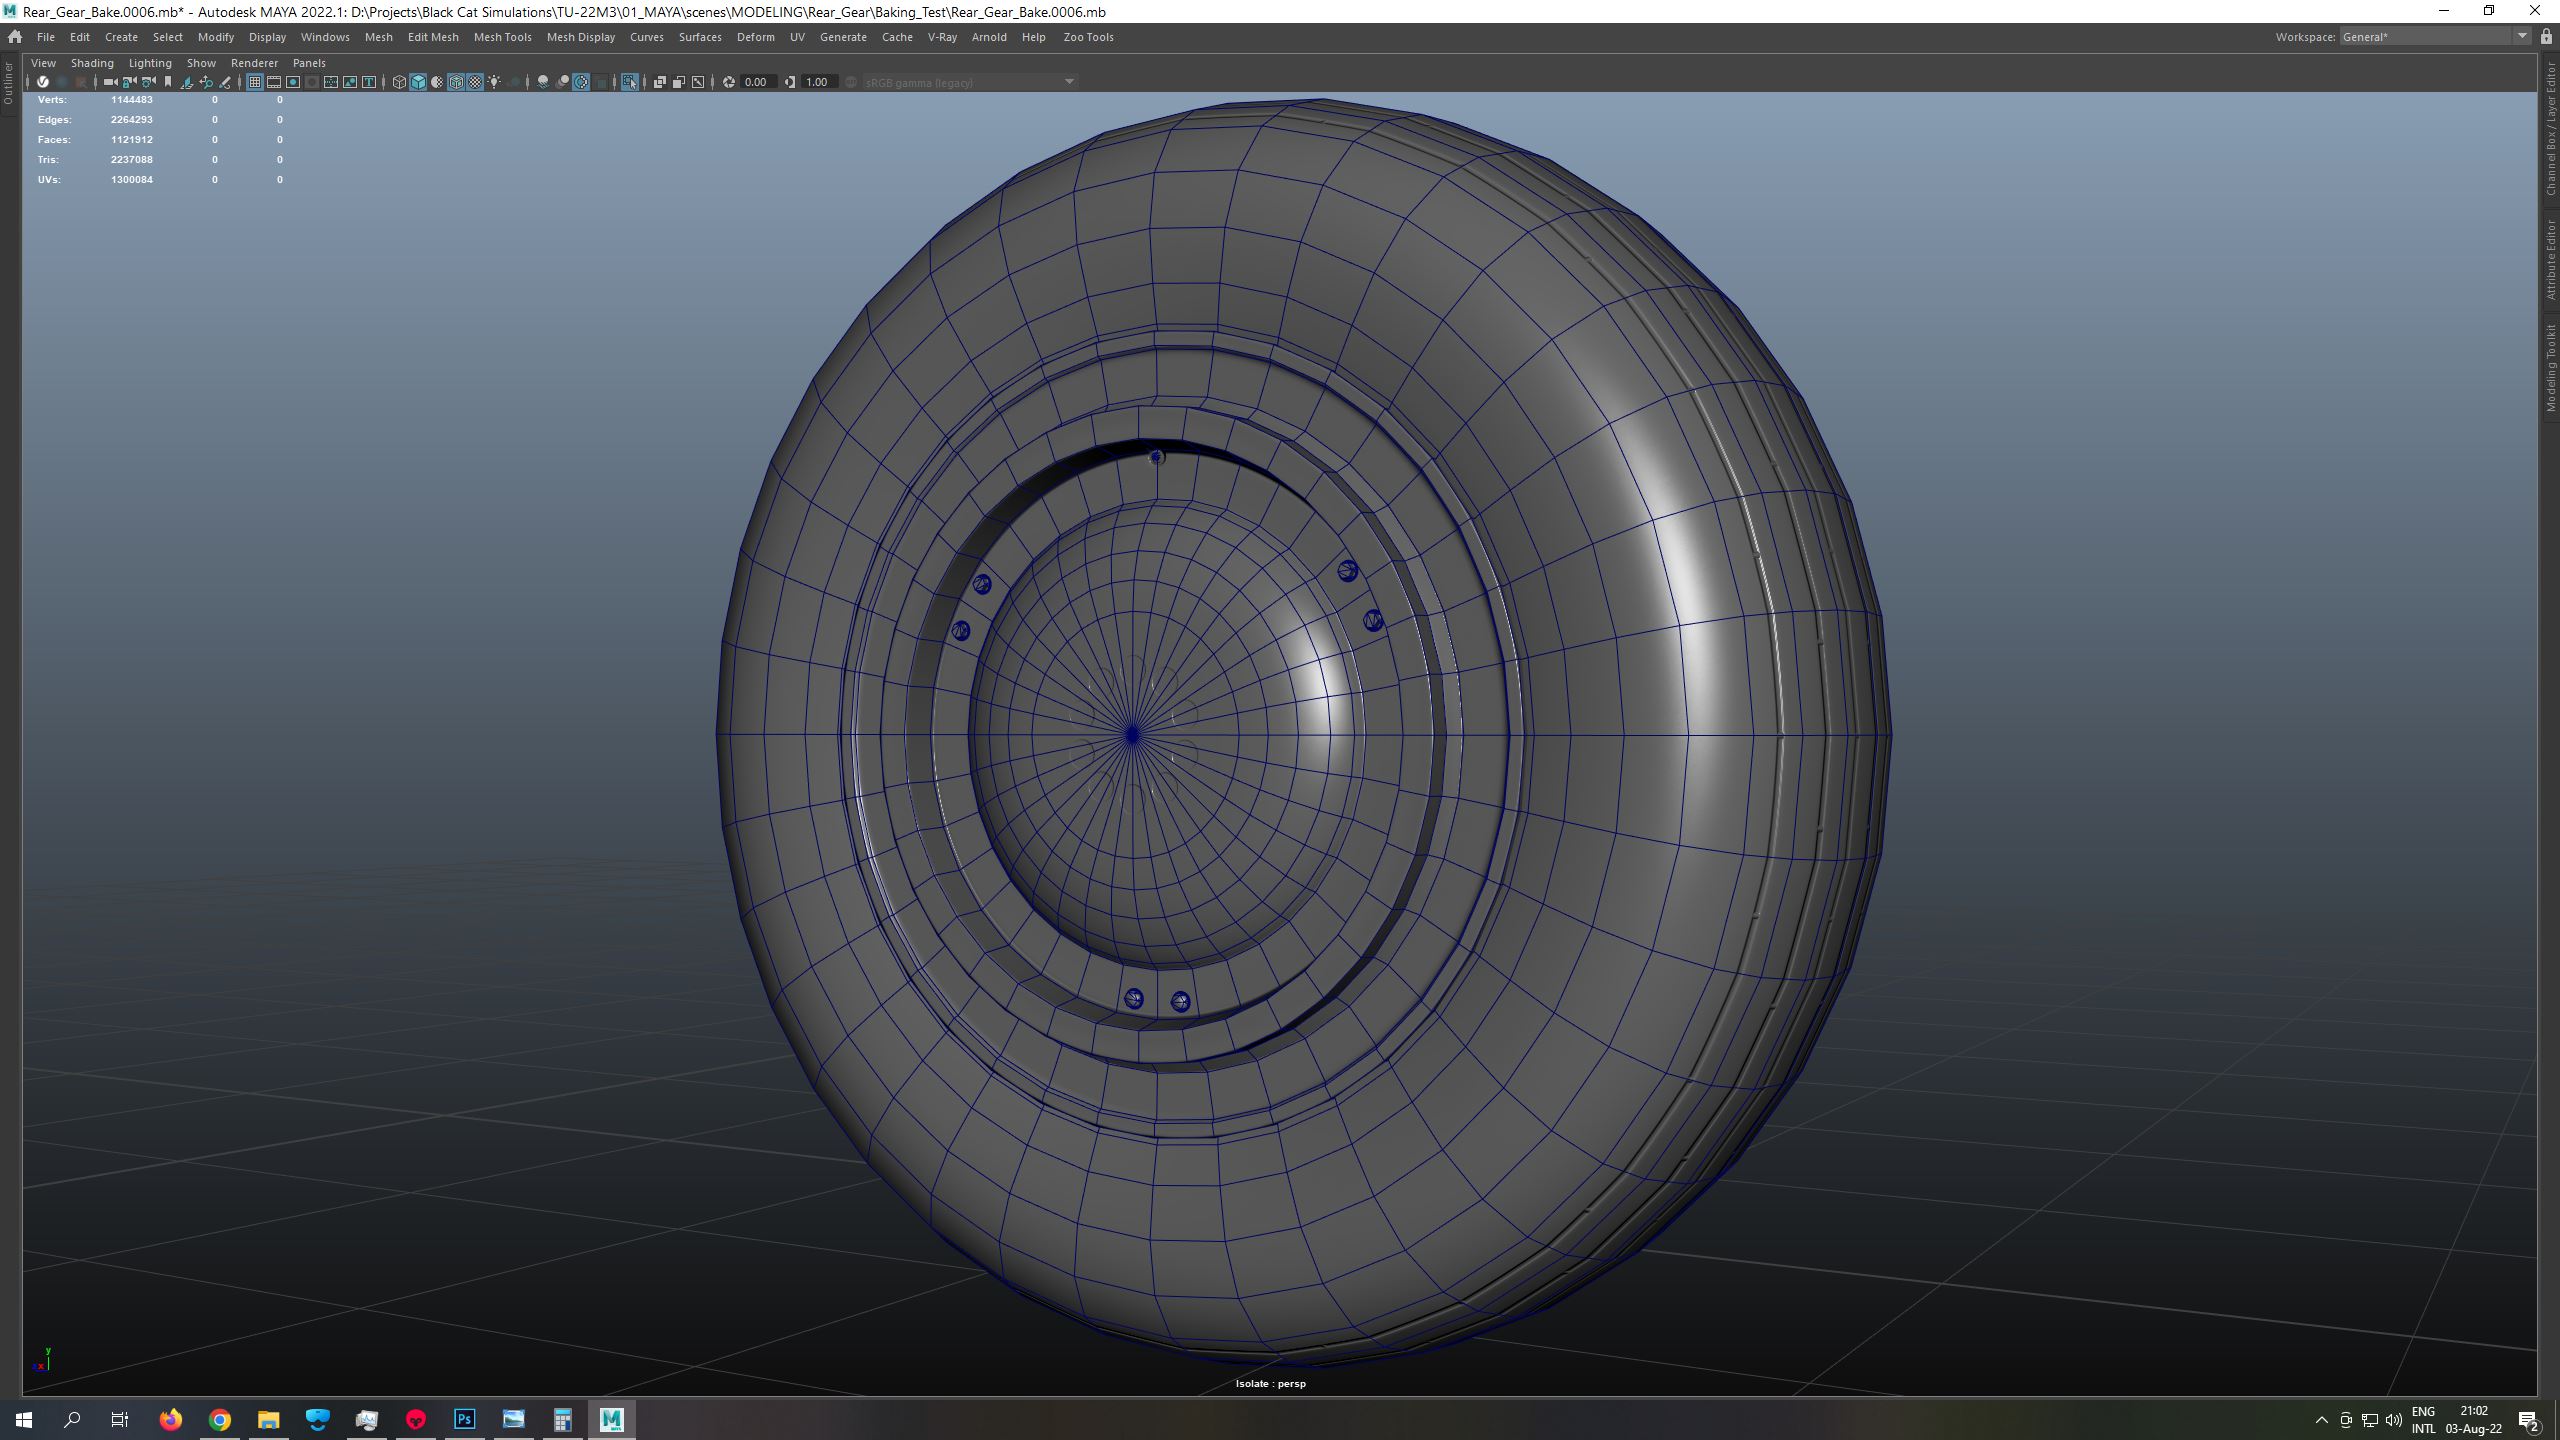
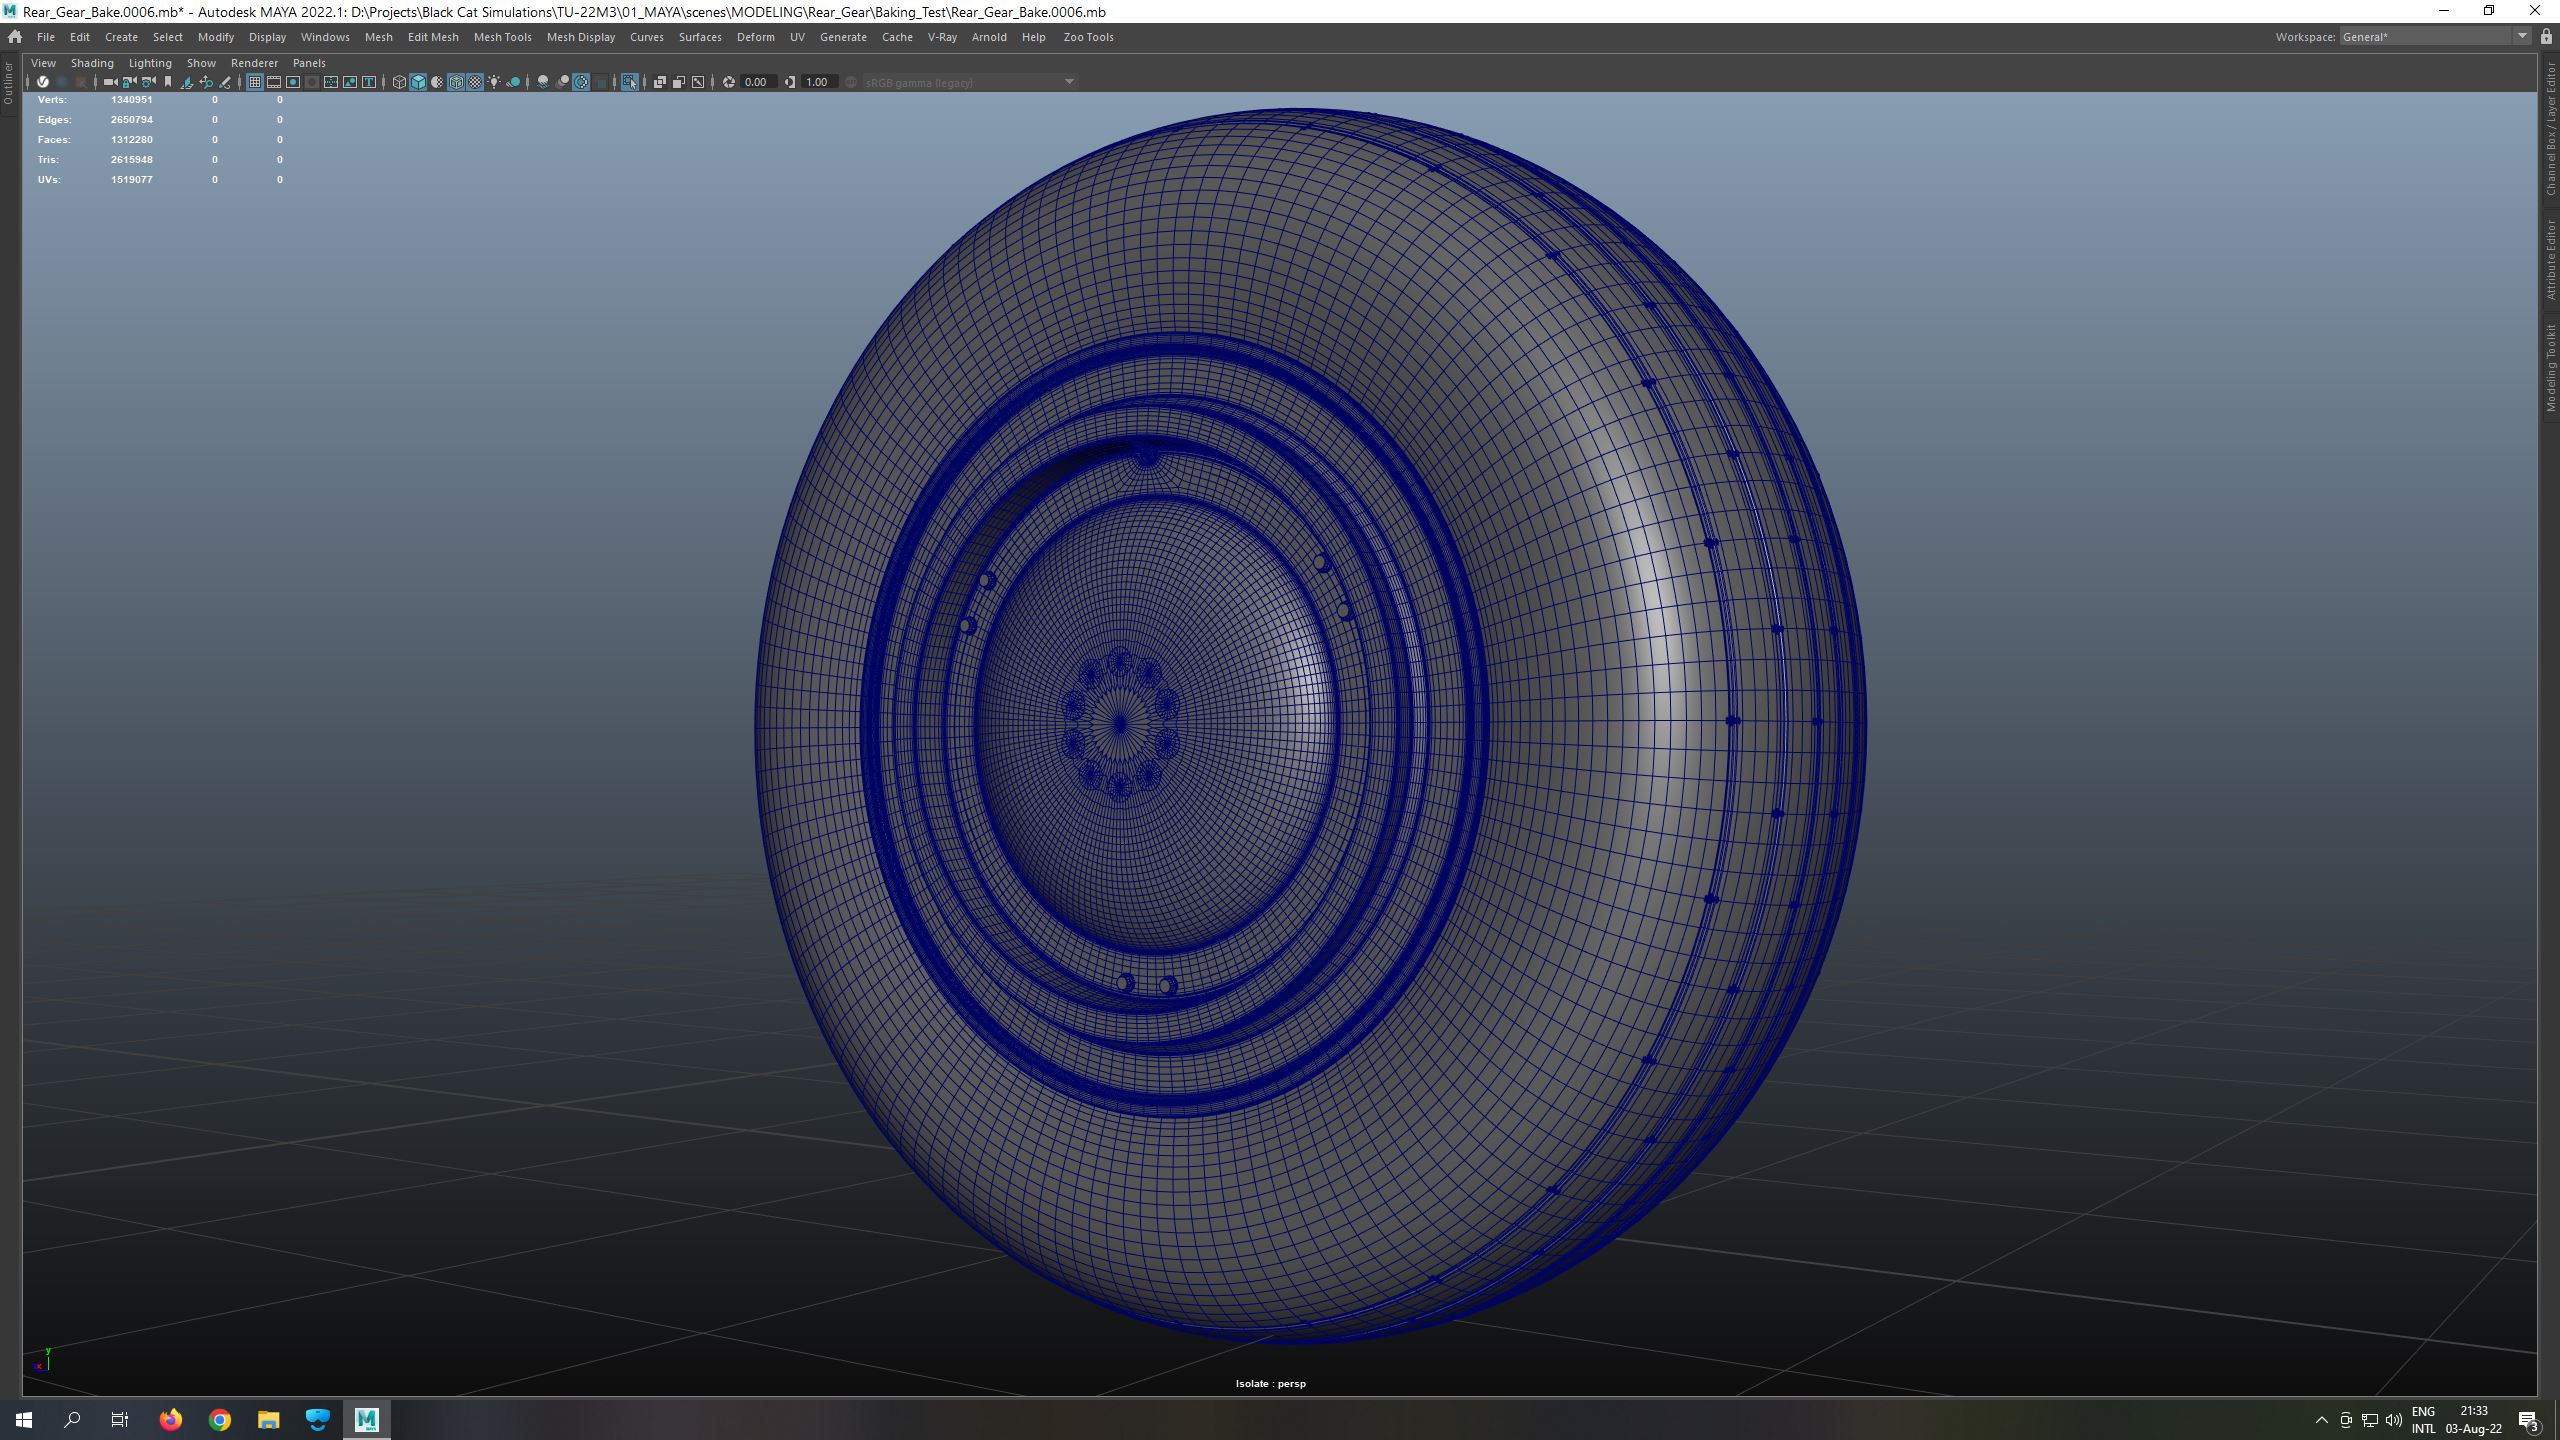
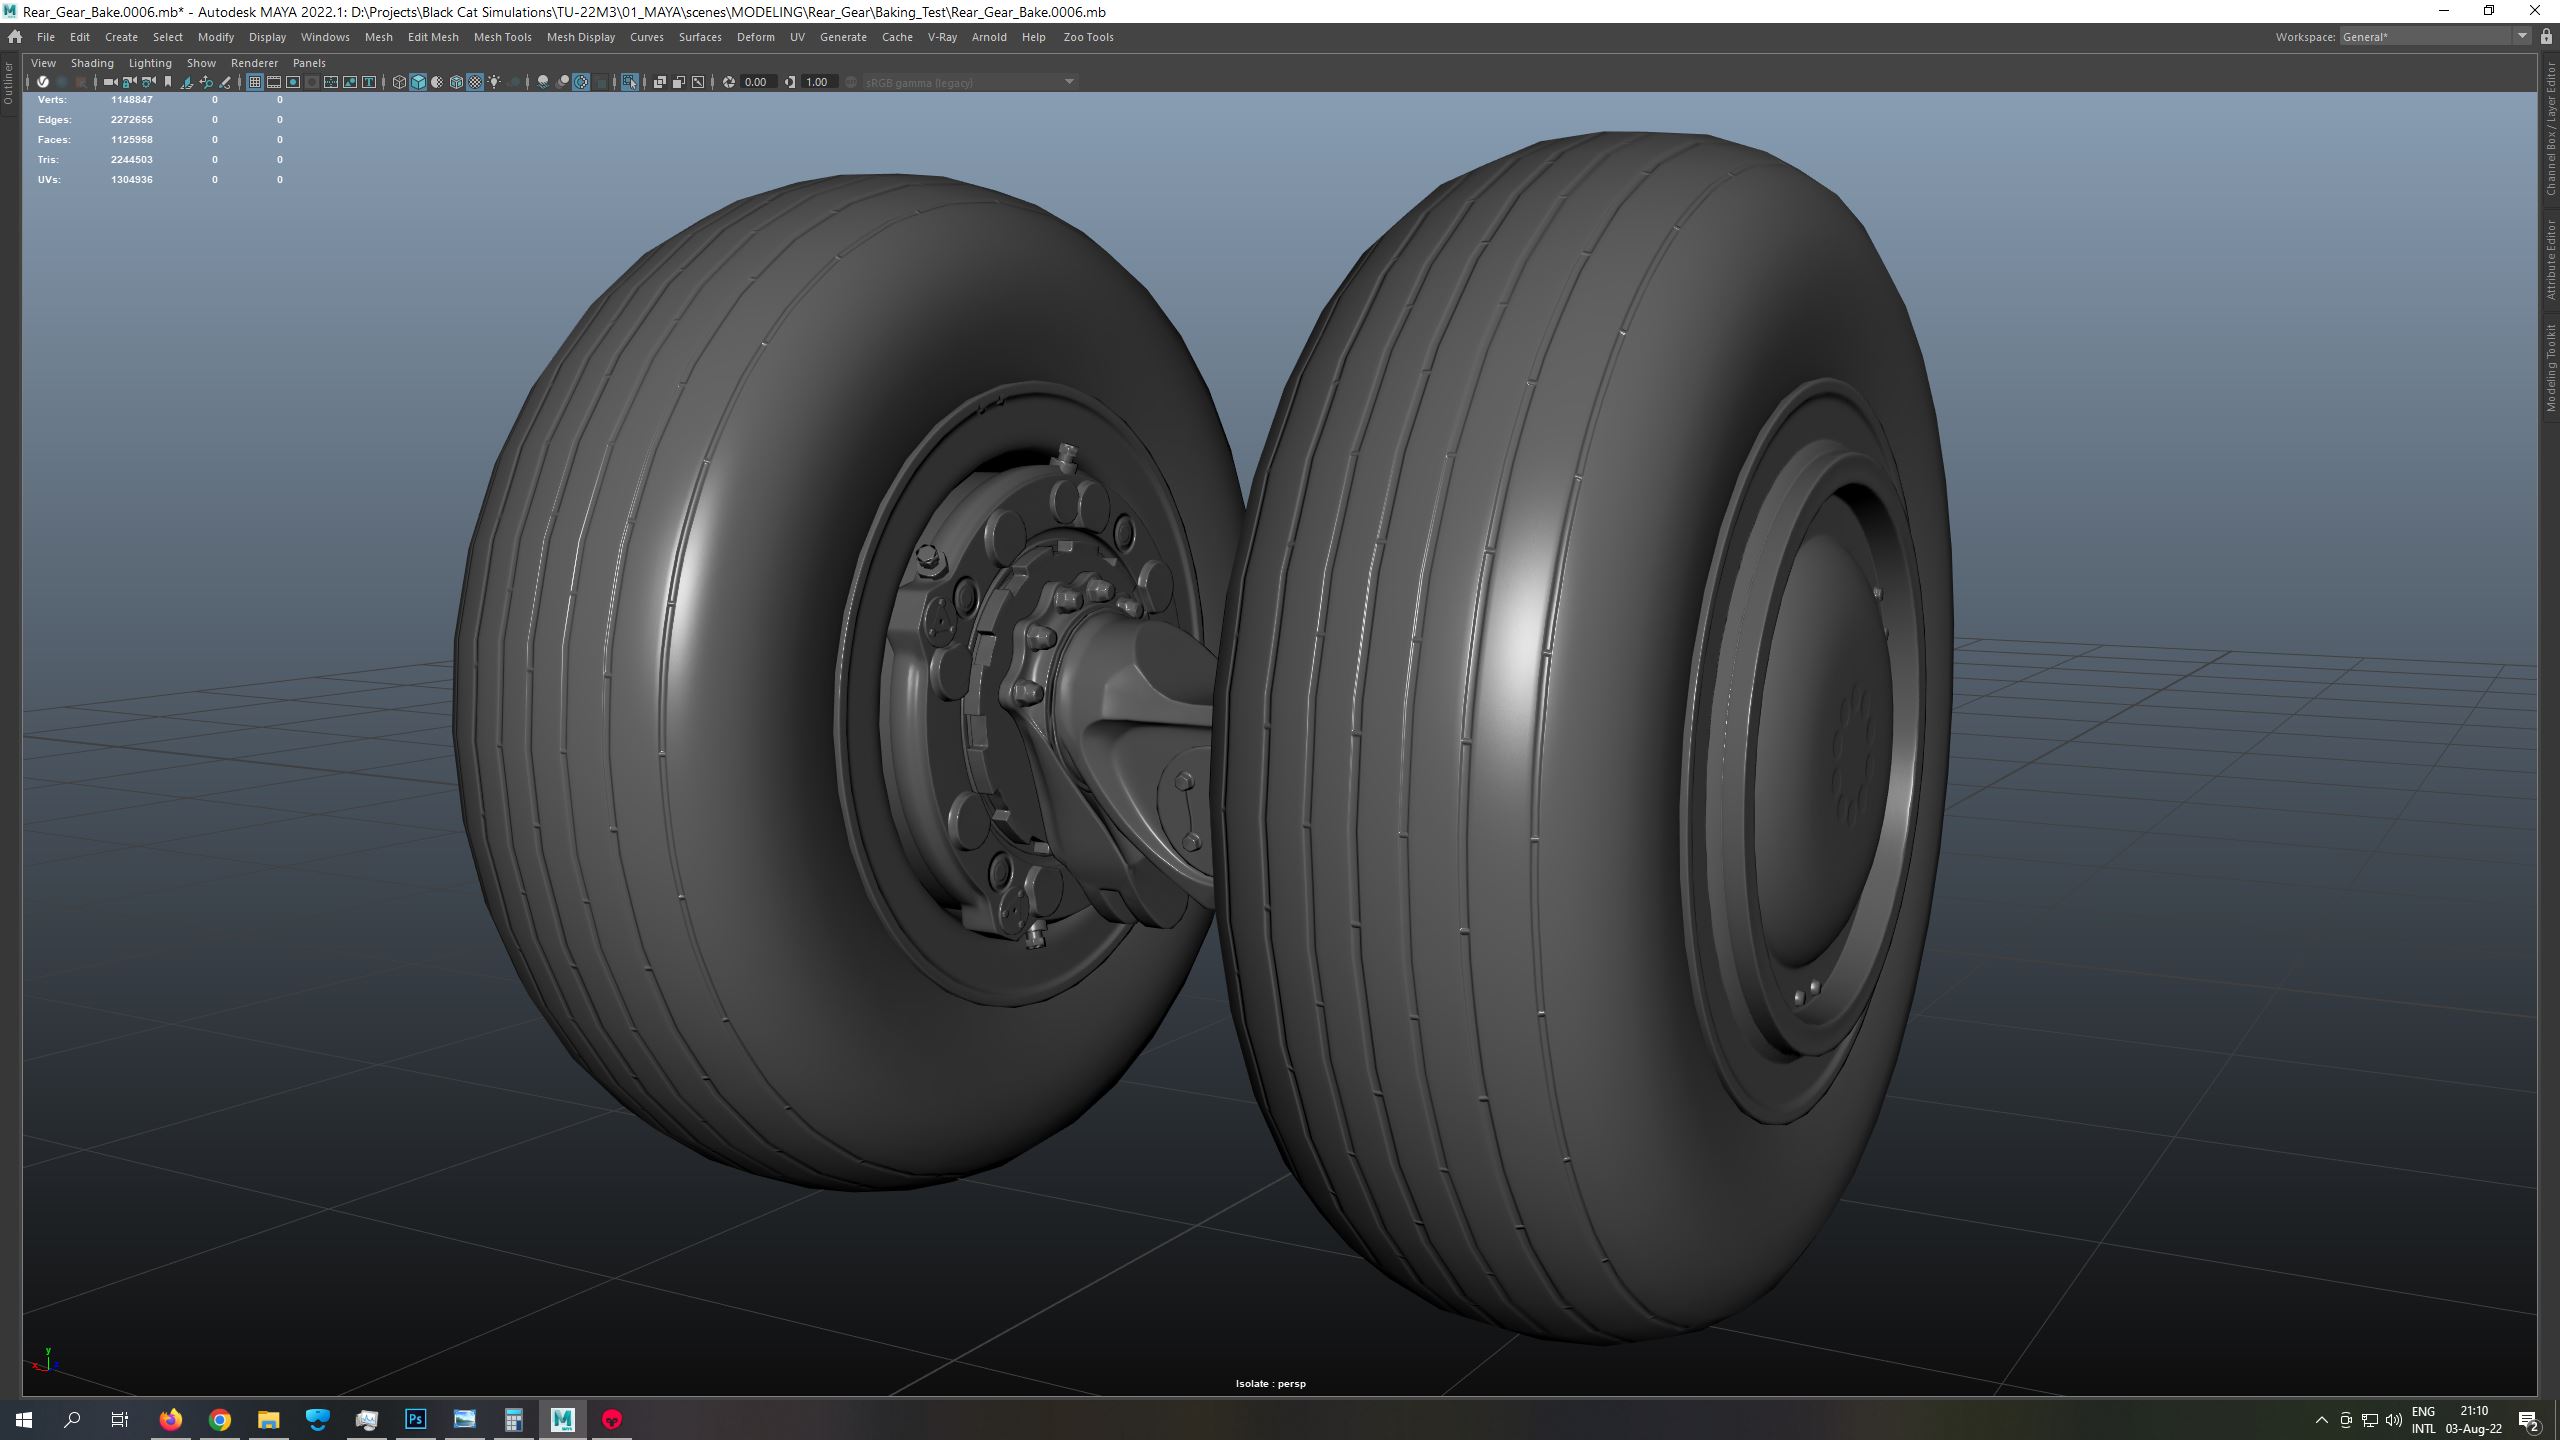
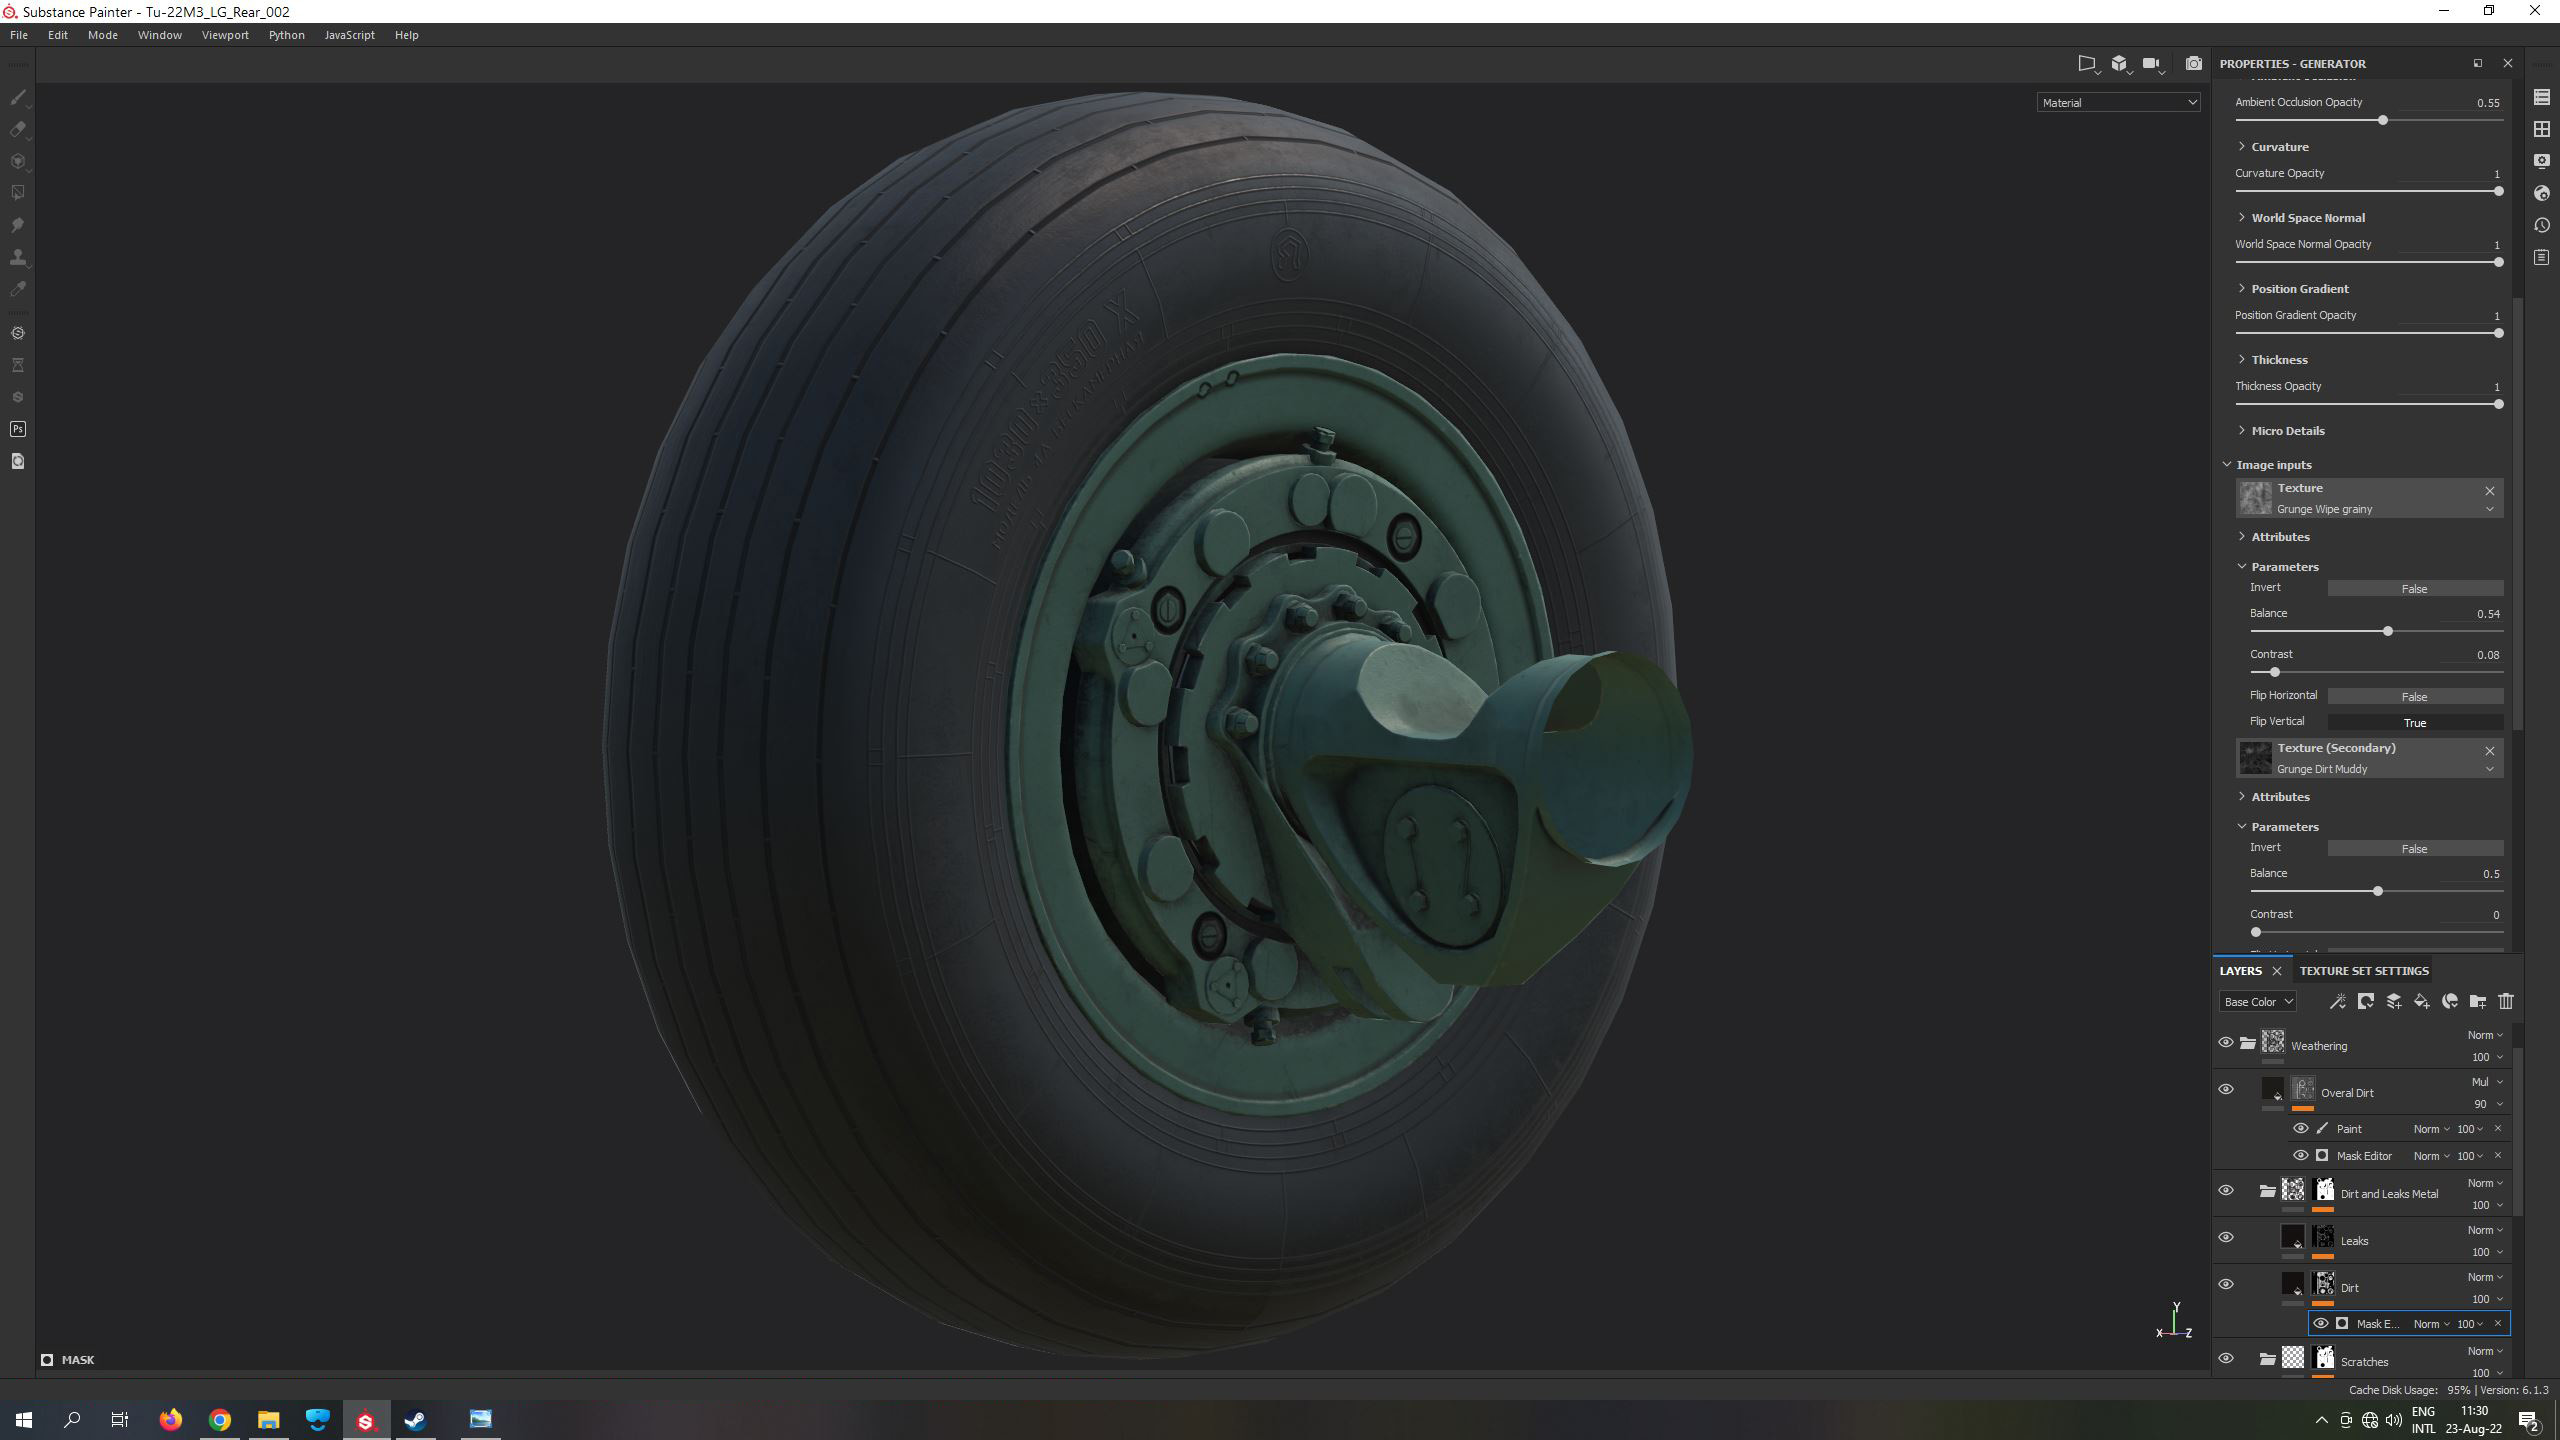
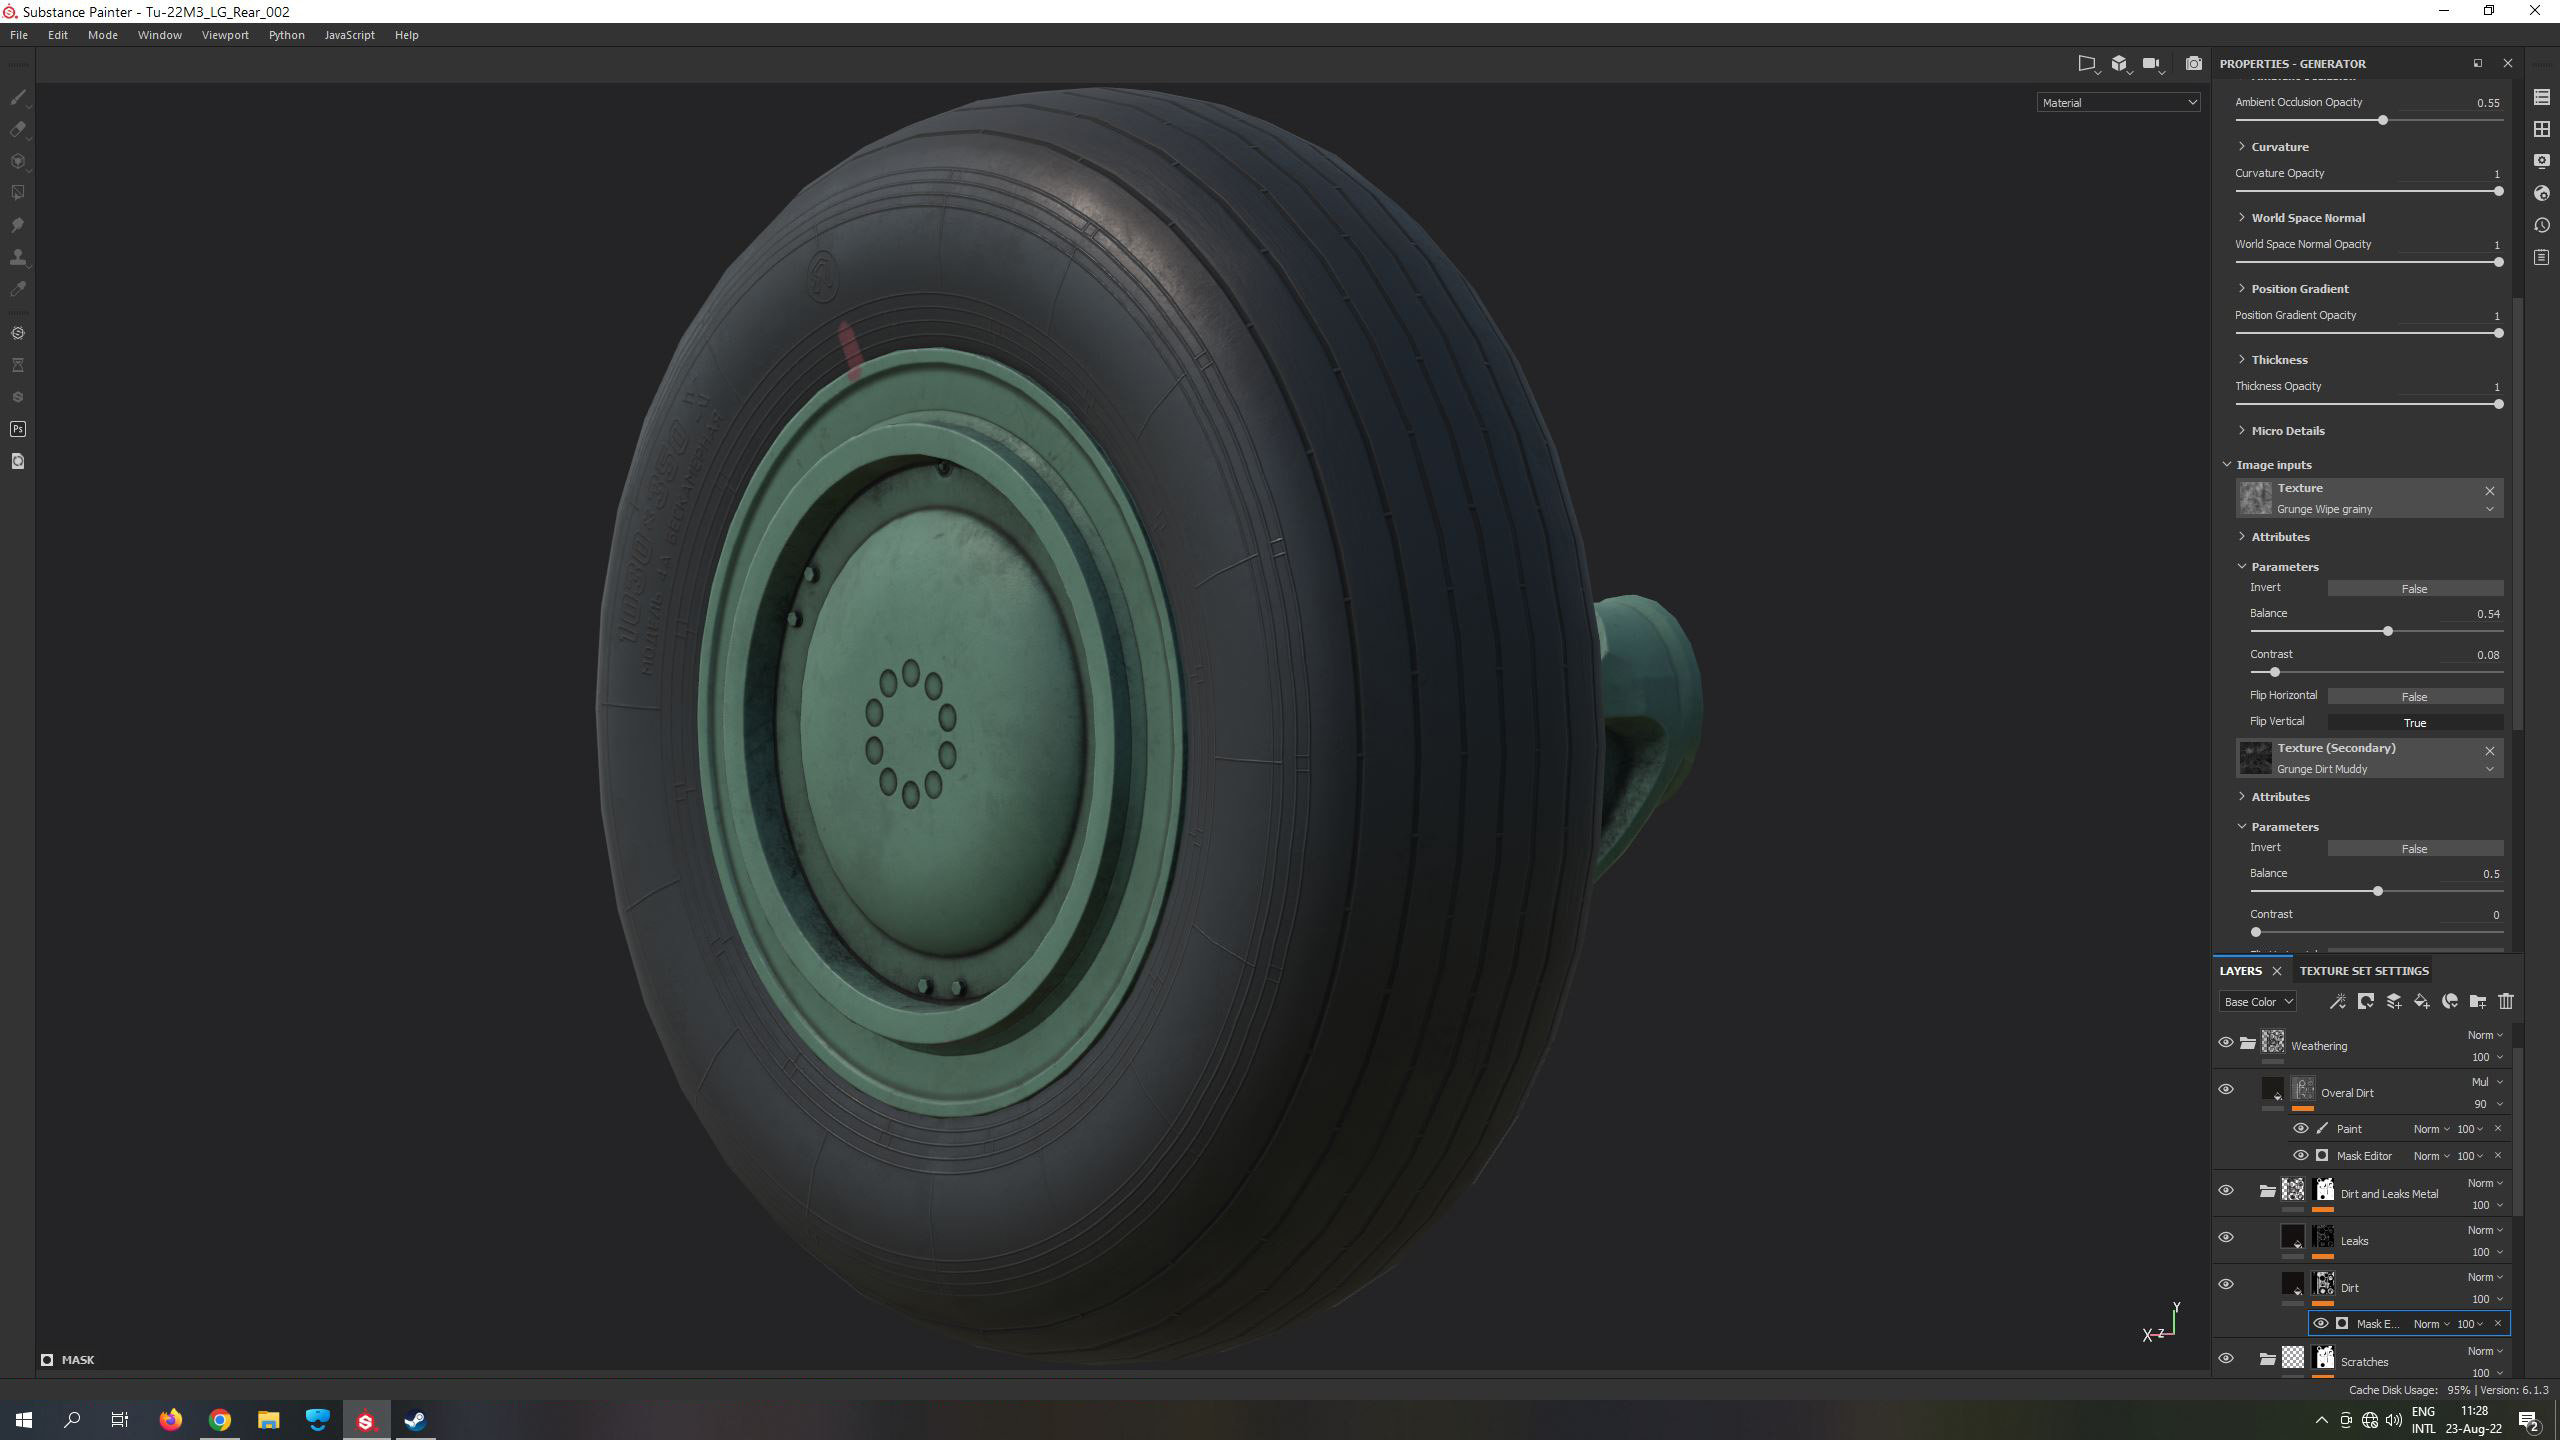
Baking test of high-poly to mid-poly meshes, and texture test with newly baked maps.
Below you’ll find 360’s photogrammetry of landing gear.


